How to Turn off Windows Ink With This Step-By-Step Guide
If you find yourself accidentally activating Windows Ink or just want to turn it off for a cleaner workspace, you’re not alone. Many people struggle with managing Windows Ink features and want a simple way to disable them.
Luckily, turning off Windows Ink is easier than you might think.
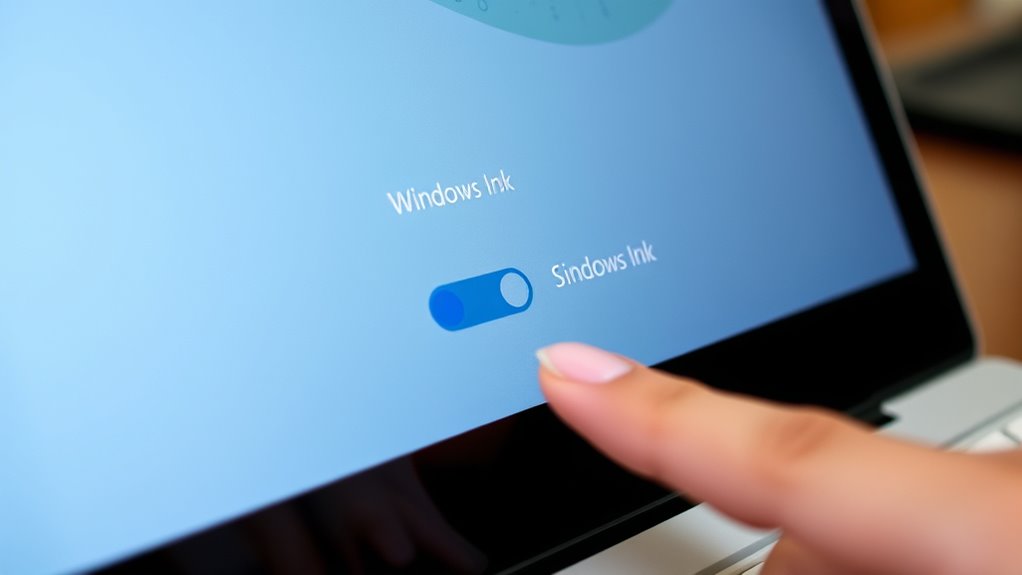
To turn off Windows Ink, start by accessing your system settings through the Start menu or system tray. Navigate to Pen & Windows Ink, then toggle off related features or disable the workspace.
For a more permanent solution, use Group Policy or Registry Editor to disable it entirely.
After making changes, restart your device to apply them. Keep going to uncover detailed steps and troubleshooting tips for a smooth switch.
Key Takeaways
- Access Windows Ink settings through the Start menu or the system tray. Here, you can find toggle options or advanced settings to turn off Windows Ink.
- Alternatively, use Windows Settings by pressing Windows key + I. Navigate to Bluetooth & Devices, then select Pen & Windows Ink.
- To disable Windows Ink more permanently, open the Group Policy Editor. Set “Allow Windows Ink Workspace” to Disabled.
- You can also modify registry entries at HKEY_LOCAL_MACHINESoftwarePoliciesMicrosoft to turn off Windows Ink features.
- After making these changes, confirm that Windows Ink is off. Check for the absence of the Windows Ink icon in the system tray and test your pen or touch input to see if it responds normally.
Why You Might Want to Disable Windows Ink and When It Helps
You might want to disable Windows Ink if you’re having performance issues or unwanted behavior with your digital tools. Turning it off can help boost performance and reduce lag in art apps by stopping unnecessary background processes.
Disabling Windows Ink can improve performance and reduce lag in art applications by stopping unnecessary background processes.
If tablet buttons or shortcuts are messing with your workflow, disabling Windows Ink can fix those conflicts. It’s also helpful when Windows Ink causes cursor glitches or clashes with certain software features.
For devices with touchscreens, turning off Windows Ink can help prevent accidental inputs during regular use.
And if you don’t use pen or touch features often, disabling Windows Ink makes your user interface simpler and your system more responsive.
How to Access Windows Ink Settings on Windows 10 and 11
To access Windows Ink settings, start by locating the system icons or searching for “Pen & Windows Ink” in the Start menu.
On Windows 10, you can also right-click the Windows Ink icon in the system tray for quick options.
For Windows 11, go to Settings > Bluetooth & Devices > Pen & Windows Ink, then expand Additional Pen Settings.
Locating System Icons
Locating the system icons for Windows Ink is simple, whether you’re using Windows 10 or Windows 11. You’ll find the system tray on your taskbar, where icons for different features show up.
If the Windows Ink icon isn’t visible, click the upward arrow to see hidden icons. You can also customize which icons appear in the taskbar by opening Settings > Personalization > Taskbar.
Look for the “Turn system icons on or off” link to find the toggle for Windows Ink Workspace, if it’s available. Alternatively, search for “Windows Ink” in the Start menu or Settings search bar to access related options.
These steps make it easy to find the system icons you need to manage Windows Ink settings.
Accessing Pen Settings
Accessing the pen settings on Windows 10 and 11 is straightforward through the Settings app. To do this, go to Bluetooth & devices > Pen & Windows Ink.
Here, you’ll find options to customize pen behavior and enable or disable Windows Ink features. In Windows 11, there are additional pen options under the “Additional pen settings” section within this menu.
For more advanced adjustments, you can open the Control Panel and select Pen and Touch to modify related settings. If you need even more control, especially in enterprise environments, you can manage pen settings via the Registry by editing specific registry keys or using Group Policy.
This allows for granular control over pen and Windows Ink features beyond the standard options.
Disable Windows Ink Using the Settings App
To disable Windows Ink using the Settings app, start by opening Settings with Windows key + I. Then, go to Bluetooth & devices and select Pen & Windows Ink from the menu.
From there, you can toggle off Windows Ink features, including the pen eraser, to turn off the functionality.
Access Pen & Ink Settings
You can disable Windows Ink features through the Settings app by first opening it with a simple shortcut: press the Windows key + I. Once the Settings window appears, navigate to Bluetooth & devices.
In the menu, select Pen & Windows Ink from the list of options. Here, you’ll find various settings related to your pen and ink input. To see more options, expand the Additional pen settings section.
If you want to disable specific Windows Ink features, look for the toggle labeled “Use the top of the pen to erase ink” and turn it off. This method allows you to customize your Pen & Windows Ink experience easily, ensuring Windows Ink functions are disabled according to your preferences.
Toggle Windows Ink Off
Disabling Windows Ink through the Settings app is pretty simple. First, press Windows key + I to open Settings, then navigate to Bluetooth & devices > Pen & Windows Ink.
If a compatible pen is connected, expand the “Additional pen settings” section. Here, you’ll see the toggle labeled “Use the top of the pen to erase ink.”
Switch this toggle to the Off position to deactivate the eraser feature. This will stop Windows Ink from using the pen’s top button for erasing ink in supported apps.
After turning off the toggle, it’s a good idea to restart your device. This helps ensure the new settings take effect and turns off Windows Ink functionalities you no longer want.
Disable Windows Ink With Group Policy in Windows 10/11
Disabling Windows Ink with Group Policy is an easy way to stop the Windows Ink Workspace from opening on your device.
To do this, open the Group Policy Editor by typing `gpedit.msc` in the Run dialog or Search bar.
Next, go to `Computer Configuration > Administrative Templates > Windows Components > Windows Ink Workspace`. Find the policy called “Allow Windows Ink Workspace” and double-click it.
Set the option to “Disabled” to turn off Windows Ink. Click “Apply” and then “OK” to save your changes.
To make sure the policy works, restart your computer. After it restarts, Windows Ink will be disabled, and the Workspace won’t launch automatically.
This gives you a cleaner, distraction-free experience.
Use Registry Editor to Turn Off Windows Ink (Advanced Users)
For advanced users comfortable with editing the system registry, turning off Windows Ink can be done through the Registry Editor.
First, open the Registry Editor and navigate to `HKEY_LOCAL_MACHINESOFTWAREPoliciesMicrosoft`.
Open the Registry Editor and go to HKEY_LOCAL_MACHINESOFTWAREPoliciesMicrosoft to disable Windows Ink.
Create a new key called `WindowsInkWorkspace` if it doesn’t already exist. Inside this key, set the DWORD value named `WindowsInkWorkspace` to 0.
This change disables the Windows Ink Workspace and related pen features system-wide.
Before making any modifications, back up your registry to prevent potential issues.
After editing, restart your computer for the changes to take effect.
Using the Registry Editor offers a direct way to disable Windows Ink, especially for those comfortable with system-level adjustments.
Troubleshoot Common Issues When Disabling Windows Ink
When troubleshooting issues after turning off Windows Ink, you might notice the Windows Ink icon still showing in the system tray or pen and touch features that stay active. This often happens if registry settings weren’t applied correctly or if drivers are outdated or incompatible.
Check the registry to make sure the correct keys are modified. Sometimes, incorrect entries can prevent Windows Ink from being fully disabled. Also, verify that your device drivers are up to date, especially those related to pen and touch input.
Conflicting third-party software or hardware-specific settings can also override system-wide changes. Consider disabling or updating any relevant software to see if that resolves the issue.
If problems continue, revisiting the registry or updating drivers usually fixes lingering Windows Ink features, helping you achieve a clean disablement.
How to Re-Enable Windows Ink if Needed
If you need to re-enable Windows Ink after disabling it, you’ll want to reverse the steps you took earlier.
You can do this using either the Group Policy Editor or the Registry Editor.
In the Group Policy Editor, go to Computer Configuration > Administrative Templates > Windows Components > Windows Ink Workspace.
Then, set “Allow Windows Ink Workspace” to “Enabled” or “Not configured.”
Alternatively, in the Registry Editor, find the “AllowWindowsInkWorkspace” DWORD value.
Change its data back to 1 or delete the key that disables Windows Ink.
After making these changes, restart your computer so the settings take effect.
Finally, check the system tray for the Windows Ink icon or test your pen and touch input to confirm it’s back.
Frequently Asked Questions
How Do I Turn off Windows Ink Mode?
You can turn off Windows Ink mode by adjusting settings through the Registry Editor or Group Policy.
To do this, disable the feature in Group Policy by accessing the Windows Ink Workspace and setting it to Disabled. Alternatively, create a DWORD named “WindowsInkWorkspace” with a value of 0 in the Registry.
You can also toggle off related options in Windows Settings under Bluetooth & Devices > Pen & Windows Ink.
A restart might be necessary to fully apply the changes.
How Do I Deactivate Microsoft Ink?
Deactivating Microsoft Ink is like closing a window to stop drafts—just disable Windows Ink Workspace through Group Policy or Registry Editor.
You can set the policy to “Disabled” or modify the registry by creating or changing the `WindowsInkWorkspace` DWORD to 0.
Alternatively, turn off related options in Pen & Windows Ink settings. Don’t forget to restart your computer afterward to make sure the changes take effect.
How to Deactivate Windows Ink in Windows 11?
To deactivate Windows Ink in Windows 11, go to Settings > Bluetooth & devices > Pen & Windows Ink.
Then, toggle off “Use the top of the pen to erase ink.”
Alternatively, open the Control Panel under Pen and Touch and uncheck that option.
For more control, you can modify the registry or use Group Policy Editor.
Remember to restart your device after making changes to guarantee Windows Ink is fully disabled.
How Do I Disable the Touch Keyboard and Handwriting Panel?
Think of disabling the touch keyboard and handwriting panel like flipping a switch in your smart home.
You can go to Settings > Privacy > Speech, Inking, & Typing, and toggle off “Getting to know you.”
Alternatively, head to Settings > Personalization > Taskbar, and turn off the “Touch keyboard.”
For a deeper fix, use the Registry Editor or disable the “Handwriting Panel” service via services.msc.
Conclusion
Turning off Windows Ink can make your experience simpler and help minimize distractions. But keep in mind, doing so means you’ll lose some handy features that boost your productivity and creativity.
Sometimes, less is more, and simplicity can bring clarity. But a little creativity can also spark new ideas. Deciding whether to disable or keep Windows Ink is like choosing between quiet solitude and vibrant expression—each has its own value.
Ultimately, your decision should match how you want to interact with your device and what you hope to achieve. If you prefer a more streamlined setup, turning off Windows Ink might be the way to go.