Effective Ways to Remove Ink From Paper With a Step-By-Step Guide
Dealing with ink stains on paper can be really frustrating, especially when you want to keep your documents clean and professional. Many people struggle with removing ink without damaging the paper, and you’re not alone in that.
Luckily, there are effective ways to tackle these stains without much hassle.
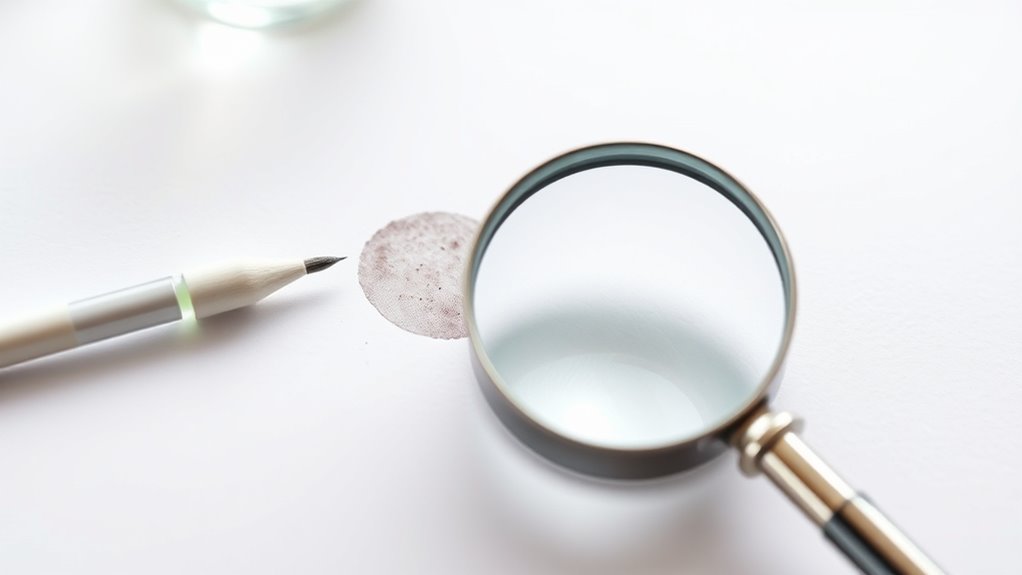
To effectively remove ink from paper, start by identifying the ink type and test your approach on a hidden area. Gently scrape or erase surface ink with fine tools, then use household solutions like lemon juice or baking soda for light stains.
For tougher spots, dab with rubbing alcohol or acetone carefully, and consider correction tapes for quick fixes. If you keep exploring, you’ll find detailed steps to get the best results while protecting your paper.
Key Takeaways
- Identify the type of ink and the sensitivity of the paper. This will help you choose the right removal method and avoid causing damage.
- Gather tools like fine sandpaper, cotton swabs, correction tapes, and solvents. Having these ready makes the process smoother and more effective.
- Start with gentle mechanical techniques such as light sanding or erasing. Do this before trying chemical solutions to minimize the risk of damaging the paper.
- Always test your chosen method on a hidden or less visible area first. This helps prevent unwanted discoloration or tears on the main part of the paper.
- For stubborn ink stains, consider combining mechanical, chemical, and correction techniques. Using a mix of methods often gives the best results.
Understanding Different Types of Ink and Their Removal Challenges
Different types of ink pose varying challenges when it comes to removing them from paper. Fountain pen ink often seeps deep into the paper fibers, making it hard to fully remove compared to surface-level ink like ballpoint.
Gel ink, with its thicker, pigmented consistency, tends to resist erasing and needs more effort to remove. Erasable inks can sometimes fade with heat or cold, but their removal depends on their specific formulas.
The chemical makeup of each ink type influences how easily you can get rid of it. Plus, the quality of the paper plays a role too. Softer papers tend to absorb ink more deeply, which makes removal trickier.
Understanding these differences helps you pick the right method. It also ensures you don’t damage the paper or leave behind stains during the cleaning process.
Gathering the Right Tools and Preparing Your Workspace
Start by gathering essential tools like fine-grit sandpaper, correction pens, cotton swabs, and correction tapes to make ink removal easier.
Set up a clean, well-lit workspace with a flat surface so you can work accurately and avoid mistakes.
Keep a small bowl of water, rubbing alcohol, or acetone nearby, and clear away unnecessary items to stay focused and protect your paper.
Essential Tools Selection
Before you start removing ink from paper, it’s important to gather the right tools and set up a good workspace. Having the right tools makes the process smoother and helps prevent damage.
Consider stocking up on high-quality erasers and correction tape for gentle erasing. Cotton swabs and a small craft knife are great for precise removal, too.
Soft cloths or paper towels are useful for blotting away excess liquids. Always test your removal method on a small, hidden area first to avoid unwanted damage or discoloration.
Be careful when using tools, especially sharp ones, to prevent tearing the paper. Doing a test first helps you find the safest approach for your specific ink and paper.
Getting these tools ready and preparing your workspace helps make the ink removal process controlled and effective.
Workspace Preparation Tips
Setting up a tidy and well-lit workspace is key for removing ink from paper effectively. A clean, bright area helps you see the stain clearly and keep track of your progress.
Gather all your tools beforehand, like erasers, correction tapes, solvents such as acetone or alcohol, and soft cloths. Having everything ready makes the process smoother.
Use a flat, stable surface to prevent slips or accidental damage while working. Protect surrounding areas with scrap paper or disposable covers to avoid unwanted marks or spills.
Work in a well-ventilated space, especially when handling chemical solvents, to stay safe and avoid inhaling fumes. Proper prep keeps your workspace organized and makes ink removal safer and more efficient.
How to Remove Ink Mechanically
To remove ink mechanically, you can gently scrape the surface with fine-grit sandpaper or a sharp craft blade, just be careful not to damage the paper.
Afterward, using a soft eraser or rubber ink eraser helps lift any leftover ink without harming the fibers.
For stubborn spots, you can lightly burnish the area with a spoon or eraser to smooth it out and remove any remaining ink.
Gentle Scraping Techniques
Gently scraping ink from paper requires careful technique to avoid damaging the material. Use gentle scraping with a fine-grit sandpaper or a sharp craft blade, applying minimal pressure.
Keep the tool at a consistent, shallow angle to guarantee controlled removal of ink, which helps prevent surface abrasion or tearing. Work slowly, addressing small sections at a time to reduce the risk of paper damage.
After scraping, use a soft eraser to gently remove any residual particles, smoothing the surface and enhancing the overall appearance. Remember to test your technique on a scrap piece first to avoid unwanted damage.
- Use minimal pressure during scraping
- Maintain a shallow, consistent angle
- Focus on small sections for precision
Using Fine Sandpaper
Using fine sandpaper provides a controlled way to mechanically lift or fade ink from paper surfaces. Choose a fine-grit sandpaper, around 600-800 grit, and gently buff the inked area with light circular motions.
Apply minimal pressure to avoid damaging or thinning the paper, especially if it’s delicate or thin. Before you start, test the sanding on a small, hidden spot to see how well it removes ink and how the paper reacts.
Continue sanding gradually until the ink is noticeably faded or lifted. Once you’re satisfied, gently smooth the area with an eraser or clean cloth to blend any roughness.
Surface Burnishing Methods
Surface burnishing methods involve carefully manipulating the inked area to remove or lighten the ink without damaging the paper. This technique uses gentle abrasion to smooth the paper surface and reduce ink visibility.
To start, lightly scrape the ink with a sharp craft blade held at a shallow angle. Use minimal pressure to avoid tearing or weakening the paper surface.
After scraping the ink, lightly burnish the area with a spoon or rubber eraser. This helps smooth fibers and lessen surface roughness.
Always test the ink removal techniques on a small, inconspicuous spot first. Remember, excessive force or deep scraping can damage delicate paper surfaces.
Surface burnishing offers a controlled way to mechanically remove ink while preserving the integrity of the paper.
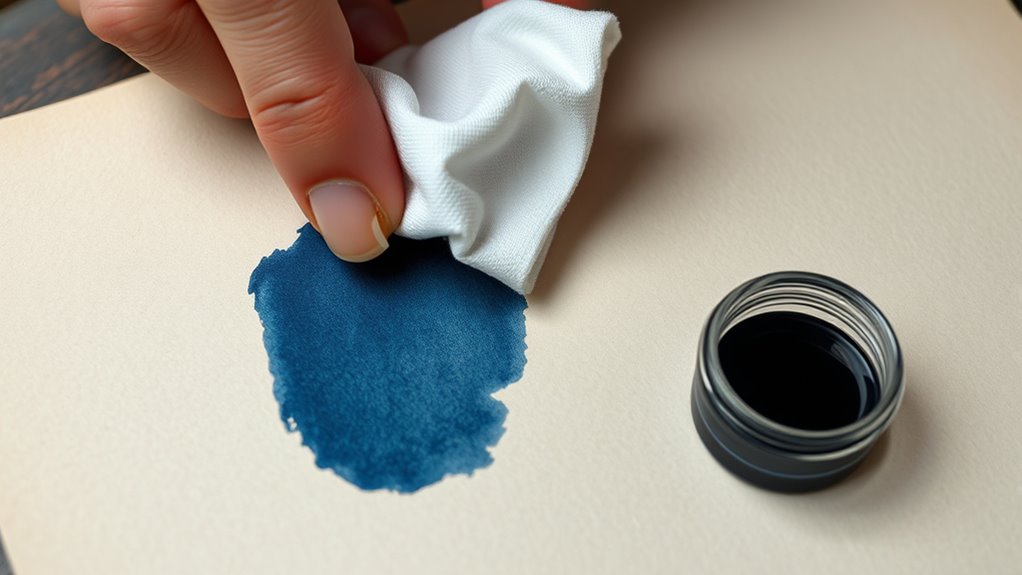
Using Chemical Solutions Like Rubbing Alcohol and Acetone Safely
When removing ink from paper with chemical solutions like rubbing alcohol or acetone, it’s important to handle these substances carefully to avoid damage. Use a damp cotton swab with a small amount of rubbing alcohol or acetone, making sure it’s not soaked.
Handle chemicals carefully and use a damp cotton swab to gently lift ink without damaging the paper.
This helps prevent excess liquid that could harm the paper. Gently dab the inked area from the edges inward, avoiding vigorous rubbing that might tear or warp the paper.
Immediately blot the area with a clean tissue or cloth to absorb the dissolved ink and stop it from spreading. Repeat this process carefully until the ink lifts, but don’t overuse the chemicals.
Let the paper dry completely flat before writing over it to prevent smudging or residual damage.
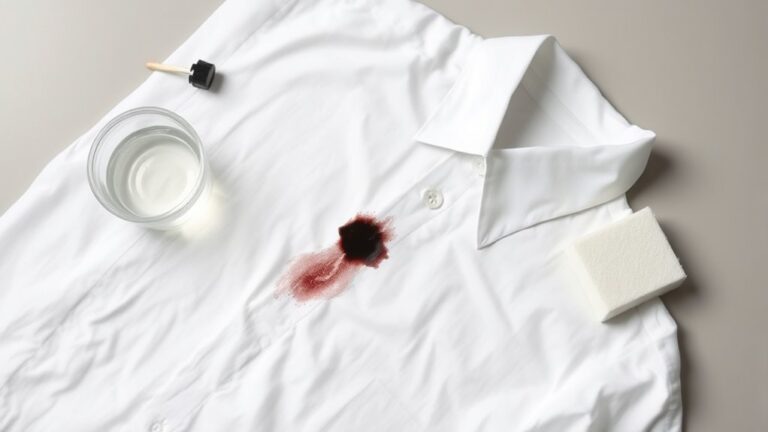
Natural Ink Removal Remedies With Household Items
Have you thought about using natural household items like lemon juice or baking soda to get rid of ink stains? These remedies work well for small, fresh ink marks on white, uncoated paper.
Lemon juice is a mild acid that can help dissolve certain types of ink when applied directly. Baking soda mixed with water makes a gentle abrasive paste that can lift light ink spots when you gently rub it on the paper’s surface.
Just remember to test these remedies on a hidden area first to avoid any damage or discoloration. Use a cotton swab to carefully dab lemon juice or baking soda paste onto the stain. Then gently blot with a clean cloth to remove any excess moisture.
Repeat the process if needed for better results.
When and How to Use Correction Tapes, Fluids, and Coverings
Correction tapes, fluids, and coverings work best when used quickly to hide small ink mistakes or bigger stubborn stains on your documents.
For small ink errors, correction tapes are great because they give quick, mess-free coverage on smooth, non-porous surfaces.
When using correction fluid, shake it well before applying a thin layer over the mistake. Make sure it dries completely before you write over it to avoid smudging or smearing.
Correction pens provide precise control for fine ink errors, making them ideal for detailed corrections.
Applying these products smoothly results in an even surface, ready for rewriting.
Always wait until the correction product dries fully before handling or adding new ink to prevent uneven surfaces or accidental smudging.
Removing Ink From Different Types of Paper Without Damage
Different types of paper require tailored approaches to remove ink without causing damage. For delicate paper, like coated or fragile surfaces, avoid mechanical methods like sanding or scraping, which can tear or warp the paper.
Instead, opt for correction tools like correction tape or fluid. These provide a gentle way to remove ink without harming the surface. Thin or fragile paper is especially sensitive and needs careful handling.
When dealing with various ink types, always test removal techniques on a small, hidden area first. This helps prevent any unintended damage.
Consider these tips: use correction tape or fluid for coated or fragile paper, avoid abrasive methods on delicate surfaces, and test before full removal.
Choosing the right method helps you preserve your paper while effectively removing ink.
Troubleshooting Difficult Ink Stains and Common Problems
When ink has deeply penetrated the paper fibers, removing it becomes much more challenging, especially on delicate surfaces. Using harsh mechanical methods can damage the paper, making stains worse or causing tears.
Always test removal techniques first and be cautious to avoid further damage.
Deep Ink Penetration
Have you ever noticed how some ink stains seem impossible to remove because they have seeped deep into the paper fibers? Deep ink penetration happens when ink seeps into the porous fibers of paper, making removal really tough. Fountain pen and gel inks are especially prone to this, so surface treatments often don’t work well.
Chemical solvents like acetone or alcohol might lighten the stain but rarely erase it completely once the ink has deeply infiltrated the fibers. Thicker, high-quality paper can resist penetration better, but delicate or thin paper allows ink to soak through quickly.
To handle deep ink infiltration, try to act quickly with removal techniques right after ink is applied. Recognize that chemical solvents have their limits in fully erasing deeply penetrated ink. Sometimes, it’s better to focus on lightening the stain rather than trying to remove it completely.
Paper Surface Damage
Attempting to remove stubborn ink stains can sometimes cause additional damage to the paper surface, especially if aggressive techniques are used. Using abrasive tools like sandpaper or blades improperly can lead to tearing or pitting, which makes things worse.
Coated or glossy papers are particularly vulnerable to damage from chemical solvents and mechanical removal methods. These can weaken the paper fibers and cause fraying or holes.
Excessive rubbing or scraping not only damages the surface but also harms the overall integrity of the paper itself. Applying correction fluids or tapes over already compromised areas may make surface irregularities worse or cause peeling.
Always test your removal techniques on a hidden part of the paper first. This helps prevent further surface damage and preserves the document’s overall integrity.
Tips to Prevent Ink Errors and Choose Ink-Friendly Paper
Choosing the right paper and using careful writing techniques can significantly cut down on ink errors. Opt for ink-friendly paper like smooth, coated, or thicker options to prevent ink bleed and absorption, making it easier to correct mistakes.
Use pens with controlled ink flow, such as fine-tip gel pens or ballpoints, to help minimize unintended marks. Practice steady, deliberate strokes to avoid smudges or over-application.
Before writing on important documents, test your inks and pens on a small, hidden area. This helps identify any issues before you start your main work.
Setting up your workspace properly and writing slowly and focusfully can also help prevent mistakes. Keep these tips in mind:
- Choose high-quality, ink-friendly paper for better control
- Use pens with controlled ink flow
- Test inks before starting your main writing
These simple steps can help you prevent ink errors effectively.
Combining Methods for Challenging Ink Spots
When dealing with stubborn ink spots, combining multiple removal methods often gives the best results. You might start with gentle mechanical removal, like light sanding or an ink eraser, to lift some ink without damaging the paper.
Next, apply a small amount of chemical solvent such as acetone to loosen the ink further. Afterward, use correction tape to cover any residual ink, making the surface look cleaner.
Apply a small amount of acetone to loosen ink, then cover residual marks with correction tape for a cleaner look.
Using an ink eraser, then a correction pen, and finishing with correction tape can target different ink components and minimize traces. Always test each method on a hidden corner first to avoid extra damage.
These combined techniques help optimize ink removal and can give your paper a professional, clean look.
Safety Tips and How to Test Tools Before Large-Scale Removal
Before using any ink removal tool or chemical on your paper, it’s important to test it first in a small, hidden area. This helps prevent damage and makes sure the method is safe for your specific paper and ink.
Use a gentle, controlled application—like lightly dabbing with a cotton swab or eraser—to see how the paper responds. Remember to test in a small area to limit the risk.
Apply with gentle pressure and wait for the ink to dry before checking for any adverse effects. This way, you can see if the method works without harming your document.
Keep a record of your testing results. Doing this helps you determine if the method is safe and effective without risking damage to your paper. This careful approach saves you time and preserves your document’s integrity.
Final Tips for Clean Corrections and Preserving Paper Quality
To achieve clean corrections and preserve your paper’s quality, handle correction tools with care and patience. Use gentle, controlled pressure when applying correction fluids or tapes to avoid damaging delicate or thin paper fibers.
Always let correction products fully dry before handling or writing over them. This helps prevent smudging or uneven surfaces.
Testing correction methods on a small, inconspicuous area first can help ensure they won’t cause discoloration or warping, maintaining the paper’s integrity.
For stubborn ink stains, try combining covering techniques with gentle cleaning or light sanding. Regularly maintain your correction tools by replacing worn erasers or reapplying correction tapes.
This keeps your corrections precise and helps preserve your paper’s quality over time.
Frequently Asked Questions
How to Perfectly Remove Ink From Paper?
To perfectly remove ink from paper, start by testing your method on a small, hidden area first. It’s always better to be safe before working on the visible part.
Use a fine eraser or correction pen for small mistakes. Dab lightly with acetone or rubbing alcohol using a cotton swab for more stubborn ink.
For tougher spots, gently scrape with a razor blade or fine sandpaper, but work carefully so you don’t tear the paper.
Let any corrections dry completely to ensure a clean, seamless finish.
How to Remove Ink From Paper at Home Without Acetone?
To remove ink from paper at home without acetone, try using natural solutions like diluted lemon juice or a baking soda paste.
Apply lemon juice with a cotton swab to gently fade the ink, or rub a baking soda paste onto the stain carefully. Always blot with a damp cloth afterward to lift residues.
Let the paper dry completely before handling. These methods work best on light, fresh ink stains and delicate paper.
Can Lemon Juice Remove Ink From Paper?
Think of lemon juice as a gentle eraser for ink stains. Yes, it can lighten or partially remove ink from paper, especially fresh, water-based inks.
You should dab a tiny amount with a cotton swab, avoiding rubbing to prevent damage. Always test first on a hidden spot, and remember, patience is key.
Lemon juice works best when used delicately and gradually.
What Removes Ink Easily?
You can easily remove ink using rubbing alcohol or isopropyl alcohol, which dissolves ink when dabbed gently with a cotton swab.
Commercial ink erasers and correction pens are also quick and effective, offering clean removal with less risk to the paper.
For light stains, applying lemon juice or a baking soda paste can lighten ink naturally. Just remember to test any method on a small area first to prevent damage.
Conclusion
By following these step-by-step methods, you can confidently remove ink without damaging your paper. Don’t worry if it seems tricky—think of it like gently lifting a stubborn stain, keeping the paper’s integrity intact.
With patience and the right tools, you can turn a frustrating ink mishap into a clean, neat result. Every mistake is just a chance to learn and improve your technique.
Remember, practice makes perfect. Keep experimenting until you get the hang of removing ink effectively, especially when using the best methods to remove ink from paper.