How to Clean Ink From Your Dryer
Dealing with ink stains on your dryer can be frustrating, and you’re not alone in facing this common laundry mishap. Many people struggle with removing stubborn ink marks, hoping to restore their appliance’s appearance without costly repairs or replacements.
Luckily, there are simple ways to tackle this problem effectively.
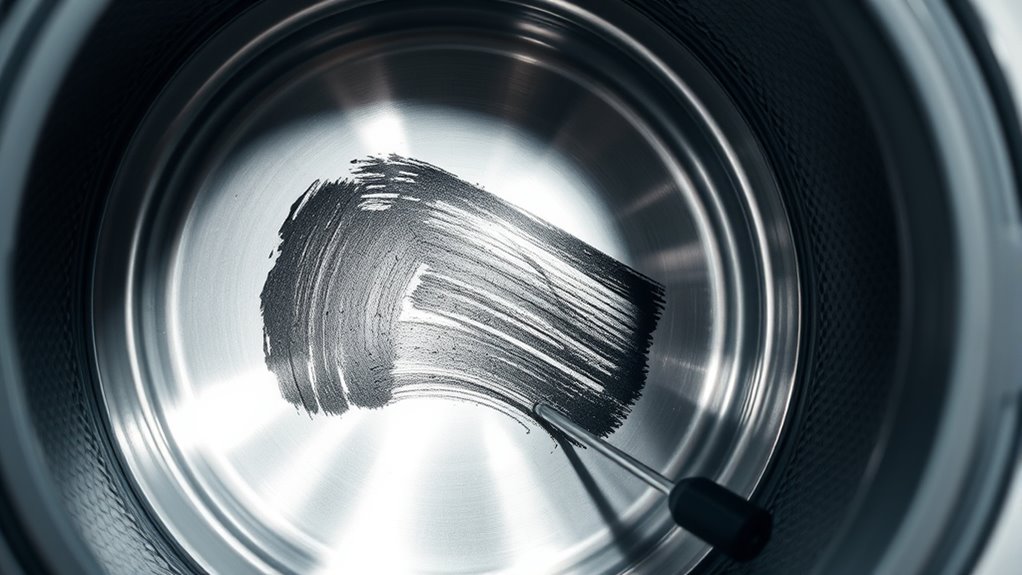
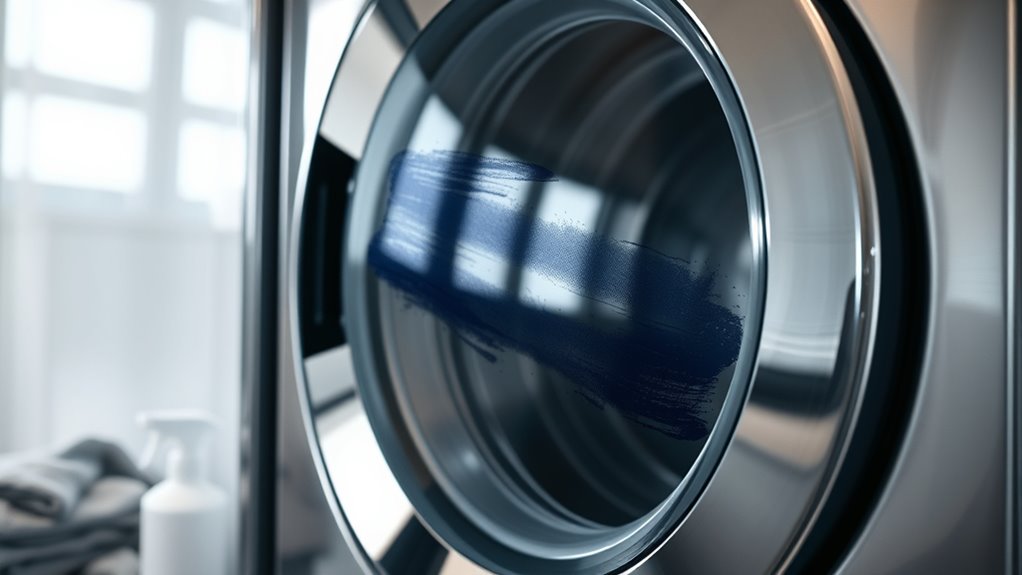
To clean ink from your dryer, start by unplugging it and running a hot cycle to loosen stains. Wipe the drum with a damp cloth, then apply household solutions like dish soap, baking soda, or vinegar on stained areas.
For tougher ink, use rubbing alcohol or nail polish remover carefully, testing on hidden spots first. Avoid harsh abrasives to prevent damage.
If stains persist, there are more tips to help you restore your dryer—continue on to learn those methods.
Key Takeaways
- Unplug the dryer and run a hot cycle for at least 20 minutes to help loosen up the ink stains.
- After that, wipe the drum with a damp cloth or try using a gentle household cleaner like vinegar or baking soda.
- For those stubborn ink spots, dab some rubbing alcohol or nail polish remover onto a cloth and gently scrub the affected areas.
- Before applying any chemicals fully, test them on small, hidden spots first. This way, you can avoid any potential damage.
- Make it a habit to regularly inspect and clean the dryer drum. This helps prevent ink buildup and keeps your dryer stain-free.
Why Do Ink Stains Appear in Your Dryer?
Have you ever wondered why ink stains suddenly appear inside your dryer? It often happens when laundry items with ink or pen marks aren’t fully cleaned beforehand.
When you dry these items, the heat from the dryer causes the ink to transfer from the fabric onto the dryer drum or paddles. Pockets left unchecked during laundry can contain pens or markers that burst open in the heat, spreading ink everywhere.
Re-drying fabrics with ink on them also makes the stains worse. The heat sets the ink, making it stick more firmly to the dryer’s surfaces. Over time, this makes the stains more difficult to remove.
Prepare Your Dryer Before Cleaning
Before cleaning, make sure to unplug your dryer to stay safe.
Set it to a hot cycle for at least 20 minutes to warm the drum and help loosen the ink stains.
Once it’s done, wipe the drum with a damp cloth to remove any softened ink.
Check that it’s dry and stain-free before using it again.
Unplug Before Starting
To guarantee your safety, always disconnect the dryer from the electrical outlet before starting any cleaning. Unplugging the appliance prevents accidental activation and reduces the risk of electrical shock.
Once unplugged, wait at least five minutes to allow any residual electrical charge to dissipate, ensuring an added layer of safety. Never work on the dryer while it’s still plugged in, as this increases the chance of injury.
Confirm that the dryer is completely unplugged before accessing the drum or internal components for cleaning. Taking this simple step safeguards you during the cleaning process and minimizes potential hazards.
Warm Drum Effect
Warming up the drum is a simple yet effective step before trying to remove ink stains. Turn on your dryer to a warm setting and run it for at least 20 minutes. This helps soften the ink stains, making cleaning easier.
The warmth causes the ink to become more pliable, so it’s easier to wipe away with a damp cloth. Preheating the drum also loosens any residual ink, reducing the need for harsh chemicals.
Be sure to verify the drum reaches an appropriate temperature to avoid damaging the surface. Warming the drum properly makes cleaning more efficient and helps prevent ink from transferring onto future loads.
This step sets the foundation for a successful and thorough cleaning process.
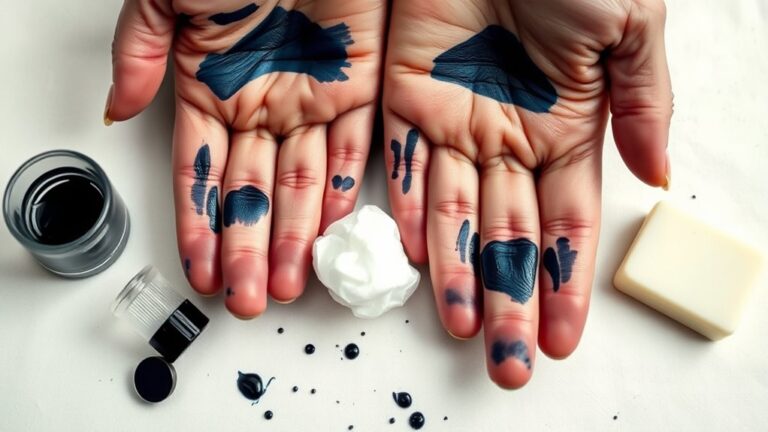
Use Household Items to Remove Ink Stains
Household items can be surprisingly effective for removing ink stains from your dryer. To clean the drum, start by applying a small amount of dish soap, baking soda, or white vinegar directly onto the stain.
These household items help break down and lift ink residues. For tougher stains, dab rubbing alcohol or nail polish remover onto a cloth and gently work on the ink spot, dissolving the stain.
You can also use a Magic Eraser or a damp cloth soaked in soapy water, like Dawn, to physically scrub away ink marks from the enamel surface. Moreover, freezing stubborn ink with ice cubes makes it easier to remove with simple tools like a putty knife or cloth.
Regularly using these household solutions helps prevent ink buildup and keeps your dryer clean.
Safe Chemical Methods to Clean Ink From Your Dryer
When using chemicals like acetone or bleach, always unplug your dryer and test a small area first to prevent damage.
Acetone can dissolve ink on enamel surfaces, while a diluted bleach solution can safely whiten the drum if used carefully.
Rubbing alcohol and natural options like vinegar also work, but make sure to follow safety precautions and rinse thoroughly afterward.
Using Acetone Safely
Using acetone safely is essential to avoid damaging your dryer’s surface or risking health hazards. Acetone, found in nail polish remover, effectively breaks down ink stains on your dryer.
Before applying, test it on a small, inconspicuous area of the drum to guarantee it won’t harm the enamel. Use a soft cloth or cotton ball soaked in acetone to gently rub the ink stain, avoiding excessive scrubbing that could scratch the surface.
Always work in a well-ventilated area to prevent inhaling fumes, as acetone is highly flammable and volatile. After cleaning, wipe the area with a damp cloth to remove any residue and prevent chemical buildup.
Following these precautions helps you safely use acetone without damaging your dryer or compromising your health.
Bleach Application Precautions
Applying bleach to clean ink stains from your dryer needs some caution to avoid damaging the appliance. Always dilute the bleach with water in a 1:1 ratio and soak a towel before applying it, especially on the enamel surface. This helps prevent harsh chemicals from harming the finish.
To use bleach safely, never put undiluted bleach directly on the dryer’s enamel. Make sure to wear gloves and unplug the dryer before applying the solution.
Run the dryer on a warm or hot setting with a bleach-soaked towel inside for about 20 minutes. Afterward, rinse and clean the drum thoroughly with fresh water to remove any residue.
Following these simple precautions will protect your dryer while effectively removing ink stains.
Natural Alternatives With Vinegar
Instead of relying solely on chemical solutions like bleach, natural alternatives such as vinegar can effectively clean ink stains from your dryer. White distilled vinegar acts as a natural solvent that helps break down ink residues.
To use it, soak a clean cloth or sponge in vinegar and gently wipe the stained areas of the drum. This method loosens ink stains without damaging the enamel surface.
After applying vinegar, wipe the drum with a damp, clean cloth to remove any leftover ink particles and vinegar residue. Regular use of vinegar for cleaning helps keep your dryer stain-free and safe.
It also offers a chemical-free alternative that keeps your dryer clean and odor-free while avoiding harsh chemicals.
How to Use Specialty Products for Tough Ink Stains
When dealing with stubborn ink stains on your dryer, specialty products like commercial ink stain removers or enzyme-based cleaners can be really effective. These are designed to break down tough ink stains and remove chemical residue without harming the surface.
To get the best results, follow these simple steps:
Apply the cleaner, wait a few minutes, then gently scrub for best ink stain removal results.
First, apply a small amount of Goo Gone or a similar solvent directly to the ink stain. Let it sit for a few minutes to loosen the stain. Then, gently scrub with a soft cloth or sponge, avoiding abrasive tools.
Always test the product on a small, hidden area first to prevent any damage. After cleaning, wipe with a damp cloth to remove any remaining residue and make sure your dryer is clean and safe to use again.
Best Practices for Cleaning and Maintaining Your Dryer Drum
To keep your dryer working well and prevent stains from spreading, it’s important to regularly check and clean the dryer drum. This routine helps stop ink stains from building up and transferring to your laundry.
When cleaning, use gentle agents like dish soap, rubbing alcohol, or a Magic Eraser to remove ink without harming the enamel surface. Stay away from abrasive cleaners or scrubbing tools that could scratch or damage the drum.
After cleaning, wipe the dryer drum thoroughly with a damp, clean cloth to remove any leftover chemicals. Routine maintenance also means checking pockets and quickly cleaning up ink or stain spots.
These simple tips help keep your dryer drum in good shape, reduce future ink stain problems, and keep your dryer running at its best.
Troubleshooting Common Challenges During Ink Removal
Removing stubborn ink stains from your dryer can be tricky, especially when they resist basic cleaning methods. These stains often embed into the enamel surface, making them harder to remove.
You might find yourself facing challenges like difficult access to the back of the drum, which limits your cleaning reach. There’s also the risk of damaging the enamel surface when using abrasive tools like a Magic Eraser.
Chemical agents like acetone or bleach can cause surface discoloration or damage, so use them with caution. To troubleshoot, start with gentle methods like diluted vinegar or a specialized cleaner.
Avoid applying excessive force with abrasive tools, and always test chemicals on a small, hidden area first. Persistent stains may stubbornly linger but usually won’t affect the dryer’s function.
Patience and careful cleaning are key to successfully removing ink stains from your dryer.
When to Seek Professional Help or Consider Replacement
If ink stains stick around even after trying to clean them several times or if they’ve caused serious damage to the enamel, it’s time to get professional help.
You should also seek expert advice when you notice big damage or problems with how the dryer works, like uneven drying or mechanical issues. If fixing the stains costs nearly as much as buying a new dryer, replacing it might be the smarter choice.
Consider professional repair if the stains are deep and don’t come out easily. And avoid using harsh chemical cleaners that could harm the enamel or electrical parts.
Final Tips for Preventing Ink Stains in Your Dryer
Preventing ink stains before they happen is the best way to keep your dryer looking its best. Always check and empty pockets before drying to avoid ink or paint transferring to the drum.
Regularly inspect the drum for ink spots and clean them promptly to prevent buildup and future staining. Using a protective liner or bag for items with ink or paint can also help reduce the risk of staining the interior.
Educate household members to avoid placing items with fresh ink or pen marks in pockets. Schedule routine cleaning of the dryer drum to quickly remove any ink residues.
Frequently Asked Questions
What Removes Ink in a Dryer?
To remove ink from your dryer, start with a Magic Eraser to gently lift the stain without damaging the surface.
If needed, apply rubbing alcohol or acetone directly onto the stain to break down the ink, then wipe clean.
For stubborn spots, a small amount of Goo Gone can help.
Always finish with a damp cloth to remove residue, ensuring your dryer stays clean and odor-free for your laundry.
Does Dawn Soap Remove Ink?
Yes, Dawn dish soap can help remove ink from your dryer. Its grease-cutting properties break down ink stains, especially when mixed with warm water for gentle scrubbing.
While it works well on fresh stains, dried ink might need extra treatments like vinegar or a Magic Eraser. Starting with Dawn softens the ink, making it easier to wipe away.
For stubborn stains, try combining methods for better results.
Can a Dryer Be Cleaned if an Ink Pen Breaks?
Yes, your dryer can be cleaned if an ink pen breaks—no need to panic or buy a new one! Just act quickly and carefully.
First, unplug the dryer. Then gently wipe away the ink using a magic eraser, rubbing alcohol, or vinegar solution.
For stubborn stains, a little acetone on a soft cloth works really well. Regular cleaning helps keep your dryer looking clean and working properly!
What Dissolves Ballpoint Pen Ink?
You can dissolve ballpoint pen ink using acetone or rubbing alcohol. These solvents break down the ink’s dye and oil components, making it easier to wipe away.
White vinegar mixed with baking soda creates a gentle reaction that lifts ink stains. Commercial stain removers are also effective, especially those containing solvents.
For stubborn ink, applying a small amount of hydrogen peroxide can help break down the pigments and make cleaning easier.
Conclusion
Remember, even bright ink marks can fade with a little patience and care. Handling stains gently not only restores your dryer’s appearance but also helps preserve its longevity.
Sometimes, a delicate touch is all you need to keep your appliance’s spirit shining. Trust your instincts and don’t hesitate to seek help if the task feels too overwhelming.
With time and attention, your dryer can continue to serve you quietly, like a trusted friend, especially when you focus on removing ink stains effectively.