8 Steps to Remove Ink From Your White Shirt
Many people struggle with removing ink stains from their white shirts. It can be frustrating to see that once-pristine garment now marked with a stubborn ink spot. Don’t worry—you’re not alone, and with the right approach, you can restore your shirt’s clean look.
To remove ink from your white shirt, start by identifying the ink type and acting quickly to prevent it from setting deeper. Gently blot the stain with a clean cloth and soak dried ink in cold water if needed.
Test your stain remover on hidden fabric spots first.
Apply the right removal method—water-based or permanent ink—carefully, then rinse and pre-treat before washing at the proper temperature.
Make sure the stain is dry and fully treated to prevent it from becoming permanent.
If you continue, you’ll learn more detailed tips and techniques.
Key Takeaways
- Act quickly by blotting fresh ink with a clean cloth to prevent it from setting deeper into the fabric.
- Test a suitable stain remover, whether water-based or alcohol-based, on a hidden area first. This way, you can make sure it won’t damage your shirt.
- Gently apply the remover to the stain, then rinse thoroughly with cold water.
- Wash the shirt in the hottest water safe for the fabric. This helps to remove any remaining ink residues.
- Let the shirt air dry completely. Make sure the stain is gone before applying heat to prevent the ink from setting in.
Understand Different Types of Ink and Their Removal Challenges
Understanding the different types of ink and their removal challenges is key to effectively treating stains on your white shirt. Water-based inks are easier to remove because they dissolve in water, making cleaning simpler.
Knowing ink types helps you choose the right stain removal method for your white shirt.
In contrast, permanent ink contains resins and dyes that resist water and need stronger solvents. Dried ink stains are harder to remove because the ink sets into fabric fibers over time, making removal more difficult.
Different ink types like ballpoint, fountain pen, or marker ink have unique compositions that influence your approach. Ink penetration into fabric fibers also affects how stubborn a stain becomes.
Prompt treatment is essential; once ink dries into the fabric, it becomes much harder to lift with household methods, especially with permanent or alcohol-based inks.
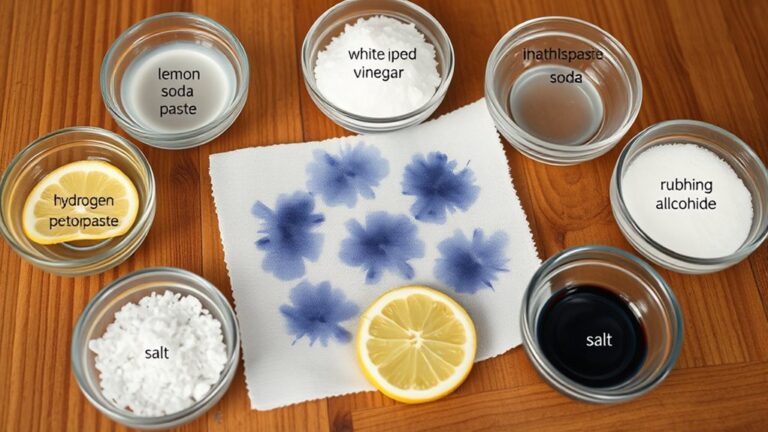
Test Your Ink Remover on Hidden Areas First
Test your ink remover on a small, hidden spot first to see if it causes any color changes or damages the fabric. Use a cotton swab or cloth to gently dab the area.
Wait at least five minutes to check for any changes before proceeding. Make sure the fabric still looks and feels the same before applying the remover to the stain.
Check Fabric Colorfastness
Before applying any ink remover to your white shirt, it’s important to test it on a hidden area first. This helps you check your fabric’s colorfastness and avoid unexpected discoloration or damage.
Use a small amount of the solution on an inconspicuous spot that matches the fabric type and color. Apply with a clean cloth or cotton swab, then wait at least 5 minutes.
During that time, watch for reactions like fading, bleeding, or fabric deterioration. To choose the best spot, consider these options:
| Inconspicuous Area | Fabric Type | Reaction to Watch For |
|---|---|---|
| Inside hem | Cotton or linen | Discoloration or fading |
| Under collar | Similar fabric color | Bleeding or fabric softening |
| Inside seam | Slightly different | Fabric weakening |
This simple test helps protect your shirt before you start working on the stain.
Use Small Hidden Spot
Start by applying a small amount of your chosen ink remover to a hidden spot on your shirt, like inside the collar or hem. Doing this test helps you see how the fabric reacts without risking visible damage.
Use a small area to avoid applying too much solution at once. Gently dab the solution with a cotton swab or cloth.
Wait 5-10 minutes to check for any color change or damage to the fabric. Make sure the texture and color stay the same before treating the visible stain.
Performing this small test in an inconspicuous spot is important to prevent bigger damage. It also ensures the remover is safe for your shirt.
This step helps you avoid unexpected fabric issues and makes sure the stain treatment works effectively.
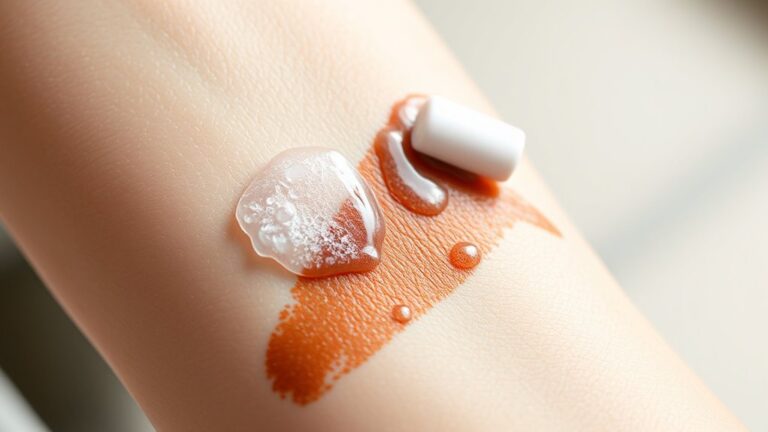
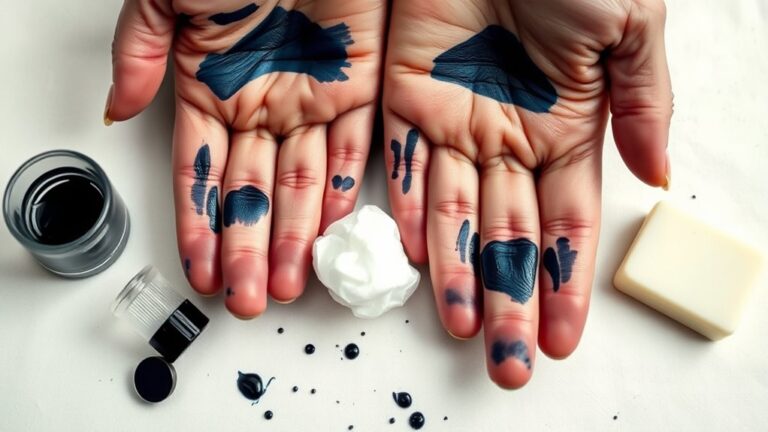
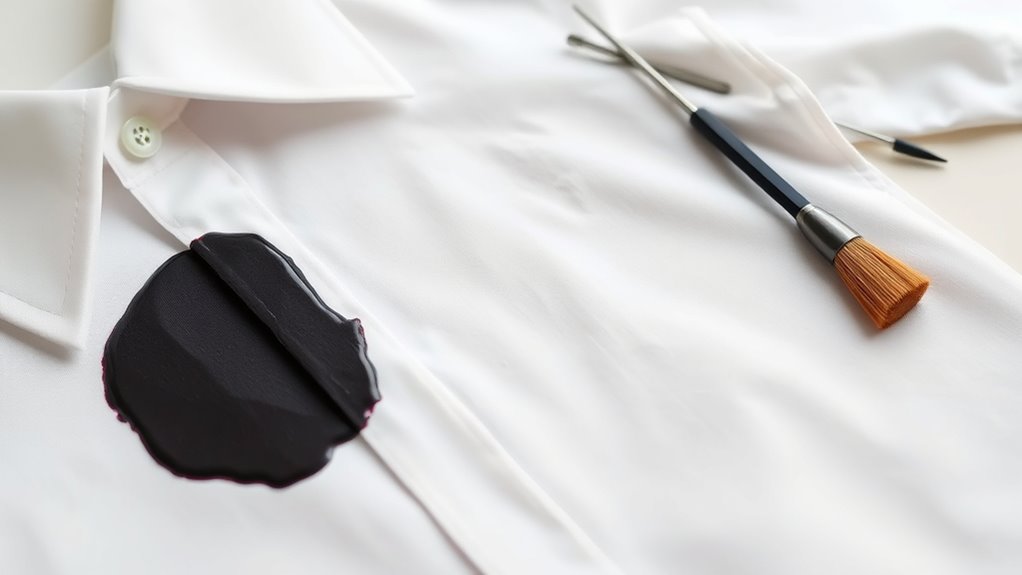
Gently Blot and Absorb Ink Before Treatment
Start by using a clean, dry cloth or paper towel to gently blot the ink stain. Be careful not to rub. Work from the outside of the stain inward to contain it.
Remove excess ink quickly to prevent it from setting deeper. Remember, don’t press too hard or scrub, as that can push the ink further into the fabric.
Use Clean, Dry Cloth
When you spot a fresh ink stain on your white shirt, gently blot the area with a clean, dry cloth to soak up as much ink as possible. This step helps prevent the stain from spreading and pushes the excess ink away from the fabric’s surface.
Use a different part of the cloth for each blot to avoid reapplying ink. Be careful not to press too hard, as this can push the ink deeper into the fabric fibers, making it harder to remove.
Keep blotting until no more ink transfers onto the cloth. This ensures the fabric is as free from excess ink as possible and prepares it for more effective stain removal.
Taking this careful step minimizes damage to your shirt and sets the stage for successful cleaning.
Blot Gently, Avoid Rubbing
After blotting with a dry cloth to remove excess ink, it’s important to proceed carefully before applying any stain removal.
Gently blot the stain with a paper towel or soft cloth, using a light dabbing motion. Avoid rubbing, which can push the ink deeper into the fabric fibers and make removal harder.
Blot from the outside edges toward the center to prevent spreading. Here’s a quick guide:
| Step | Action | Purpose |
|---|---|---|
| Gently blot | Lightly press with a paper towel | Absorb ink without spreading |
| Avoid rubbing | Use soft dabbing motion | Prevent ink from penetrating further |
| Blot from outside | Work inward toward the center | Contain the stain |
| Air dry | Let the fabric dry naturally | Assess remaining stain |
| Wait before treatment | No immediate cleaning | Avoid embedding ink further |
This careful approach helps set the stage for successful stain removal.
Remove Excess Ink Quickly
Have you noticed fresh ink on your white shirt? Acting quickly helps remove the excess ink before it sets.
Start by gently blotting the stain with a clean paper towel or cloth to lift the wet ink without spreading it further.
Avoid rubbing or scrubbing, as this can push the ink deeper into the fabric fibers. To absorb more fresh ink, sprinkle a dry, absorbent material like cornstarch or salt directly onto the stain.
Carefully press a clean cloth or paper towel around the edges of the stain to prevent it from spreading. By acting immediately, you give yourself the best chance to remove the ink stain effectively.
Choose the Right Ink Removal Method for Your Fabric
Choosing the right ink removal method depends on whether the stain is water-based or oil-based, since each needs a different approach. For water-based ink, soaking in a water and mild detergent solution or oxygen bleach works well.
For oil-based or permanent ink, alcohol-based solutions like rubbing alcohol or hand sanitizer are effective. Just be careful not to use them on delicate fabrics. Always test the method on a hidden part of your shirt first to avoid damage or discoloration.
| Ink Type | Recommended Solution | Fabric Type |
|---|---|---|
| Water-based ink | Water and detergent or oxygen bleach | Durable fabrics |
| Oil-based ink | Alcohol-based solutions | Non-delicate fabrics |
| Water-soluble inks | Soak and wash | All fabrics |
| Permanent inks | Professional or gentle methods | Delicate fabrics |
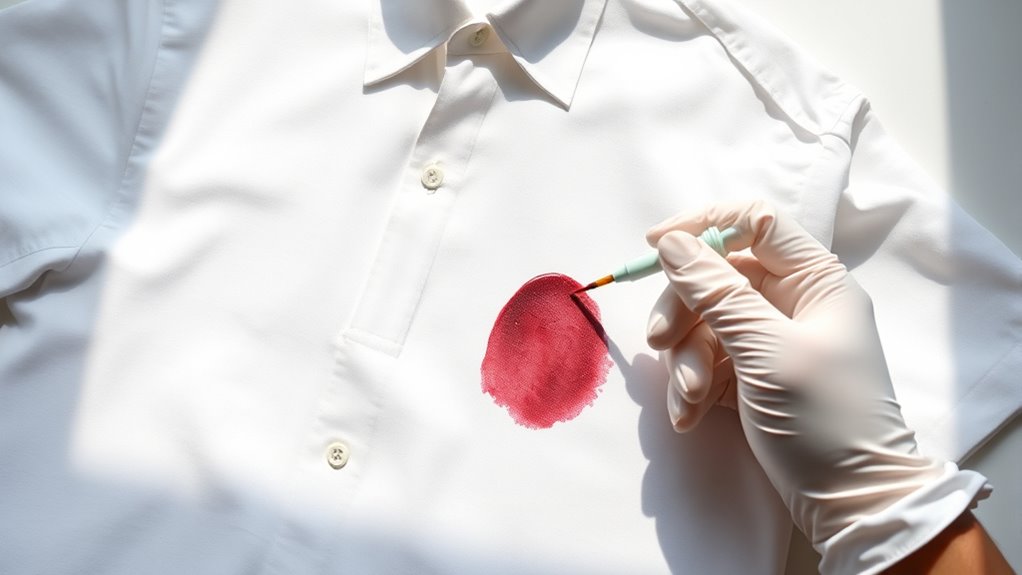
Apply a Suitable Ink Remover Safely and Effectively
Before applying any ink remover, it’s important to test it on a hidden part of your white shirt first. This helps make sure it won’t cause discoloration or damage. Once you’re confident it’s safe, follow these steps:
Always test ink remover on a hidden area first to prevent damage or discoloration.
Gently dab the ink remover onto the stain using a cotton swab or soft cloth. Be careful not to rub too hard, as that could damage the fabric.
Use a product made specifically for ink removal, like rubbing alcohol or a commercial stain remover. Always follow the instructions on the care label.
Let the remover sit on the stain for a few minutes to help loosen the ink. Then rinse thoroughly with cold water before washing the shirt on the hottest cycle safe for the fabric.
Rinse and Pre-Treat to Boost Stain Removal
Rinsing the stained area with cold water immediately after an ink spill helps dilute the ink and prevent it from setting deeper into the fabric. Gently blot or dab the stain with cold water using a clean cloth or sponge to lift excess ink without spreading it. This step makes it easier to remove the stain later.
Before applying any stain remover, pre-treat the area with a suitable stain remover or a mixture of dish soap and water. Be sure to test it on a hidden part of the shirt first to avoid discoloration or fabric damage.
For dried ink, soak the shirt in cold water for 15-30 minutes to loosen the stain. Proper rinsing and pre-treatment greatly improve your chances of successfully removing the ink.
Wash at the Correct Temperature for Your Fabric Type
After pre-treating and rinsing the stain, choosing the right water temperature is essential to prevent the ink from setting further into your white shirt. The correct temperature also helps take better care of your fabric and improves stain removal.
First, check the care label to confirm the safe washing temperature for your shirt. This step ensures you don’t accidentally damage the fabric.
Use hot water for water-soluble ink stains on sturdy fabrics like cotton. Hot water is effective at breaking down and removing these stains.
For delicate fabrics such as silk or wool, opt for cold water. Cold water helps avoid damage and keeps your delicate shirts looking their best.
Always rinse with the appropriate temperature to prevent ink from setting and to help preserve your white shirt’s quality.
Choosing the right water temperature guarantees better stain removal while protecting delicate fabrics, leaving your white shirt looking fresh and clean.
Check the Stain and Dry Properly to Prevent Set-In Ink
Have you checked whether the ink stain is fresh or dried? Knowing this helps you figure out the best way to treat the stain effectively.
Check if the ink stain is fresh or dried to determine the best treatment method.
If it’s fresh, gently blot the stain with a clean, dry cloth or paper towel. This removes excess ink without spreading it or pushing it deeper into the fabric.
Once you’ve blotted, let the shirt air dry completely before trying to treat the stain further. Avoid using a hairdryer or any heat source because heat can cause the ink to set in, making it harder to remove later.
Make sure the entire stain is dry before applying any stain removal products. Proper drying prevents the ink from spreading or setting further into the fabric and improves your chances of successfully removing the stain.
Frequently Asked Questions
What Removes Ink From a White Shirt?
You can remove ink from a white shirt by applying rubbing alcohol directly onto the stain with a clean cloth. Gently blot and let it sit for a few minutes.
Rinse with cold water and then wash the shirt. For stubborn stains, spray Max Force and let it sit.
To restore whiteness, soak the shirt in OxiClean White Revive before washing. Always test first to avoid damage.
Does Dawn Soap Remove Ink?
Yes, Dawn soap acts like a knight battling ink stains. Its grease-cutting power dissolves oil-based inks, making it effective on fresh marks.
You apply a small amount directly, gently rub, then rinse thoroughly before washing. Keep in mind, dried or stubborn stains may need extra treatments.
Always test on a hidden spot first to prevent any fabric damage, ensuring your white shirt remains pristine.
Can You Wash Ink Out of a White Shirt?
Yes, you can wash ink out of a white shirt, especially if the stain is fresh. Promptly treating the stain with alcohol-based solutions like rubbing alcohol or hand sanitizer can improve your chances.
Use hot water if the care label permits, and wash the shirt thoroughly. Keep in mind, stubborn or dried ink stains may require multiple treatments or special stain removers for complete removal.
What Removes Dried Pen Ink?
To remove dried pen ink, start by applying rubbing alcohol or isopropyl alcohol directly onto the stain. Gently dab or blot the ink, then let it sit for a few minutes.
For stubborn stains, try using a commercial stain remover like OxiClean Max Force or soak the shirt in oxygen-based bleach solutions. Just remember to always test on a hidden area first to avoid damage or discoloration.
Conclusion
Think of your white shirt as a delicate canvas, where each step you take is like guiding a gentle brushstroke away from stubborn ink. With patience and care, you’re painting a fresh start—blotting, testing, and rinsing—until the stain fades like a distant storm.
Trust the process, and your shirt will emerge once again pure and bright, ready to face new adventures. Your careful craftsmanship restores its pristine beauty, just like removing ink stains from your white shirt.