DIY Guide to Make Alcohol Ink at Home
Many craft enthusiasts want to create beautiful alcohol ink artworks at home but often feel overwhelmed by the process or unsure where to start. You’re not alone—making your own alcohol ink can seem complicated at first, but it’s actually quite doable with a few simple steps.
To make alcohol ink at home, start by disassembling felt-tip markers using craft pliers to access the ink inside. Soak the felt cores in high-percentage rubbing alcohol, then squeeze out or carefully cut open the ink tubes to extract the dye.
Store your homemade ink in small bottles, shake well before use, and experiment with mixing it with mica powders or dyes for vibrant effects. If you want to master different techniques and tips, investigate further for more details.
Key Takeaways
- Disassemble felt-tip markers and soak the felt cores in rubbing alcohol to extract vibrant ink for your DIY alcohol ink.
- Once the felt is soaked, strain the mixture and transfer the extracted ink into small, sealed bottles. This makes storage and application super easy.
- Want to get creative? Mix your homemade ink with high-quality mica powder or dyes to customize colors. You can also add shimmer effects for extra flair.
- Use your DIY ink on non-porous surfaces like Yupo paper, ceramic tiles, or resin. These surfaces really make the colors pop and create beautiful marbled designs.
- Be sure to shake the bottles well before use. Store your ink in airtight containers to keep it fresh, and clean your tools with alcohol to maintain their quality.
What Are Alcohol Inks and Why Use Them in Crafts?

Alcohol inks are vibrant, fast-drying dyes dissolved in alcohol, making them perfect for creating translucent, colorful designs. They’re highly pigmented, offering intense color that really pops on different surfaces.
You’ll love how easily alcohol inks flow and blend, letting you layer colors and achieve marbled or gradient effects effortlessly. Their fluidity makes them great for artistic projects like abstract art, decorative objects, and mixed media crafts.
When you make your own alcohol inks, it’s a budget-friendly way to customize colors and effects without relying only on store-bought options. Their quick-drying nature means you can work fast and see results almost immediately.
Essential Supplies and Tools for Making DIY Alcohol Ink
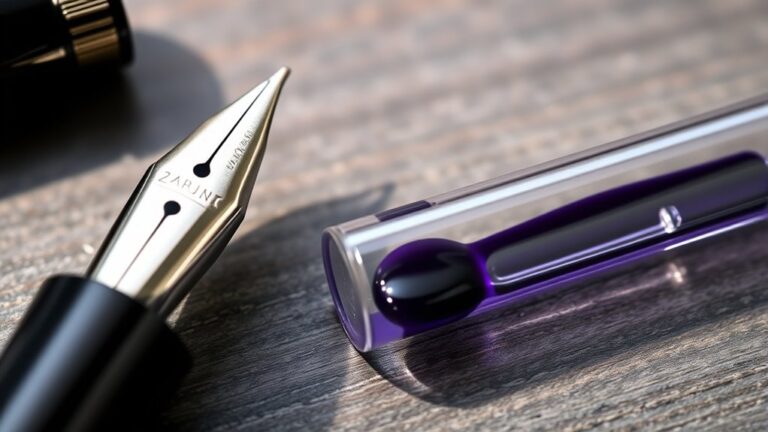
To create your own alcohol ink at home, you’ll need a few essential supplies and tools to get started. Felt tipped markers are vital because you’ll disassemble them to extract the ink.
Use craft pliers to carefully open the markers and access the felt inside. Once disassembled, cut the felt tips into small pieces and soak them in rubbing alcohol (91% or higher) to release the ink.
You’ll also need small plastic bottles or containers to store your DIY ink, as well as spray or applicator bottles for easy use. Safety equipment like disposable gloves is recommended when handling strong alcohol and dye.
Working in a well-ventilated area guarantees safety during the process. These supplies form the foundation for making your own vibrant alcohol inks at home.
How to Extract DIY Alcohol Ink From Markers?
To extract alcohol ink from markers, carefully disassemble the marker to access the felt core. Remove and cut the felt into smaller pieces, then soak them in rubbing alcohol to draw out the ink.
Once the ink is released, strain the solution and transfer it to a clean bottle for your DIY projects.
Disassemble Markers Carefully
Before you start extracting ink, it’s important to disassemble the marker carefully to avoid damage. Begin by gently twisting or pulling the cap of the felt-tip marker to detach the tip from the cartridge without tearing or damaging it.
Next, use small craft pliers to grip and remove the felt strip inside the marker, being careful not to disturb the surrounding parts too much. Once you have the felt out, cut it into smaller pieces with scissors or a craft knife to increase surface area for soaking.
Handle all parts gently to prevent puncturing the marker or spilling ink. Work in a well-ventilated area, and take your time during disassembly to keep each component intact. Proper disassembly makes the extraction process safer and smoother.
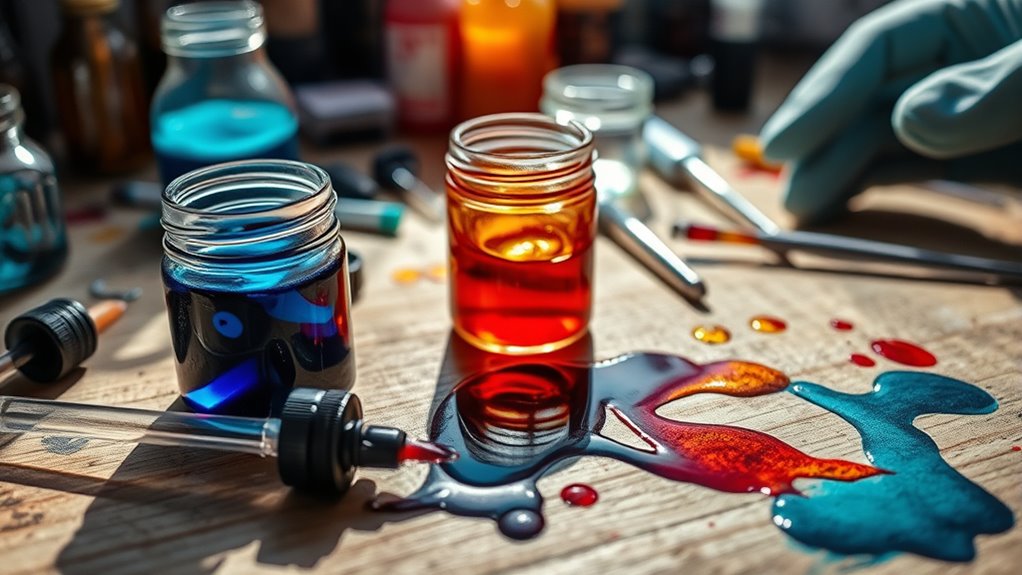
Extract Ink Efficiently
Once you’ve opened the ink tube, immerse it in a small jar filled with rubbing alcohol to help the ink seep out. To efficiently extract ink from your marker, follow these steps:
- Squeeze the tube multiple times into the jar, pushing out any remaining ink and re-saturating the cartridge.
- Wear gloves to prevent staining your hands, making the process cleaner and safer.
- Carefully slice open the ink tube with a craft knife to access the ink inside, then squeeze to extract as much ink as possible into your container.
This method guarantees you get the most ink possible, turning used markers into vibrant DIY alcohol ink. Proper extraction is key for creating high-quality, workable alcohol ink at home.
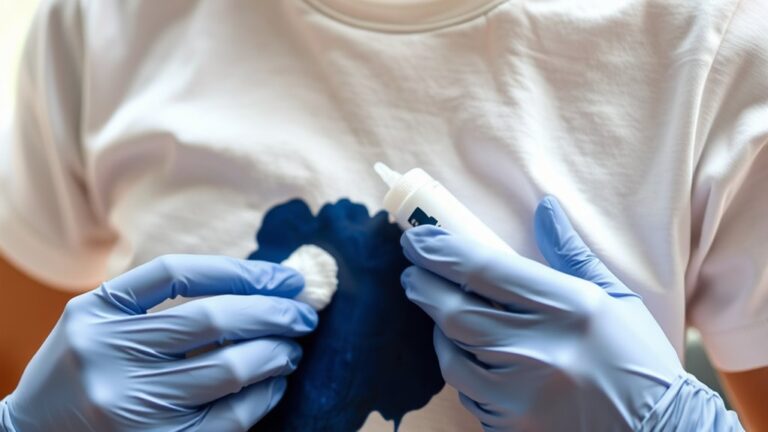
Store and Use Ink
After extracting the ink from your markers, the next step is to store and use it efficiently. Transfer the ink into an applicator bottle or syringe, making sure to keep the outside clean.
Store your DIY alcohol ink in a sealed container, away from direct sunlight, to keep its vibrancy. Before using, shake or stir the mixture so the color is evenly dispersed.
Proper storage helps your ink stay fresh for future projects, saving you both time and money. Here’s a quick visual to help picture the process:
| Step | Tip | Tools Needed |
|---|---|---|
| Store | Keep in a sealed, labeled jar | Small jar, labels |
| Use | Shake well before each use | Applicator bottle |
| Application | Use for DIY projects | Brushes, paper |
How to Mix Vibrant Alcohol Inks With Mica Powder or Dyes
To create vibrant alcohol inks with mica powder or dyes, start by choosing high-quality options that match the look you’re going for. Using good quality materials makes a big difference in the final result.
Mix them with a 1:1 ratio of mica or dye to alcohol for rich, bold colors. Feel free to tweak the amount to get the effect you want.
Be sure to shake or stir thoroughly before each use. This helps keep your colors bright, consistent, and easy to work with.
Selecting Mica or Dyes
Choosing between mica powder and dyes depends on the look you want and how you’ll use your alcohol ink. If you’re after a shimmering, see-through effect, mica is the way to go. Mix 1 teaspoon of mica with 1.5 ounces of alcohol for this look.
For brighter, more opaque inks, add more mica or pick metallic and pearl-colored micas. These reflect light and make your ink stand out. Here are some tips to get the best results:
Use a binder like hairspray or alcohol-resistant glue to keep mica particles suspended and help them stick better. Shake your mixture well before each use so the mica doesn’t settle at the bottom.
And don’t forget to choose mica with different shades or finishes. This way, you can customize the shimmer and opacity of your ink. Picking the right mica makes sure your alcohol ink has just the right sparkle and vibrancy.
Mixing Ratios and Techniques
Mixing vibrant alcohol inks with mica powder or dyes needs careful ratios and thorough blending to get the right effect. For mica, use about 1 teaspoon per 1.5 ounces of alcohol, and add a binder to help it stay stable.
Make sure to dissolve the mica completely by shaking or stirring until it’s evenly dispersed. When working with dyes, mix them at a 1:1 ratio with alcohol to create bright, translucent inks.
To prevent settling and improve adhesion, add a little hairspray or an alcohol-resistant binder. Always shake or stir your mixture well before each use, especially if it’s been stored for a while.
Getting the mixing ratios and techniques right is key to making vibrant, stable alcohol inks at home.
Achieving Vibrant Color Effects
Achieving vibrant color effects with alcohol inks involves carefully combining mica powder or dyes to improve both brightness and depth. When making alcohol inks, adding mica powder creates shimmering, metallic finishes that enhance visual impact.
To maximize vibrancy, follow these steps: Mix 1 teaspoon of mica with 1.5 ounces of alcohol, then shake thoroughly to evenly disperse the particles. Incorporating dyes or concentrated pigments helps intensify hue saturation and achieve bold, vivid colors.
Using a binder like hairspray can improve adhesion and durability, especially for detailed projects.
Tips for Properly Mixing and Shaking Your DIY Alcohol Ink
To make sure your alcohol ink is evenly colored and free of clumps, you need to shake the container thoroughly before each use. Shake vigorously for at least 30 seconds so the mica or dye spreads evenly throughout the solution.
Using a small marble, glass bead, or BB inside the container helps with thorough mixing when you shake. This prevents particles from settling at the bottom over time and keeps the color consistent.
Before every application, give the bottle a good shake to keep the pigment evenly distributed. For mica-based inks, let the mixture settle and shake again just before use. This ensures a smooth, uniform pigment spread every time.
Properly mixing and shaking your alcohol ink guarantees vibrant, consistent results every time.
How to Store and Dispense Your Homemade Alcohol Ink Safely
Once you’ve mixed and shaken your alcohol ink thoroughly, it’s important to store it properly to keep it fresh and safe. Choose small, airtight bottles in dark colors to prevent light from degrading the ink and to reduce evaporation.
Use precision applicator bottles with screw caps and silicone lids to control dispensing and minimize spills. It makes handling your ink easier and cleaner.
Remember to label each bottle clearly with the color and date of creation. This helps you keep track of how fresh your ink is.
Store the bottles away from heat sources and open flames since alcohol ink is highly flammable. Safety first!
Regularly clean the applicator tips and bottles with isopropyl alcohol. This prevents clogging and residue buildup, keeping your tools in good shape.
Proper storage ensures your alcohol ink colors stay vibrant and safe to use over time.
Creative Ways to Use Alcohol Ink on Various Surfaces
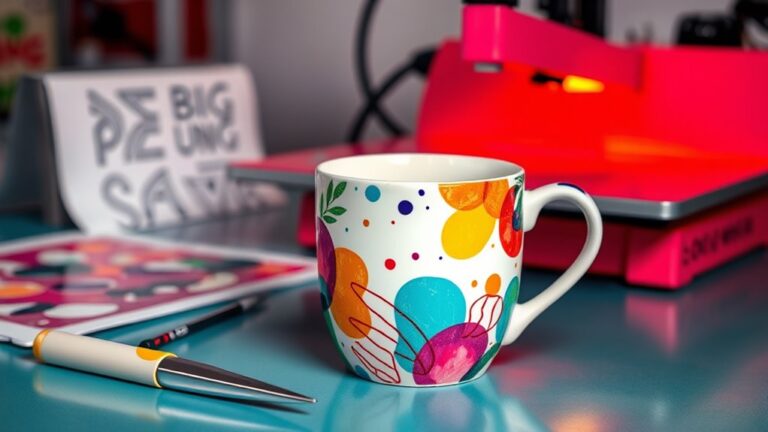
Alcohol ink opens up a world of creative possibilities on different surfaces, turning everyday objects into colorful art pieces. You can use it on non-porous surfaces like Yupo paper, ceramic tiles, and metallic cardstock for see-through, vibrant designs.
Dropping alcohol ink onto a surface and spreading it with a blending solution or blow dryer creates lively, marbled effects. Layering the ink on epoxy resin gives you beautiful swirling patterns. Wrapping inked surfaces in plastic wrap with blending solution produces unique, organic textures.
Mixing alcohol inks with stencils or other mediums adds intricate details and extra depth to your projects.
Troubleshooting Common Issues With Your DIY Alcohol Ink
If your DIY alcohol ink isn’t turning out as vibrant or consistent as you’d like, troubleshooting can help you identify and fix common issues.
First, make sure you’re using high-quality, saturated markers like Sharpie for richer pigment extraction. Using inks from reliable sources creates better results when making your own alcohol ink.
Clumping or uneven color happens if you’re not shaking the mica mixture well or mixing the ink thoroughly before using it. Use a small plastic or glass container and stir until smooth.
If the ink is too thick or runs poorly, dilute it further with rubbing alcohol—adding a little at a time. Adjust the amount of alcohol depending on the size of your project. Using the right ratio helps make your alcohol ink easier to work with on different surfaces.
How Much Money Can You Save by Making Alcohol Ink at Home?
Making alcohol ink at home can save you a lot of money, costing roughly a quarter of what you’d pay for store-bought options. You can make large quantities for just a fraction of the retail price, especially if you’re creating multiple colors or buying in bulk.
Significant Cost Savings
Creating your own alcohol ink at home can lead to significant cost savings compared to buying commercial versions. By making your own, you can reduce costs from around $11.08 per ounce to about $2.67 per ounce, saving over 75%.
For example, producing 10 ounces of homemade ink costs roughly $26.72, versus over $110 for store-bought. A full gallon of DIY ink costs about $341.76, while store-bought gallons run around $1,108.
You can create large quantities at a fraction of retail prices, allowing more extensive projects without high expenses. These savings help you stretch your craft budget, experiment freely, and enjoy more creative freedom without worrying about costs.
Making alcohol ink at home truly offers substantial financial benefits.
Affordable Material Options
You can substantially cut costs by choosing affordable materials over expensive commercial products. Using household supplies like Sharpie markers and rubbing alcohol allows you to create vibrant alcohol inks at a fraction of the retail price.
For example, making 10 ounces of ink with homemade materials costs around $26.72, compared to about $110 when buying store-bought inks. That’s roughly a 75% savings. A gallon of homemade ink costs about $341.76, while commercial gallons can reach $1,108.
These savings make it easier to experiment frequently without breaking the bank. Plus, with household items readily available, you’re not limited by high retail prices. This affordability encourages more creative projects and lets you produce large quantities of colorful ink without the premium costs.
Large Quantity Production
Producing large quantities of alcohol ink at home can save you a lot of money—often hundreds of dollars—compared to buying retail bottles. Making your own ink really cuts costs. For example, creating 10 colors at 1 ounce each costs around $26.72, while retail ink would be about $110.80.
A gallon of homemade ink costs roughly $341.76, but store-bought gallons can reach $1,108. This means you’re saving big on each batch.
Here’s how you save:
- You pay about $2.67 per ounce instead of $11.08.
- Producing large batches lowers the cost per unit a lot.
- With the savings, you can take on bigger projects without worries.
Making your own ink helps you stretch your art and craft budget further.
Final Tips and Resources for Your DIY Alcohol Ink Projects
To get the best results from your DIY alcohol ink projects, it’s important to follow some final tips and use helpful resources. Always shake your homemade ink well before each use to make sure the mica or pigment is evenly spread.
Store your inks in airtight, small applicator bottles to keep the colors vibrant and prevent evaporation. Clean your tools and bottles with rubbing alcohol right after use to avoid buildup and clogs.
Use a protective work surface and gloves to avoid staining and skin contact. Don’t forget to experiment with different mica-to-alcohol ratios and binders for unique textures and effects.
Frequently Asked Questions
How to Make Your Own Alcohol Inks From Scratch?
To make your own alcohol inks from scratch, start by disassembling markers like Sharpies to access the felt tips. Soak the felt in isopropyl alcohol to extract the ink.
Stir in mica powder or binders for color variation. Transfer the mixture into small bottles or applicators for easy use.
Remember to work in a well-ventilated area, wear gloves, and handle alcohol carefully for safe, effective results.
What Are the Ingredients in Alcohol Ink?
Think of alcohol ink as a vibrant painting in a bottle. The main ingredients include high-quality isopropyl alcohol, usually 91% or higher, which acts as the solvent.
You also need pigments or dyes, like those from permanent markers or mica powders, to add color. Sometimes, additives like binder or hairspray are included to help the pigment stay suspended and stick better.
These components combine to create those stunning, translucent hues you love.
How to Make Your Own Blending Solution for Alcohol Inks?
You can make your own blending solution by diluting 70-99% isopropyl alcohol with distilled water until you reach your desired consistency.
For better flow and blending, add a small amount of blending medium or alcohol-based flow extender.
Store your homemade solution in a sealed container to prevent evaporation and keep it effective.
This simple mix helps disperse and soften alcohol inks, enhancing your artwork’s colors and movement.
How to Turn Acrylic Paint Into Alcohol Ink?
To turn acrylic paint into alcohol ink, mix a small amount of acrylic paint with at least 70% isopropyl alcohol, stirring thoroughly until smooth.
Start with a ratio of about 1 part paint to 2 parts alcohol, then adjust to get the transparency or flow you want.
Apply the mixture to non-porous surfaces like Yupo paper or ceramic to create vibrant, translucent effects.
Keep in mind, the thicker the mixture, the more you might need to experiment to get the desired look.
Conclusion
Making your own alcohol ink at home is like opening a treasure chest of vibrant possibilities, letting your creativity flow freely. With simple supplies and a little patience, you can craft stunning, personalized inks that save you money and add a unique touch to your art projects.
So don’t hesitate. Dive into this colorful adventure and watch your craft ideas come alive with every drop. You’ll be turning everyday items into dazzling masterpieces in no time.
Creating your own alcohol ink at home is a fun and affordable way to enhance your artwork. Plus, it allows you to experiment with colors and effects that are truly one-of-a-kind.