10 Steps to Safely Remove Ink Tags From Clothes
Many people struggle with removing ink tags from clothes without causing damage or making a mess. It’s a common frustration when you’re eager to wear your new purchase but can’t get that stubborn ink tag off. Don’t worry—you’re not alone, and there are safe, effective ways to do it.
To safely remove ink tags from clothes, start by preparing your workspace with tools like a screwdriver, scissors, and gloves. Wrap the tag to contain ink spills and prevent stains. Understand how the ink capsule works to avoid accidental leaks.
Gently test your solvent on a hidden area first. Then, carefully apply it with a cloth or swab, making sure not to damage the fabric. Rinse thoroughly afterward and dry completely.
If the ink persists, consider professional cleaning to avoid risking your clothing. Keep safety tips in mind, and you’ll discover more helpful steps to ensure safe removal.
Key Takeaways
- Gather your tools and put on gloves before you start. It’s a good idea to be prepared to keep things clean and safe.
- Wrap the ink tag in plastic. This helps contain any ink if it leaks during removal, so your clothes don’t get stained.
- Carefully use a screwdriver or scissors to detach the tag. Take your time to avoid damaging the fabric.
- Before applying any solvent, test a small area of the fabric with rubbing alcohol or another safe cleaner. This way, you can make sure it won’t harm your clothes.
- Rinse the area thoroughly with cold water. Then, gently dry it. This helps wash away any leftover ink and keeps your fabric in good shape.
How to Safely Remove Ink Security Tags From Clothing
Removing ink security tags from clothing requires careful preparation to avoid stains or damage. First, freeze the garment with the security tag overnight; this solidifies the ink, making it less likely to spill during removal.
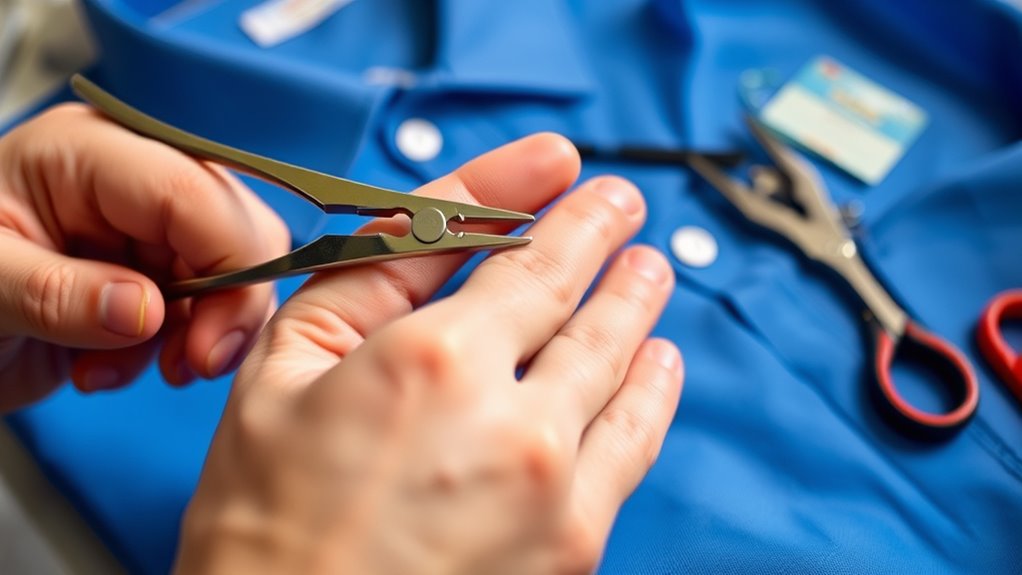
To remove security tags safely, start by carefully prying off the foil seal under the cap with a flat-head screwdriver, giving you access to the ink cartridge inside. Wrap rubber bands tightly around the pin to help loosen it before gently pulling apart the tag components.
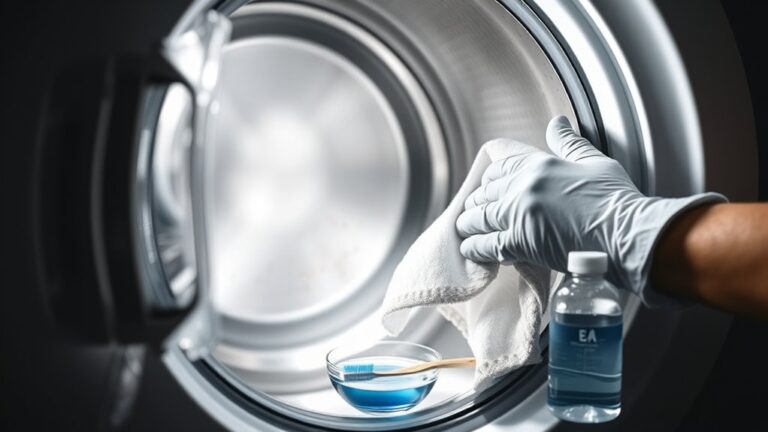
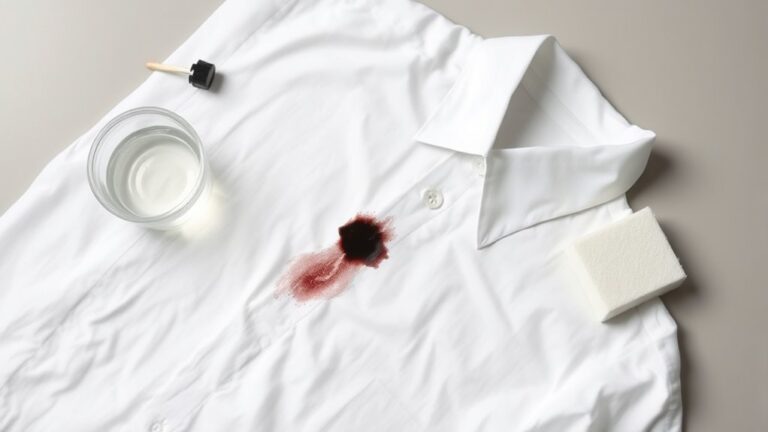
If ink stains appear, use a cotton swab dipped in a fabric-safe solvent like rubbing alcohol to dissolve the ink. After removing the security tags, rinse the garment thoroughly with cold water and dry on low heat to prevent the ink from spreading or setting.
Understanding How Ink Security Tags Work and Why They Leak
Ink security tags are built with a tiny, sealed vial of liquid ink that stains your clothes if it gets tampered with or broken. Inside, the ink is kept in a pressurized capsule that can leak if the casing cracks or gets damaged.
These capsules are usually made of foil or plastic and are designed to break open when enough force is applied. When they break, the ink spills out onto the fabric. The liquid ink inside is often oil-based or water-based, making it tough to remove once it’s spilled.
If you try to remove ink tags the wrong way, there’s a good chance you’ll break the capsule. This causes the ink to burst out and stain your clothes permanently. Knowing how these tags work helps you avoid accidental leaks and shows you how to remove them safely without damaging your clothes.
Gather Your Supplies and Prepare Your Workspace
Before you start removing the security tag, gather your tools and set up a clean, organized area. You’ll need essentials like scissors, a flat-head screwdriver, pliers, and rubber bands.
Gather your tools and set up a tidy, well-lit workspace for safe, effective security tag removal.
Choose a well-lit, flat surface with enough space to handle your tools comfortably. Lay the clothing item flat and smooth to prevent additional damage or ink leakage during removal.
Wearing protective gloves is a good idea to avoid ink contact and improve your grip. Keep a clean cloth or paper towels nearby for quick cleanup of any ink spills or residual ink.
Proper preparation helps you work efficiently and minimizes risks. By organizing your tools and workspace beforehand, you’ll create a safe, controlled environment for removing the ink tag carefully and effectively.
Test the Solvent on a Small Area First
Test the solvent on a small, hidden area of the fabric first. Use just a little and wait a few minutes.
Check for any discoloration or damage before applying it to the stain. This way, you can be sure it won’t harm your clothing.
Choose Suitable Fabric Type
To make sure you don’t damage your clothing, always check that the fabric is compatible with the solvent you’re using. Look at the care label and do a quick patch test first.
Review the care label for any specific cleaning instructions or warnings, especially if it mentions delicate or special fabrics. Then, do a patch test by applying a little solvent, like rubbing alcohol, on a hidden part of the fabric.
Wait a few minutes to see if there’s any discoloration or damage. This helps you spot potential issues without risking the whole garment.
Avoid harsh solvents like acetone on delicate fabrics, as they can cause discoloration or weaken the material. Checking compatibility with this simple test protects your clothing during ink tag removal.
Apply Minimal Amounts
Since applying too much solvent can damage your fabric, it’s important to start with a small amount.
Begin by testing your chosen solvent on a discreet area to make sure it won’t cause discoloration or harm. Use just a tiny dab with a cotton swab or cloth to target the ink stain carefully.
This way, you reduce the risk of spreading the ink or weakening the fabric. Wait a few minutes after testing to check for any reactions before moving on.
Controlling the amount of solvent helps protect your clothes from unnecessary damage. Remember, be gentle and cautious to keep your fabric intact while effectively removing the ink stain.
Observe for Color Change
How can you guarantee the solvent won’t damage your fabric? The key is testing first. Use a small amount of solvent on a hidden area of the fabric to check for any color change or damage.
During testing, observe closely for discoloration, fading, or adverse reactions caused by the solvent. Wait a few minutes to see if the fabric’s color remains stable.
If you notice any color change, stop using that solvent immediately and try an alternative method or consult a professional. This step helps prevent unintentional damage and confirms the solvent is safe for your fabric.
Gently Apply the Solvent to the Ink Stain
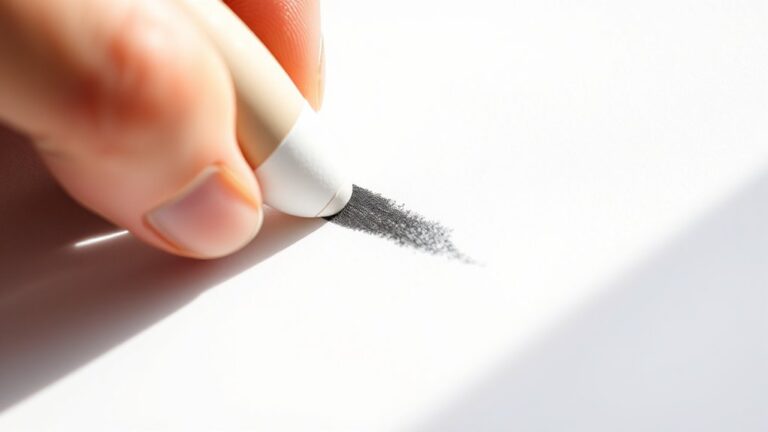
Apply a small amount of solvent, like rubbing alcohol, directly onto the ink stain using a cotton swab or cloth.
Gently dab the solvent onto the stain without rubbing vigorously to prevent spreading or embedding the ink further into the fabric.
Hold the solvent for a few seconds before blotting with a clean cloth to lift the ink effectively.
Use Minimal Amounts
To effectively remove ink from your clothes, start by applying only a tiny amount of solvent—such as rubbing alcohol or acetone—directly onto the ink stain. Using minimal solvent helps prevent spreading and protects the fabric.
Be precise and gentle in your approach to avoid damage. Use a cotton swab or small brush to carefully target the ink stain, limiting contact with the surrounding fabric.
Dab the solvent gently onto the stain without rubbing vigorously, reducing the risk of fabric damage. Allow the solvent to sit briefly, then blot or lift the ink away.
Repeat this process in small increments if needed. Applying minimal amounts ensures safe removal while preserving your fabric’s integrity.
Blot Gently for Best Results
Gently dabbing the solvent onto the ink stain is essential for preventing the ink from spreading further into the fabric fibers. You want to blot the stain carefully with a soft cloth or a cotton swab, avoiding any rubbing that might push the ink deeper.
Gently applying the solvent helps control how much you use and reduces the risk of fabric damage or color bleeding. Use light, gentle pressure to let the solvent work on dissolving the ink without fraying or weakening the material.
Patience is key. Apply the solvent gradually, giving it time to penetrate the stain effectively. This careful approach ensures the ink dissolves smoothly, minimizing potential damage while maximizing stain removal.
Techniques for Removing Ink Without Tearing Fabric
When removing ink from delicate fabrics, it’s important to handle the stain gently to avoid tears or damage. Follow these simple techniques to do it safely.
First, test the solvent on a hidden part of the fabric. This helps you check if it causes discoloration or tears. Once you’re sure it’s safe, apply a small amount directly to the ink stain.
Use gentle blotting motions with a cotton swab or soft cloth instead of rubbing. This way, you lift the ink without risking damage to the fabric.
Add small amounts of solvent gradually, letting it dissolve the ink. Don’t over-saturate the fabric. Afterward, rinse thoroughly with cold water to remove any remaining chemicals.
These steps will help you remove ink safely without damaging your fabric.
Rinse and Dry Your Garment Properly
After removing the ink, it’s important to rinse your garment thoroughly in cold water to wash out any remaining ink and solvent. Make sure to rinse carefully so all ink stains and residues are gone.
Rinse thoroughly in cold water to remove all ink stains and residues.
Use a gentle detergent during this process to help break down any lingering ink and prevent stains from setting deeper into the fibers. Avoid hot water because it can cause the ink to set, making it harder to remove.
Once you’ve rinsed, you can air dry the garment or use a low heat setting in the dryer. This helps prevent any residual ink from becoming permanent.
Before finishing, check the clothing after it dries. If any ink stain remains, repeat the rinsing process before exposing it to high heat.
What to Do If Ink Won’t Come Out?
If the ink stain refuses to budge, try using different solvents like acetone or rubbing alcohol to see if they work better. Don’t rub the stain aggressively, and consider seeking professional cleaning if it’s stubborn.
Remember to avoid drying the garment until the stain is completely gone to prevent setting the ink.
Try Alternative Solvents
Sometimes, standard solvents like rubbing alcohol or acetone just won’t do the trick on stubborn ink stains. In this case, you should explore alternative solvents and stain removers designed specifically for tough ink stains. These options can be more effective against stubborn ink.
Before applying any new solvent, test it on a hidden area first to prevent fabric damage. Here are some ideas: Use specialized stain removers formulated for persistent ink stains. Mix baking soda and water into a paste, then apply it to the stain. Try enzymatic or commercial ink stain removers for extra power.
Let these treatments sit for several minutes before rinsing thoroughly. This approach can often lift stubborn ink without harming delicate fabrics.
Use Professional Cleaning
When home remedies fail to remove stubborn ink stains, taking your garment to a professional dry cleaner is your best option. They use specialized solvents and techniques, like solvent-based stain treatment or steam cleaning, that you can’t do at home.
They also assess the fabric and ink stain size to choose the most effective method, which helps reduce the risk of damage. Prompt professional ink removal increases the chances of fully eliminating the stain.
For delicate or valuable garments, professional cleaning is especially important to prevent discoloration or fabric harm. Imagine a cleaner’s workspace:
| Fabric Type | Ink Stain Size | Technique Used |
|---|---|---|
| Cotton | Small | Solvent-based removal |
| Silk | Large | Gentle steam cleaning |
| Wool | Moderate | Specialized stain treatment |
Repeat Treatment Carefully
Wondering what to do if the ink stain refuses to budge? If the stain persists, avoid rubbing it further, as this can spread or set the ink deeper into the fabric. Instead, carefully repeat the treatment:
Reapply a small amount of solvent, like rubbing alcohol or acetone, and gently blot the area. Let the solvent sit for a few minutes to help dissolve the stubborn ink.
Blot gently again, then allow the fabric to dry before trying again. Repeat this process carefully, but give the fabric time to dry between treatments.
If the ink still won’t come out after several tries, consider professional cleaning to protect your clothing.
Tips to Prevent Ink Leaks During Removal
To prevent ink leaks during removal, simple precautions can make a big difference. Wrap the ink tag in a plastic bag or plastic wrap before cutting. This helps contain any ink if the tag bursts.
Using tools like a screwdriver to carefully remove the foil seal under the plastic cap can reduce ink spills. Freezing the garment with the ink tag overnight solidifies the ink, making leaks less likely when you remove it.
When pulling the tag, hold the larger part facing downward. This directs any potential ink away from your clothes. Wrapping the pin with rubber bands or other tools can also loosen the ink tag and decrease the risk of spills.
These easy steps help keep your clothes clean and intact during removal.
Safety Tips for Handling Solvents and Tools
Handling solvents and tools safely is essential to avoid accidents and damage when removing ink tags. Follow these tips to stay safe:
Always test the solvent on a small, hidden part of the fabric first. Use a gentle touch with a cotton swab or soft cloth to prevent tearing or damage.
Wear gloves and work in a well-ventilated area when using strong solvents like acetone or nail polish remover. This helps avoid inhaling fumes and skin irritation.
Be careful when handling sharp tools like screwdrivers or scissors. Keep them away from your body and fingers to prevent cuts or injuries.
Frequently Asked Questions
How to Take off Ink Tags From Clothes at Home?
To remove ink tags at home, start by wrapping a thick rubber band around the pin to loosen it.
Carefully pry off the foil seal with a small flat-head screwdriver to access the ink cartridge.
Gently pull downward on the larger part of the tag to prevent ink spills. Then use pliers or tweezers to remove the ink cartridge.
Rinse the area with cold water and blot to remove any remaining ink stains.
How to Remove Pen Ink From Clothing Tag?
A stitch in time saves nine. To remove pen ink from a clothing tag, start by testing a hidden area with rubbing alcohol or acetone. This way, you can make sure it won’t damage the fabric.
Gently dab the ink stain with a cotton swab soaked in the solvent, then carefully blot the area. Let it sit for a few minutes before rinsing with cold water.
Repeat the process if needed. Once the stain is gone, dry the tag on low heat.
How to Remove Tags Without Damaging Clothes?
To remove tags without damaging your clothes, start by checking how the tag is attached. If it’s sewn in, gently cut the stitches with small scissors, making sure not to catch the fabric.
For plastic or adhesive tags, try peeling them off slowly. You can also use a gentle adhesive remover—just test it first on a hidden spot to be safe.
Be patient while working on it. If you’re unsure or worried about damaging your clothes, it’s a good idea to ask a professional for help.
Can Any Magnet Remove a Security Tag?
No, not just any magnet can remove a security tag. Regular household magnets, like fridge magnets, are too weak to deactivate or detach high-tech security tags.
You need a strong, specially designed rare earth magnet to do the job. Using the wrong magnet probably won’t work and could even damage your clothing.
For safety and the best results, it’s best to leave security tag removal to professionals or authorized personnel.
Conclusion
Removing ink tags is like opening a secret treasure chest. Careful steps can reveal the beauty hidden beneath.
With patience and the right tools, you can free your clothes from unwanted marks without damage. Every gentle stroke is a key to restoring your garment’s true form.
Turning a messy mishap into a symbol of your resourcefulness is possible. Trust your instincts, handle with care, and let your clothing shine anew.
Your patience will reveal the true value beneath the ink. Removing ink tags is manageable when approached calmly and carefully.