7 Simple Steps to Get Ink Out of Your Dryer
Dealing with ink stains in your dryer can be frustrating, and you’re definitely not alone. Many people struggle with removing stubborn ink marks that seem impossible to get rid of.
To remove ink from your dryer, start by unplugging it for safety. Then run it on high heat for at least 20 minutes to soften the stains.
Check inside for ink buildup, and use a damp cloth with rubbing alcohol or an acetone-based cleaner to wipe away ink streaks. Wipe thoroughly, then run a short cycle to test if the stains are gone.
Keep your dryer clean and follow these steps for long-lasting results.
Key Takeaways
- Unplug the dryer and run it on high heat for 20 minutes to soften the ink stains.
- Wipe the drum and paddles with a damp cloth or soft sponge soaked in rubbing alcohol.
- Use acetone-based nail polish remover on stubborn stains, but test it on a hidden area first to be safe.
- Inspect the drum thoroughly with a flashlight, rotating it to check for any hidden ink marks.
- Run a short, high-heat cycle with clean laundry to make sure all the ink residues are gone.
Prepare Your Dryer for Ink Removal
Before you start removing ink from your dryer, it’s important to prepare the appliance properly. First, unplug the dryer to stay safe and avoid any electrical hazards.
Next, run the dryer on a high heat setting for at least 20 minutes. This warms up the drum and softens any ink stains, making them easier to clean.
Run the dryer on high heat for 20 minutes to soften ink stains for easier removal.
After heating, use a damp cloth to wipe the inside of the drum. This helps remove any loosened ink residue.
Before applying cleaning agents, check the drum and paddles for visible ink stains. Make sure the dryer is clean and free of ink to prevent spreading during cleaning.
Proper preparation ensures you’ll remove the ink effectively and keep your dryer in good shape.
Check How Extensive the Ink Stains Are Inside Your Dryer
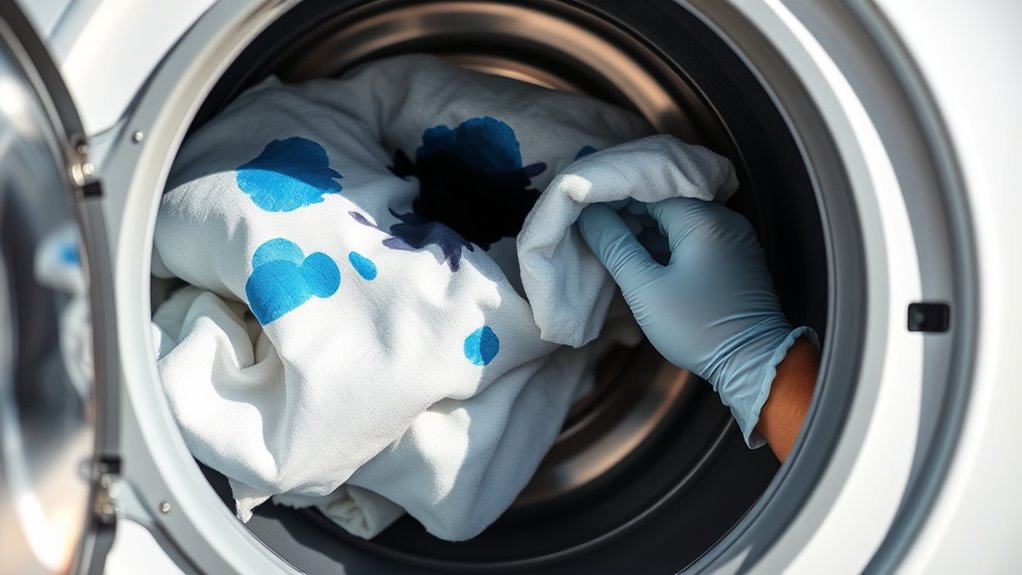
Start by thoroughly inspecting the entire drum surface and paddles for any visible ink stains or discoloration. Use a flashlight to check hidden areas and rotate the drum to spot any streaks or spots that might be missed.
Determine if the ink is confined to specific spots or spread throughout. This will help you understand how much cleaning is needed.
Visual Inspection Techniques
To see how widespread the ink stains are inside your dryer, start by opening the door and visually inspecting the drum surface for any discoloration or ink marks. Take your time to look carefully, especially in areas where ink might have spread.
Check the rubber seals and the lint trap area for ink smudges or residue, as these can suggest further spread. Rotate the drum by hand to examine all interior surfaces, including corners and crevices, for hidden ink marks.
Use a flashlight to illuminate dark or hard-to-see spots inside the drum, making sure you don’t miss any stains. After a short, empty cycle, look at the drum again to see if any new or remaining ink stains are visible, helping you understand how much ink is inside your dryer.
Stain Extent Assessment
Evaluating how extensive the ink stains are inside your dryer is crucial for determining the best cleaning approach. To assess the stain, examine the drum and paddles for visible ink marks, noting their size and location.
Use a flashlight to check for ink residue on the drum surface, especially in hard-to-see spots. Determine if the stains are concentrated in one area or spread throughout the drum, as this affects your cleaning strategy.
Also, assess whether the ink stains are fresh or have set over time, since older stains are usually harder to remove. Finally, run a test cycle with laundry to see if ink transfer marks appear, which helps gauge the stain’s extent.
- Visible ink marks and their size
- Location of the stains
- Residue on drum surfaces
- Spread versus concentrated stains
- Fresh versus set stains
Pick the Best Cleaning Method for Ink Stains
Choosing the right cleaning method depends on your dryer’s surface and the ink stain’s stubbornness.
Chemical options like acetone or alcohol-based sanitizers work well, but you should test a small area first to avoid damage.
For gentler approaches, physical scrubbing with a magic eraser might be enough without risking surface harm.
Chemical Compatibility Tips
Before choosing a cleaning method for ink stains, it’s important to check your dryer’s surface material. This way, you can make sure that chemical cleaners like acetone or bleach won’t damage it.
Always test on a small, hidden spot first before using any cleaning agents widely. This helps you see how your dryer reacts and avoids costly mistakes.
Use solvent-based cleaners only if the manufacturer says it’s safe for your dryer’s material. Avoid mixing different chemicals, as incompatible combinations can create harmful fumes or damage the surface.
Follow the manufacturer’s instructions carefully to clean safely and effectively. Remember, testing on a small area is key to understanding how your dryer will respond to each cleaner.
This simple step helps protect your appliance and makes sure you get good results when removing ink stains.
Physical vs. Chemical Removal
When it comes to removing ink stains from your dryer, understanding the strengths and limitations of physical versus chemical methods can help you pick the most effective approach.
Physical removal techniques, like wiping with a damp cloth or using a magic eraser, work well for surface ink stains but may not remove deeply embedded ink.
Chemical removal methods, such as acetone or alcohol-based cleaners, can dissolve ink more thoroughly but require caution to prevent damage to the dryer surface.
Combining both methods often produces the best results: first applying a chemical cleaner to break down the ink, then using physical wiping to remove residual stains.
Physical methods are safer and gentler, while chemical removal is more aggressive and suited for stubborn stains.
How to Remove Ink Stains From Dryer Drum and Paddles
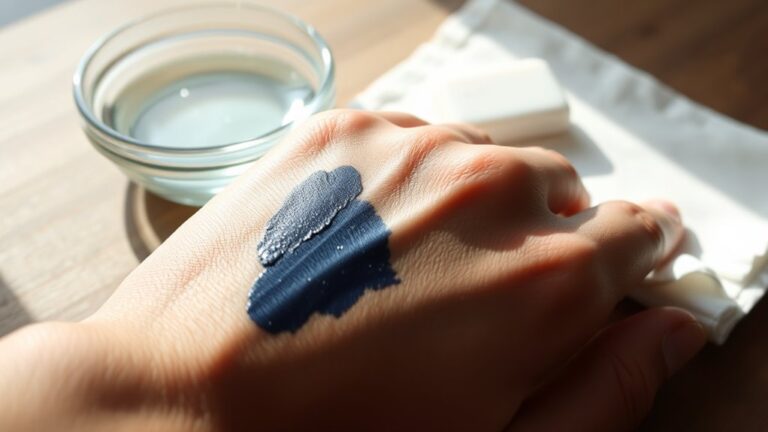
To effectively remove ink stains from your dryer drum and paddles, start by gently wiping the affected areas with a sponge or soft cloth soaked in rubbing alcohol. This helps break down and lift the ink stains directly from the surface.
For stubborn stains, apply acetone-based nail polish remover with a cotton ball. Just make sure you work in a well-ventilated area and take safety precautions.
Remember, regular inspection and cleaning of the dryer drum and paddles can prevent ink residues from transferring onto your laundry. When cleaning, test cleaning agents on a small, hidden area first.
Use gentle, circular motions to avoid damage and avoid excessive rubbing, which could scratch the surface. Keep the area well-ventilated when using chemicals.
Finally, follow up with a cycle to rinse away any residual ink and cleaning agents. This process helps keep your dryer drum clean and free of ink stains effectively.
Wipe Away Residues and Double-Check the Cleaning
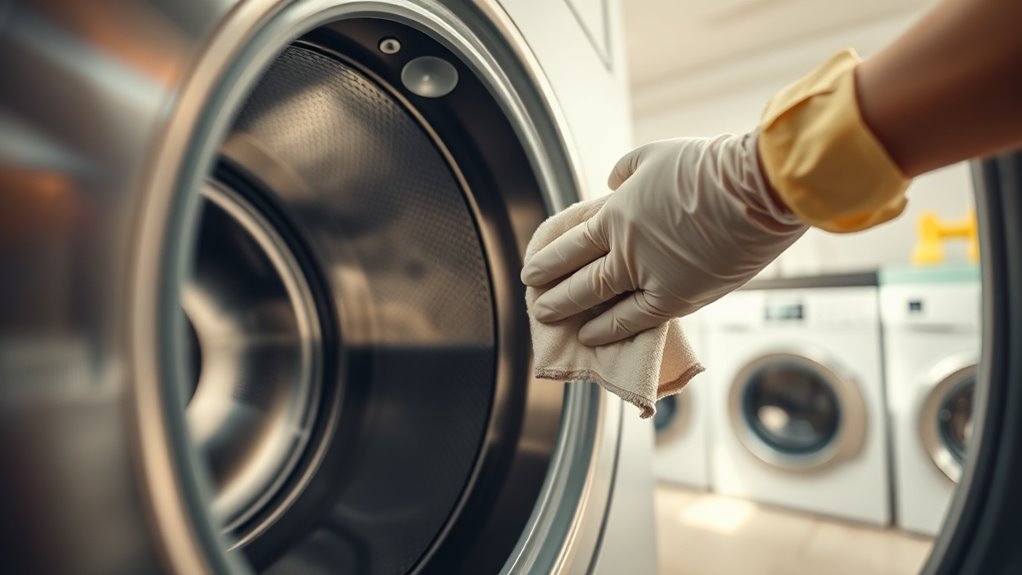
After removing ink stains, it’s important to thoroughly wipe the interior of the dryer drum with a clean, damp cloth to eliminate any remaining residue. Carefully inspect the drum and paddles for traces of ink, and if you notice any, repeat the wiping process.
Keep rinsing the cloth frequently to avoid spreading ink or leaving streaks during cleaning. For stubborn residue, lightly dampen a cloth with rubbing alcohol and gently wipe the affected areas.
Use this table to guide your inspection and cleaning process:
| Step | Action |
|---|---|
| 1 | Wipe interior with damp cloth |
| 2 | Inspect closely for remaining residue |
| 3 | Rinse cloth often, repeat if needed |
| 4 | Use rubbing alcohol for stubborn spots |
Double-check that all residue is gone before running an empty cycle.
Run a Test Cycle to Make Sure the Stains Are Gone
Running a test cycle is a crucial step to guarantee all ink stains are gone from your dryer. Start a short, empty dryer cycle on high heat to check for residual ink stains.
After the cycle, thoroughly inspect the drum for any remaining ink marks. If you see any residual stains, wipe the drum immediately with a clean, dry cloth.
It’s important to repeat the test cycle if stains are still visible to confirm the cleaning was successful. Before using the dryer for laundry, check your clothes after the test run to ensure no ink transfers onto fabrics.
To keep your dryer stain-free, remember:
- Inspect for residual ink after each cycle
- Wipe the drum promptly if stains appear
- Repeat the test cycle if necessary
- Confirm no stains transfer onto laundry
- Use high heat for thorough cleaning
Prevent Ink Stains From Happening Again and Keep Your Dryer Clean
Regularly inspecting and cleaning your dryer drum and paddles is key to preventing ink stains. Use a soft cloth dampened with rubbing alcohol to wipe these surfaces now and then, removing any ink residue before it causes stains.
Proper dryer maintenance also means avoiding overloading, which can increase friction and transfer ink between items. Always pre-treat and fully wash ink-stained clothing before drying, and never toss in items with fresh ink stains.
Good laundry habits, like prompt stain treatment and careful sorting, help keep your dryer clean and stain-free. Following these tips reduces the risk of future ink stains, extends your dryer’s lifespan, and keeps your laundry fresh and spotless.
Frequently Asked Questions
What Removes Ink in a Dryer?
To remove ink from your dryer, start by applying acetone nail polish remover to dissolve the ink. Use a cloth to wipe it away, then clean with rubbing alcohol to break down any leftover ink.
For stubborn stains, try using a magic eraser or a chemical cleaner like Goof Off. You might need to repeat these steps a few times for complete removal.
Make sure the dryer is dry and well-ventilated afterward to avoid any issues.
Does Dawn Soap Remove Ink?
Dawn soap alone isn’t very good at removing ink stains because it’s made for grease, not ink.
If the ink has oily parts, Dawn might help loosen it a bit. But for stubborn or permanent ink, you’ll need stronger stuff like alcohol or acetone.
Always test Dawn on a small hidden spot first so you don’t damage your fabric.
For best results, mix Dawn with these solvents and act quickly to get the ink out.
What Dissolves Ballpoint Pen Ink?
You can dissolve ballpoint pen ink using alcohol-based solutions like rubbing alcohol or hand sanitizer. These break down the oil-based ink molecules effectively.
Acetone from nail polish remover works quickly but should be used carefully on delicate surfaces to avoid damage.
Alternatively, magic erasers physically scrub the ink away, and a baking soda paste gently lifts stains without harming the surface.
Applying these substances directly and blotting helps remove the ink more effectively.
Does Hydrogen Peroxide Remove Ink?
Yes, hydrogen peroxide can help remove ink stains from your dryer. You should apply it directly to the ink, let it sit for a few minutes, and then gently scrub or wipe away the ink.
Keep in mind, it works best on fresh stains and may require multiple applications. Always test it on a small, hidden area first to avoid any discoloration or damage to your dryer surface.
Conclusion
Now that you’ve followed these simple steps, your dryer will be as clean as a whistle, ready to handle laundry without worry. Think of it like wiping away a stubborn smudge—you’re restoring its shine and making sure your clothes come out spotless.
Regular maintenance and quick action will keep ink stains at bay, so your dryer stays fresh and functional. With a little effort, you’ll keep your appliance looking brand new, like a pristine canvas waiting for the next load of laundry.