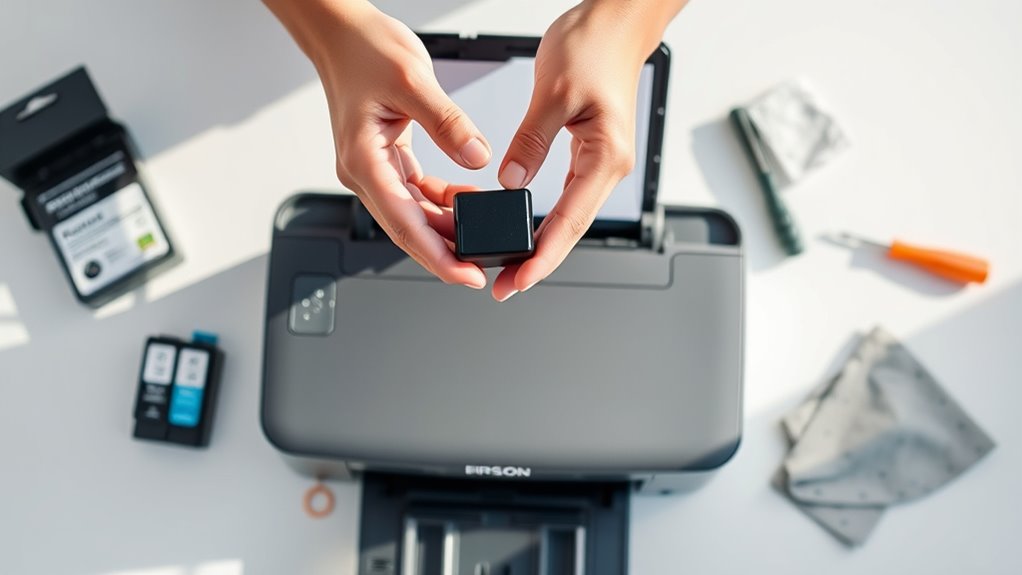
7 Simple Steps to Replace Epson Ink Cartridge
Many people struggle with replacing their Epson ink cartridges, especially if you’re not sure where to start or worry about making a mistake. You’re not alone—this is a common frustration for many printer users.
Luckily, replacing your Epson ink cartridge is simpler than you might think.
To replace your Epson ink cartridge, start by gathering the correct cartridges and turning on your printer. Open the access cover and gently remove the old cartridges by squeezing the tabs.
Shake and unpack your new cartridges, then carefully install them into the correct slots until they click.
Close the cover and let the printer charge the ink, which takes a few minutes. Once the process is complete, check the ink levels and make sure everything is ready for printing.
There’s more to learn if you want to get the best results from your printer.
Key Takeaways
- Turn on your printer and open the scanner or access cover so you can see the cartridges.
- Take the new cartridges and shake them 4-5 times. This helps activate the ink flow before you unpack them.
- Next, remove the old cartridges by releasing the tab and lifting them straight out of their slots.
- When installing the new cartridges, make sure they click securely into the correct color-coded slots.
- After that, wait for the ink charging process to finish. You’ll know it’s done when the power light stays steady.
- Once the charging is complete, you’re ready to start printing again!
Gather Supplies and Prepare Your Printer
Before you start replacing your Epson ink cartridge, gather the supplies you’ll need and get your printer ready. Make sure you have the correct new cartridges for your specific model.
Prepare your supplies and ensure you have the correct cartridges before beginning your Epson ink replacement.
Turn on your printer and lift the scanner unit or access cover so you can reach the cartridges. Check the ink levels to see which ones need replacing.
When you’re ready, gently shake the new cartridges four or five times to activate the ink flow before opening their packages. Keep the old cartridges in the printer until you’re ready to install the new ones to prevent spills or drying out.
Avoid opening the ink cartridge packages until you’re prepared to install them immediately. Once everything’s set, turn off the printer if instructed, and follow the next steps for a smooth replacement.
Turn on the Printer and Open the Cartridge Access Cover
| Step | Action | Tip |
|---|---|---|
| 1 | Turn on the printer | Wait for it to finish initializing |
| 2 | Open the access cover | Lift the scanner gently |
| 3 | Expose the cartridges | The carriage will move automatically |
| 4 | Do not manually move the head | To avoid damage, let it move on its own |
| 5 | Access area is now exposed | You’re ready to remove the cartridge |
Remove the Old Ink Cartridge Carefully
How do you safely remove the old ink cartridge without causing damage or mess? First, locate the tab on the cartridge and gently squeeze it to release the ink cartridge from the holder. Carefully lift the cartridge straight up, avoiding tilting or twisting to prevent ink leaks.
Keep your hands clean and dry to avoid smudging or damaging the printer components. Follow the instructions to ensure proper removal, and never force or use tools, as this can harm the holder or printer.
Keep hands clean and dry to prevent smudges and protect printer components during cartridge removal.
When removing the old ink, remember these key points:
- Use the tab to release the cartridge smoothly
- Lift the cartridge straight up without tilting
- Keep hands clean and dry during removal
- Avoid forcing the cartridge or using tools
- Dispose of the old cartridge responsibly
Following these steps ensures a safe, damage-free removal.
Shake and Unpack Your New Ink Cartridge
Before unpacking your new ink cartridge, gently shake it four or five times to evenly distribute the ink.
Carefully remove it from the vacuum-sealed package without shaking it afterward to prevent spills. Remember to peel off the yellow tape.
Handle the cartridge by its edges, avoiding the green chip and nozzles.
Shake Gently Before Opening
To guarantee your new ink cartridge functions smoothly, gently shake it four or five times while keeping it upright. This helps activate the ink and ensures even ink flow before you open the package.
Handle the cartridge carefully during this step to prevent damage and avoid spills. Remember, don’t shake it after opening, as this can cause air bubbles that affect print quality.
Proper preparation is key to a successful replacement. Shake gently to activate the ink without damaging internal components, and keep the cartridge upright to avoid leaks.
Avoid shaking after opening to prevent air bubbles. Handle the cartridge with care to maintain its internal integrity and ensure better print quality.
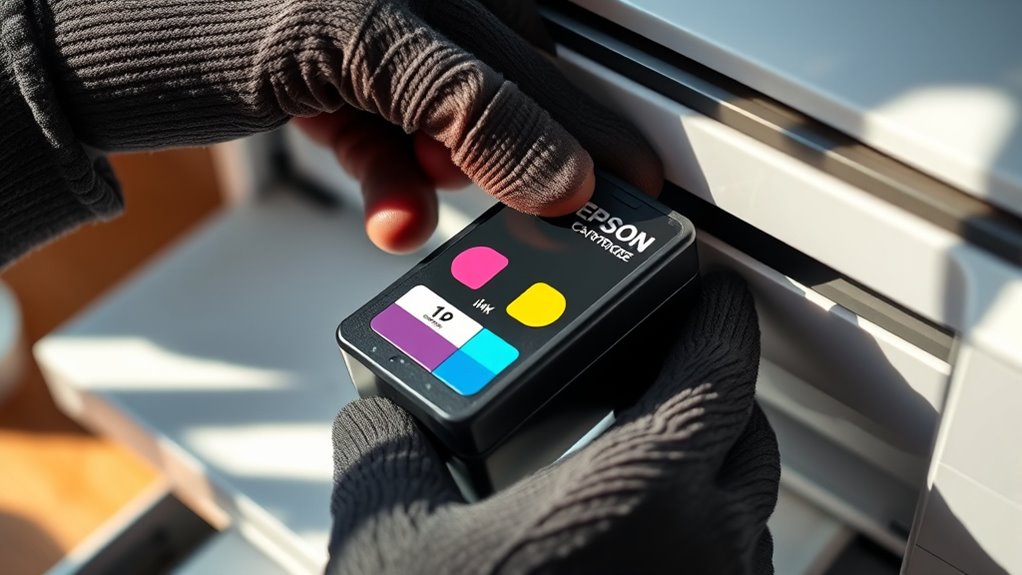
Remove Cartridge Carefully
When handling your new ink cartridge, start by gently shaking it four or five times while keeping it upright to activate the ink flow.
Carefully remove the cartridge from its vacuum-packed package, handling it by the edges to prevent contamination of the green chip or nozzles. Avoid shaking the cartridge after unpacking to prevent ink leaks.
Next, remove the yellow tape from the side of the cartridge to expose the vent hole, which ensures proper ink flow. Handle the cartridge with care to avoid damaging it.
Unpack it on a clean, protected surface to prevent ink spills and contamination. Always handle the cartridge carefully to maintain its performance and avoid any issues during installation.
Proper removal and unpacking help ensure smooth operation.
Avoid Touching Green Chip
Shaking your new ink cartridge gently four or five times helps activate the ink flow and ensures better performance. However, during installation, avoid touching the green chip or contact points to prevent static damage or contamination that could interfere with recognition.
Handle the cartridge carefully, gripping only the edges to avoid smudging or damaging the green contact area. Keep your fingers away from the green chip during installation.
Do not shake the cartridge after unpacking. When removing the yellow tape, be sure not to touch the green chip. Also, avoid contact with the electrical contact points.
Handle the cartridge carefully to prevent static damage or dirt buildup. Following these precautions ensures proper electrical contact, reduces print errors, and prolongs your cartridge’s life.
Install the New Cartridge Properly Into the Slot
Before inserting the new ink cartridge, make sure to align it correctly by positioning the contacts facing down and matching the color-coded slot.
Carefully install the ink cartridge into the slot, pushing firmly until you hear a click. This indicates it’s securely in place.
Check that the cartridge is fully seated and level with the others to prevent misalignment. Don’t force the cartridge; if it doesn’t click easily, remove it and try again to avoid damage.
Properly installing the new cartridge means it’s aligned and securely fitted, helping to prevent printing issues later. Verify that the contacts are properly connected and the cartridge is flush with the slot.
A secure, level installation ensures the printer recognizes the new cartridge and maintains excellent print quality.
Close the Cover and Let the Printer Charge the Ink
Lower the scanner unit gently and make sure the cover clicks into place.
Then, wait for the printer to start the ink charging process, which takes about 1.5 to 3 minutes.
Keep an eye on the power light. Don’t turn off the printer until the light stays steadily on, showing the process is done.
Lower the Scanner Unit
Have you just installed new ink cartridges? Now, you need to lower the scanner unit to close the scanner cover securely.
Gently lower the scanner assembly until the scanner closure clicks into place. Make sure the scanner lid is properly aligned. This action secures the scanner mechanism, allowing the printer to recognize the scanner position correctly.
Remember:
- Lower the scanner unit carefully to avoid damage.
- Confirm the scanner closure is secure.
- Do not force the scanner assembly.
- Make certain the scanner cover is fully closed.
- Keep the printer steady during this process.
Once the scanner is securely lowered, the printer will automatically start the ink charging cycle. Avoid opening the scanner lid during charging to prevent errors and ink waste.
Wait for Ink Charging
Once you’ve securely closed the cover, your printer will automatically start the ink charging process. During this time, wait until the power light is steady, which means the ink charging is finished.
Avoid opening the cover or starting any print jobs while this is happening. This helps ensure proper ink flow and prevents errors. The printer’s status will show as “ink charging,” and the indicator lights will guide you through the process.
It usually takes between 1.5 to 3 minutes to complete. It’s really important not to turn off or unplug the printer during this stage, as it can waste ink and harm your print quality. Be patient and wait until the power light stops flashing and stays steadily on before using the printer again.
Observe Power Light
How can you tell when the ink charging process is complete? Watch the power light on your Epson printer. During ink charging, the light may flash or blink, showing that the process is ongoing.
Once the ink charging is finished, the power light will stop flashing and stay steady. This steady light means the printer has finished installing the new cartridges and is ready to print normally.
It’s important not to turn off the printer while the light is flashing, as this can interrupt the process and waste ink. Patience is key— the entire ink charging usually takes about 1.5 to 3 minutes.
When the power light is steady, you can confidently proceed with your print jobs.
Wait for Charging to Complete and Check Ink Levels
After installing a new ink cartridge, your Epson printer starts an ink charging process that usually takes about 1.5 minutes. During this time, the power light may flash, so don’t turn off the printer.
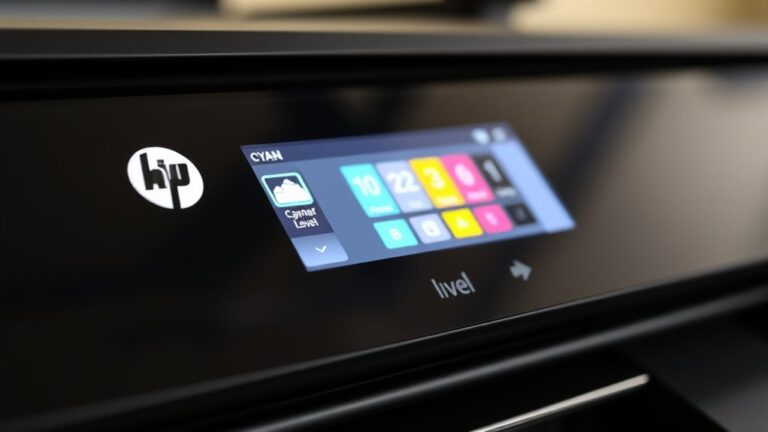
Just wait until the power light stays steady—that means the process is finished. You can check ink levels and printer status on the LCD screen or by looking at the indicator lights.
It’s important to wait until the ink charging is done before you start printing. This helps ensure the best print quality and proper ink flow.
Once the charging is complete and the power light is steady, it’s safe to check ink levels or replace ink cartridges. Avoid printing until the process is complete to prevent any issues with your printer.
Frequently Asked Questions
How Do I Replace the Ink Cartridges in My Epson Printer?
To replace the ink cartridges in your Epson printer, turn on the device and open the cartridge cover.
Carefully lift out the old cartridge by squeezing the tab. Then, gently shake the new cartridge four or five times.
Remove the yellow tape from the new cartridge, then insert it until you hear it click into place. Close the cover.
Wait for the printer to finish ink charging before you start printing again.
Where Is the Secret Reset Button on the Epson Printer Ink Cartridge?
You won’t find a secret reset button on your Epson printer ink cartridge because most models don’t have a dedicated one. Instead, you’ll need to access reset functions through the printer’s menu, software, or specific button combinations.
Interestingly, about 60% of Epson printers require resets via software. It’s best to check your user manual or visit Epson’s official support site to find the exact method for your model.
This way, you can avoid unnecessary confusion or even damaging your printer.
What Ink Does Epson XP 2205 Use?
The Epson XP 2205 uses Epson 603 series ink cartridges, available in black, cyan, magenta, and yellow. It’s best to use genuine Epson 603 ink bottles or cartridges made specifically for this model to ensure top print quality.
The printer mainly uses dye-based ink, which gives vibrant colors and sharp text. Standard cartridges hold about 13ml of ink, while XL versions offer more for higher-volume printing.
How Do You Manually Unlock Epson Ink Cartridges?
You can’t just wish the Epson ink cartridges free—you’ve got to get hands-on! First, lift the scan lid gently to access the cartridge carriage.
If it’s stuck, carefully wiggle or press the cartridges without using force. Some models have a release lever or button—be sure to check your manual.
Always disconnect the power first, wait a few minutes, then use a soft cloth or plastic tool to gently free them. No metal tools or brute force!
Conclusion
Now that you’ve replaced your ink cartridge, your printer is ready to perform again. But remember, this simple task is just the beginning—what’s next could impact your print quality and your printer’s lifespan.
Will you stay attentive to maintenance or let small issues slide? The choice is yours. Keep an eye on those ink levels and be prepared for surprises with every print.
The next chapter of your printing journey awaits. Staying proactive now will help ensure your printer keeps running smoothly for a long time.