7 Simple Steps to Clean Ink Cartridges
If you’re tired of blurry or faded prints and feel like your ink cartridges just aren’t performing anymore, you’re not alone. Many people struggle with maintaining their printer’s print quality and often wonder if a simple cleaning could do the trick.
Luckily, cleaning your ink cartridges is easier than you might think and can save you money on replacements.
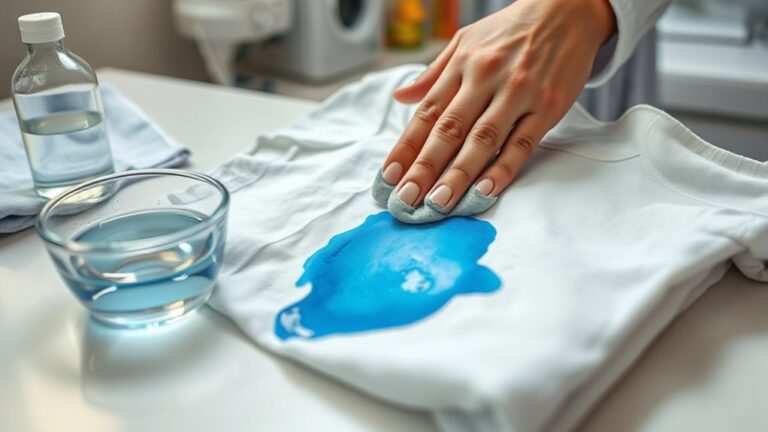
To clean your ink cartridges, turn off and unplug your printer, then open it to access the cartridges. Remove and gently wipe nozzles and contacts with a lint-free cloth dampened with alcohol.
Rinse stubborn residues with distilled water if needed, and let everything dry thoroughly before reinserting.
Run a test print, and if quality stays poor, consider re-cleaning or replacing cartridges.
For detailed guidance, follow the steps below for the best results.
Key Takeaways
- Turn off and unplug the printer before cleaning to prevent any damage or injury.
- Carefully remove the cartridges, handling them by the edges. This way, you avoid touching the nozzles and contacts, which is important.
- Gently clean the nozzles and contacts using a lint-free cloth or a cotton swab dipped in 91%+ isopropyl alcohol.
- Let the cartridges dry completely for about 10-15 minutes before putting them back.
- Once dry, reinstall the cartridges securely. Run a nozzle check and do cleaning cycles if needed to ensure everything works smoothly.
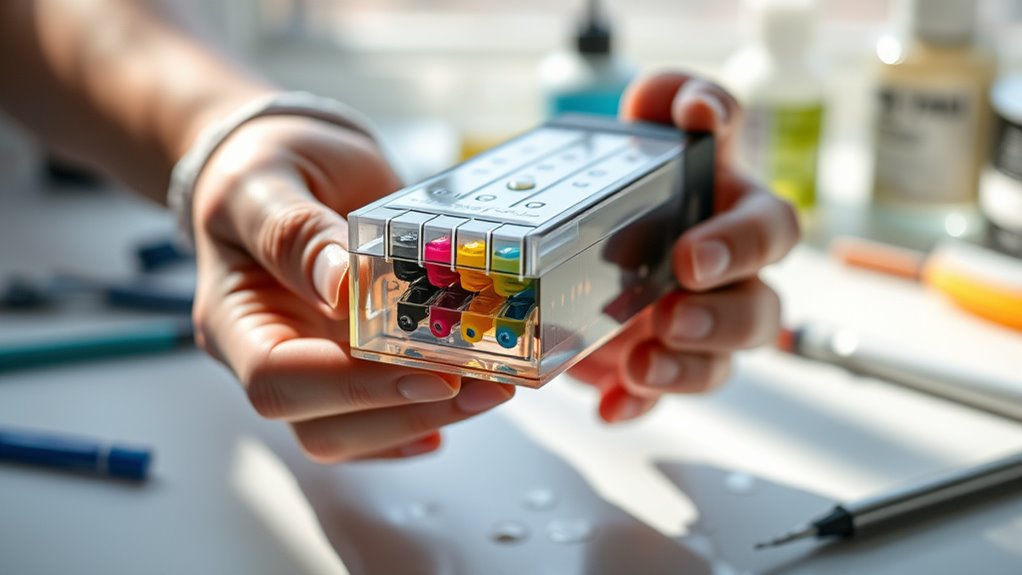
What Materials Do You Need to Clean Your Ink Cartridges?
To effectively clean your ink cartridges, you’ll need a few simple materials. Start with a lint-free cloth or a cotton swab, both great for gentle cleaning without scratching delicate parts.
Dampening the cloth or swab with 91% or higher isopropyl alcohol helps ensure you remove ink residue effectively.
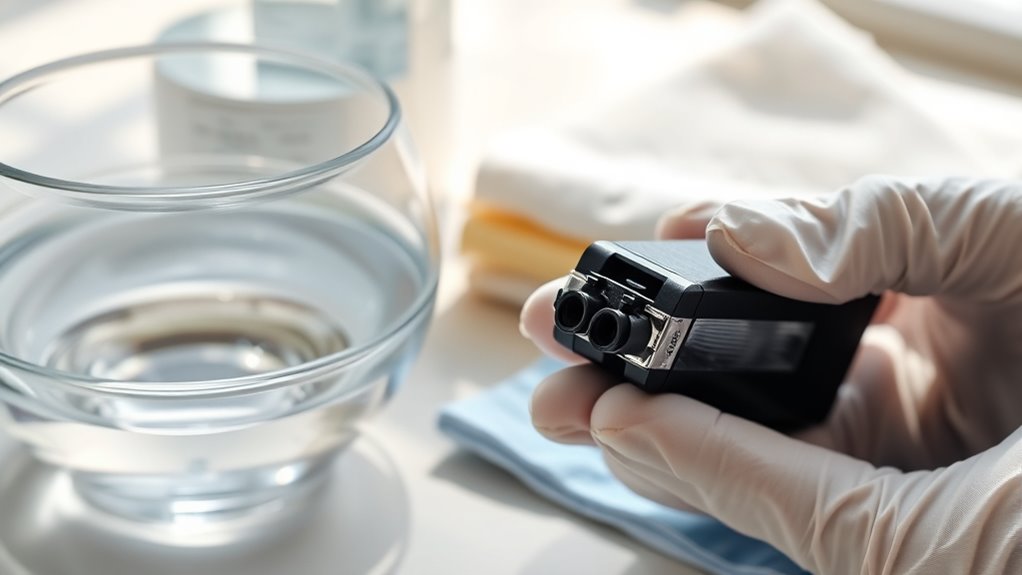
For rinsing printheads or stubborn ink buildup, use distilled water, which prevents contaminants found in tap water.
A cleaning kit designed for ink cartridges can also be helpful, especially if it comes with specialized tools.
Always wear gloves to protect your skin from ink stains and keep your workspace clean.
These materials let you clean your printhead carefully and efficiently, reducing the risk of damage and maintaining print quality.
How Do You Safely Prepare Your Printer and Cartridges for Cleaning?
Before starting the cleaning process, make sure your printer is completely powered off and unplugged. This helps keep you safe and prevents any electrical shocks or damage.
Always turn off and unplug your printer before cleaning to ensure safety and prevent damage.
Next, open the printer cover, usually at the front, and carefully access the cartridges. Wearing gloves can help avoid ink contact and keep everything hygienic.
To detach the cartridges, gently press down and wiggle each one free—don’t use too much force. Once removed, set the cartridges aside on a clean surface.
Proper preparation also means unplugging the printer and carefully opening the access panel. This helps you avoid damaging internal parts.
Safely detaching the cartridges is key to preventing leaks or damage. Following these steps makes sure you’re prepared for a safe and effective cleaning process, protecting both you and your printer.
Step-by-Step: How to Clean Your Ink Cartridges Effectively
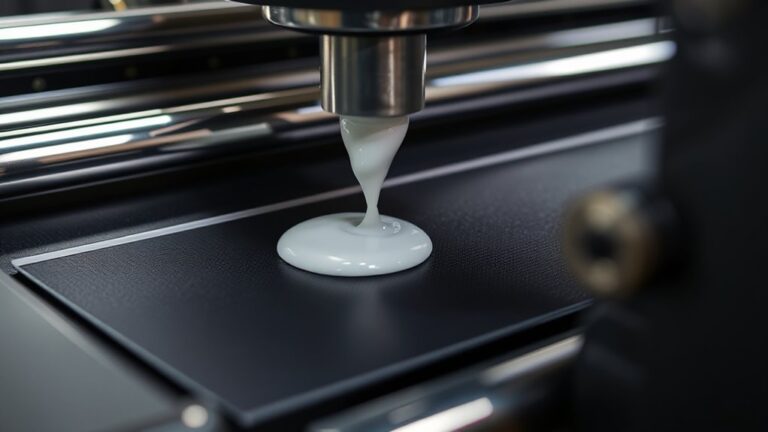
Once you’ve safely removed the cartridges, it’s time to clean them thoroughly. Start by gently wiping the nozzles and electrical contacts with a lint-free cloth or cotton swab dampened with alcohol. This will help clean ink and remove any dried ink.
Cleaning the nozzles clears debris that might block the printhead and disrupt ink flow. Be careful not to damage the delicate components. Allow the cartridges to dry for about 10-15 minutes before reinserting them.
Once dry, reinsert the cartridges securely into their slots, making sure they click into place. Close the ink door gently. After reinserting, run a printhead cleaning cycle through your printer’s software to improve ink flow and print quality.
What Should You Do If Cleaning Doesn’t Fix Print Quality?
If cleaning doesn’t improve your print quality, check for clogged nozzles or think about replacing worn cartridges. Sometimes, manual cleaning or running multiple deep cleaning cycles can help.
If problems still stick around, it might be time to consult a professional or update your printer drivers. Hardware issues could be causing the trouble, so expert advice or hardware replacement might be necessary.
Check for Clogged Nozzles
When print quality doesn’t improve after cleaning, it’s important to check for clogged nozzles to find out what’s wrong. Perform a nozzle check to see which colors or sections are blocked.
Use the printer’s built-in printhead cleaning cycle up to three times, but don’t overdo it to avoid damage. If the issue persists, try manually cleaning the affected nozzles with a lint-free cloth or cotton swab dipped in warm distilled water or isopropyl alcohol.
Remove the printhead if possible and inspect it for dried ink or clogs. Rinse it carefully if it’s removable, then dry it thoroughly before reinstalling. Persistent clogs may require specialized printhead cleaning kits or professional servicing.
Addressing printhead blockages quickly helps keep your ink cartridges clean and your printhead working properly.
Replace Worn Cartridges
After checking and cleaning the nozzles, sometimes the print quality still doesn’t improve. This might mean the cartridges themselves need replacing. If your ink cartridges are worn or damaged, swapping them out with genuine HP cartridges can bring back better print quality.
Check the ink levels and replace any cartridges that are empty or nearly empty. This helps ensure proper ink flow and prevents print issues. Also, inspect your cartridges for physical damage, leaks, or stubborn clogs that cleaning can’t fix.
Testing your printer with a different cartridge can help figure out if the problem is specific to one cartridge. When replacing, follow the manufacturer’s guidelines for proper installation and calibration.
Doing so will help you get clearer, sharper prints and avoid recurring print quality problems.
Seek Professional Support
Sometimes, cleaning your ink cartridges doesn’t fix persistent print quality issues. When that happens, it’s a good idea to seek professional support. Reach out to us or your printer manufacturer’s customer support for expert advice on printer maintenance.
They can help figure out if the problem is with the print head, cartridge, or the printer itself. Avoid trying advanced repairs on your own, as improper handling could cause more damage and even void your warranty.
Instead, consider taking the cartridges or printer to an authorized service center for a thorough check and repair. If your printer is still under warranty or covered by a service plan, use it to get authorized repairs or replacements.
Follow the manufacturer’s troubleshooting steps, and don’t hesitate to seek professional help if cleaning and basic troubleshooting don’t improve the print quality.
How to Dry and Reinstall Cartridges for Best Results
Once you’ve cleaned the cartridges, let them dry for at least 10 minutes. This helps prevent smudges and makes sure they work properly.
Handle the cartridges by the edges and press them firmly into their slots, making sure they click into place.
After reinstalling, run a test print to check that everything looks clear and runs smoothly.
Dry Cartridges Thoroughly
To guarantee your ink cartridges are ready for peak printing, it’s essential to dry them thoroughly before reinsertion. After cleaning, place the cartridges on a clean paper towel or drying rack, allowing at least 10-15 minutes for drying.
Avoid reinstalling damp cartridges, as moisture can cause electrical issues and ink smudging. Gently wipe the nozzles and contacts with a lint-free cloth or cotton swab dampened with isopropyl alcohol, then let them air dry completely.
Don’t use heat sources like a hairdryer, as excessive heat can damage the cartridges. Make sure all ink cartridges are fully dry and free of moisture before reinserting them into your printer.
Proper drying guarantees excellent print quality and helps prevent potential damage.
Proper Reinstallation Technique
After ensuring your cartridges are completely dry, carefully reinsert each one into its designated slot. Handle the cartridge by its edges, avoiding contact with the nozzles and electrical contacts to prevent damage.
Gently reinsert the cartridge, making sure it’s properly aligned with the slot. Push it in until you hear a click, indicating it’s securely in place. Next, close the cartridge latch firmly to lock the cartridge and ensure consistent print quality.
Afterward, gently close the ink door, making sure it’s fully shut so the printer can recognize the cartridges correctly. Take your time during this process to avoid misalignment or incomplete locking, which can affect print performance.
Proper reinstallation guarantees the best function and helps maintain your printer’s quality.
Test Print for Quality
Have you ever reinstalled ink cartridges only to find the print quality still looks off? To get the best results, do a test print after reinstalling the cartridges.
Before you do that, make sure the cartridges are completely dry. Let them sit for at least 10-15 minutes on a paper towel with the circuitry facing up. Proper drying helps prevent ink leakage and poor print quality.
Carefully reinsert the dried cartridges, making sure they click securely into place. Then, run a test print to check color accuracy, clarity, and overall quality.
If the print isn’t high-quality, try drying the cartridges again or doing another printhead cleaning. Regular testing helps ensure your cartridges are working properly, leading to sharper, clearer prints every time.
Tips to Prevent Clogged Cartridges and Keep Your Printer Running Smoothly
Ever wonder how to keep your printer running smoothly and avoid frustrating clogs? Regularly printing at least once a week helps prevent ink from drying out and clogging the cartridges.
Store cartridges in airtight, cool, and dry conditions to reduce evaporation and extend their lifespan. Using genuine HP or manufacturer-recommended ink cartridges decreases the risk of blockages caused by incompatible inks.
Perform routine automatic clean cycles to ensure ink flows smoothly and prevent buildup. Always handle cartridges carefully and avoid unnecessary opening or exposure to air, which can cause ink to dry out and clog.
To further prevent issues, make it a habit to clean the printhead regularly and print at least once a week. These simple steps help maintain your printer’s health and prevent costly repairs.
When Should You Seek Professional Help or Consider Replacing Cartridges?
When regular cleaning and troubleshooting don’t fix print quality issues, it’s time to consider professional help or replacing the cartridges. If cleaning doesn’t improve the print quality after several attempts, think about swapping out the cartridges.
Especially if they’re physically damaged, cracked, or leaking ink, it’s best to replace them immediately. Persistent ink leaks or a damaged cartridge require quick action.
If your printer shows cartridge errors or says the cartridges are incompatible, it’s a good idea to get professional help to diagnose the problem. Expired or dried-out cartridges won’t produce good prints and should be replaced.
When ink levels are truly empty, replacing the cartridges is necessary. If cleaning doesn’t restore proper ink flow or quality, consulting a technician or getting new cartridges is the way to go for the best printer performance.
Frequently Asked Questions
Is There a Way to Clean Ink Cartridges?
Yes, you can clean ink cartridges manually. Use a damp, lint-free cloth or cotton swab with isopropyl alcohol to remove dried ink and debris.
For stubborn clogs, rinse the nozzles and contacts gently in warm distilled water. Be sure to let the cartridges dry completely before reinstalling.
Many printers have automatic cleaning functions you can access through the software or control panel. These help keep your cartridges in good shape.
How to Bring Old Ink Cartridges Back to Life?
To revive old ink cartridges, start by soaking the nozzles in warm distilled water for 5-10 minutes to loosen dried ink. Then, gently wipe the electrical contacts and nozzles with a lint-free cloth dampened with 91% isopropyl alcohol.
Carefully clean around the nozzles with a damp cotton swab, avoiding direct contact. Let the cartridges dry completely for 15 minutes, then do a test print to see if the ink flow improves.
What Dissolves Hardened Ink?
Hardened ink dissolves best with warm distilled water, which gently breaks down dried ink without damaging your cartridge.
Isopropyl alcohol (91% or higher) is also effective because it can break down stubborn residues.
For tougher buildup, ammonia-based solutions like Windex can help, but use them carefully.
You might also try injecting cleaning solution into nozzles with a syringe or soaking the printhead in warm water for 5-10 minutes to loosen the ink.
Does Printer Ink Dry up and Get Old Sitting in the Print?
Yes, printer ink in cartridges can dry up and get old if you don’t use the printer regularly. When you leave cartridges sitting unused, the ink inside can harden and clog the nozzles.
This can lead to poor print quality and eventually make your printer stop working properly. Exposure to air, low humidity, and temperature changes speed up this process.
To keep your ink fresh, try to print regularly or store your cartridges properly. This way, your ink stays good and your printer stays ready to go.
Conclusion
Think cleaning your ink cartridges is just about rinsing them? Actually, some experts believe that ink can build up in tiny, invisible layers, making cleaning more of a delicate art than a simple rinse.
By following these steps, you can effectively maintain your printer’s health and print quality. Remember, if trouble persists, it might be time to replace your ink cartridges rather than try to repair them.
Your printer’s health depends on it!