How to Use Infusible Ink for Stunning Designs
Many crafters and DIY enthusiasts want to create eye-catching projects with Infusible Ink but often feel overwhelmed by the process. You’re not alone—getting perfect, professional-looking designs can seem tricky at first.
To create stunning designs with Infusible Ink, start by selecting compatible surfaces like sublimation-coating ceramics or specially made fabrics. Design your artwork in high resolution, mirror it, and securely cut and weed your design.
Use a heat press at the recommended temperature and pressure, ensuring the design stays in place during transfer. Let your project cool completely before peeling.
For detailed tips and troubleshooting, delve further into steps to make your projects truly professional.
Key Takeaways
- Use high-resolution, vibrant designs in Cricut Design Space. Always remember to mirror or reverse images before printing or cutting.
- Make sure your surfaces are compatible, clean, and preheated. This helps the ink stick better and gives you bright, long-lasting results.
- Secure your designs with heat-resistant tape. Use a pressing pillow or foam pad for even pressure, especially on thicker items.
- Follow the recommended temperature of 385°F to 400°F and pressing time between 40 to 240 seconds. Let your items cool completely before handling them.
- Carefully weed away any excess ink. Check your alignment before pressing.
- Apply even pressure during the pressing process for a professional, stunning finish.
What Is Cricut Infusible Ink and How Does It Work?
Ever wondered how to create vibrant, professional-looking designs that last forever? That’s where Cricut Infusible Ink comes in.
It’s a special transfer medium that bonds directly with compatible surfaces when heated, resulting in vivid, permanent designs. Cricut Infusible Ink transfer sheets contain sublimation ink infused into surfaces like ceramics, fabrics, and coated materials.
The ink becomes part of the surface, giving you a smooth, seamless finish that’s peel-proof, flake-proof, and wash-proof. To activate the design, you’ll need to use a heat press or Cricut Easy Press, which applies heat and pressure to trigger the sublimation process.
Choosing the Best Surfaces for Infusible Ink Projects
Are you choosing the right surfaces for your Infusible Ink projects? Picking compatible, sublimation-coated surfaces ensures vibrant, long-lasting results. Good options include ceramic ornaments, mugs, and coasters made specifically for sublimation.
Regular ceramics or leftover tiles without a sublimation coating won’t give you successful results. Light-colored surfaces work best because Infusible Ink colors really pop on them. Dark or opaque materials need special formulations to work well.
Always clean your surface thoroughly to remove dust, oils, or fingerprints. This helps create a seamless bond for the best outcome.
Here’s a quick guide:
| Surface Type | Coating Needed | Color Suitability |
|---|---|---|
| Ceramic | Yes | Light |
| Mug | Yes | Light |
| Tile | Yes | Light |
| Glass | No | Not ideal |
| Dark Surfaces | Special formulation | Limited |
Choosing the right surface guarantees your designs will be long-lasting and professional-looking.
Designing Your Artwork for Perfect Infusible Ink Transfers
To get flawless Infusible Ink transfers, start by designing your artwork in a high-resolution program like Cricut Design Space. Make sure your design is sharp and vibrant.
When creating your artwork, always mirror or reverse your design before printing or cutting. This is important because the transfer faces down during application.
Use vector-based images or bold, solid shapes to keep lines clean and colors vivid. Choosing a bright, saturated color palette will help maximize vibrancy on your surface.
Prepare your design with precise cut lines and weed out any unnecessary parts. This makes the transfer process smoother and more professional.
Paying attention to these details will help you achieve stunning, professional-looking results with your infusible ink projects.
Preparing Files and Printing for Flawless Transfers
Start by creating or choosing high-resolution, vibrant designs in Cricut Design Space, making sure to mirror them before printing.
Then, select transfer paper that works with your printer type and adjust your settings for the best quality.
Once printed, let the design fully dry to ensure a flawless transfer.
Design Creation and Setup
Creating a flawless Infusible Ink design starts with preparing your files correctly in Cricut Design Space. Make sure to mirror your design so it’s oriented properly on your final surface.
Use high-resolution images and vibrant colors for crisp, professional transfers. Choose transfer paper compatible with your inkjet printer and Infusible Ink sheets for the best color transfer and adhesion.
Print your design carefully, then weed out any unwanted areas with a weeding tool. Proper alignment is key—secure the design with heat-resistant tape and make sure it’s smooth and bubble-free before applying heat.
| Design Element | Purpose |
|---|---|
| Mirroring | Correct orientation |
| High-res images | Sharp, vibrant transfer |
| Compatibility | Ensures color accuracy and adhesion |
| Precise placement | Flawless final appearance |
Mirror Image and Print
Before printing your design, double-check that it’s properly mirrored in Cricut Design Space to make sure it looks right on your final surface. Using the mirror image function reverses your design, which is important for accurate placement.
Make sure your image is high-resolution—at least 300 DPI—for sharp, vibrant transfers. This helps prevent pixelation and keeps your design crisp.
Select the correct transfer sheet or paper type in your software to match your infusible ink or sublimation process. It’s also a good idea to confirm that your design is aligned and centered before printing to avoid misplacement during transfer.
Doing a test print on plain paper is helpful to check colors and placement. This way, you can ensure a flawless final result when you transfer your design onto your surface.
Transfer Paper Selection
Choosing the right transfer paper is crucial for getting vibrant, professional-looking results with your Cricut Infusible Ink projects. Use high-quality, compatible transfer paper specifically made for Cricut Infusible Ink to ensure the best ink transfer and bright colors.
Before printing, always mirror your digital design to avoid reversed images on your final project. Print with a compatible inkjet printer using sublimation or Infusible Ink sheets, following the manufacturer’s recommended settings for accurate color.
Keep your transfer paper free of dust, fingerprints, and static to prevent imperfections. Proper handling and correct paper orientation during printing are key to avoiding misalignment or smudging.
Choosing the right transfer paper and preparing it properly sets the stage for flawless transfers and stunning results.
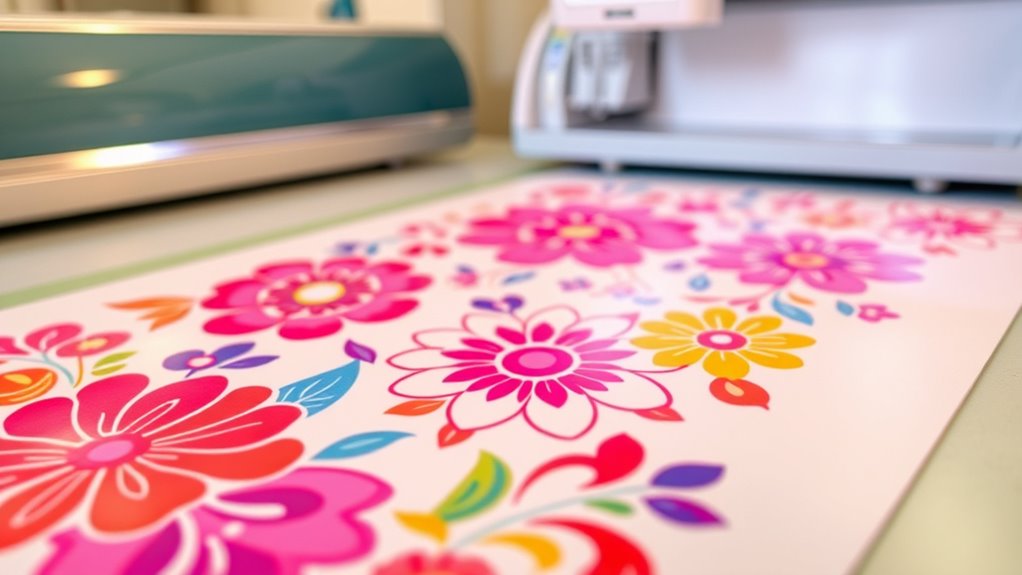
Cutting and Weeding Infusible Ink Sheets Accurately
To cut infusible ink sheets accurately, start by setting your fine point blade to the right depth. This helps prevent tearing or incomplete cuts. Proper blade depth ensures clean, precise lines on the ink.
Set your fine point blade to the correct depth for clean, precise infusible ink cuts.
Before cutting, mirror your design in Cricut Design Space so it looks correct on your final project. Keep your cutting mat clean and sticky to prevent shifting and help with accurate cuts.
Use a brayer to smooth out the infusible ink sheet onto the mat. This reduces wrinkles and keeps the sheet from moving during cutting. After cutting, weed away excess ink carefully with tweezers and weeding tools.
Pay attention to intricate areas and take your time. Patience during weeding helps preserve your design’s details and prevents any damage, resulting in a stunning finished project.
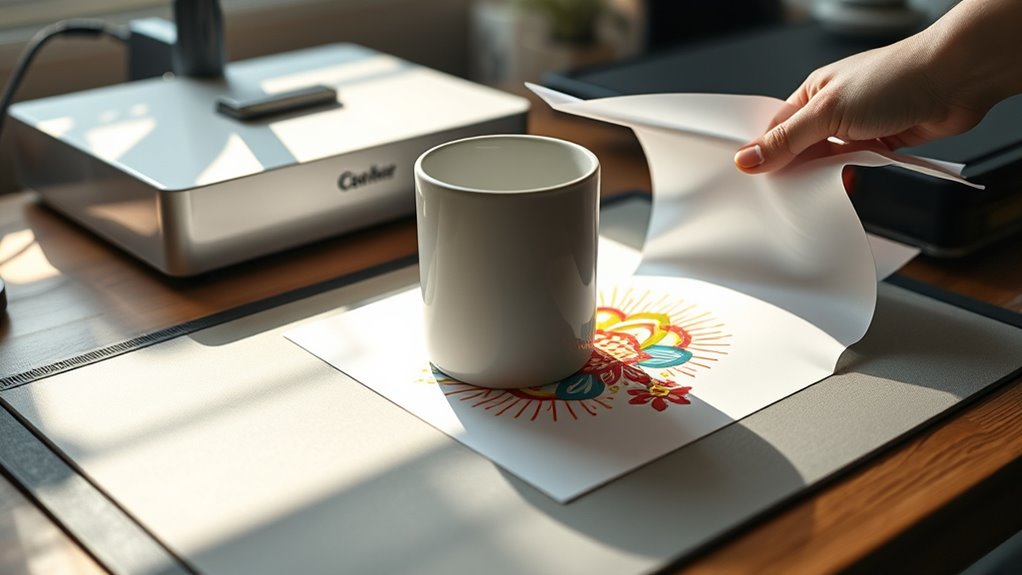
How to Apply Infusible Ink to Different Surfaces
Once you’ve cut and weeded your infusible ink design, the next step is applying it to your chosen surface. To do this effectively, pick surfaces that are compatible, like ceramic, metal, or fabrics with a sublimation coating.
Make sure to clean the surface thoroughly to remove any dust, oils, or residues that could prevent the ink from bonding properly. Use heat-resistant tape to secure your design and double-check the alignment before applying heat.
When you’re ready, set your Cricut Easy Press or heat press to the recommended temperature and time for that specific surface. After the heat transfer, let the item cool completely. This cooling step is key, as it helps the ink fully infuse into the surface, giving you vibrant, durable, and professional-looking results.
How to Set Your Heat Press for Vibrant, Long-Lasting Results
Setting your heat press correctly is key to getting vibrant, long-lasting results with infusible ink. Start by setting the temperature to 385°F, which works well for most ceramics and fabrics, ensuring strong dye bonding.
Apply firm, even pressure for 40 seconds to transfer the ink smoothly without dulling or uneven coloring. Before pressing, preheat your surface for 5-10 seconds to remove moisture and help the ink stick better.
If you’re working with thicker items, use a pressing pillow or foam pad to keep the pressure consistent. Secure your design with heat-resistant tape to keep everything in place during pressing.
Once the press is done, let the item cool completely before removing the backing or butcher paper. This helps prevent smudging and makes sure your transfer looks perfect.
Tips for Creating Double-Sided and Multi-Color Infusible Ink Projects
Creating double-sided and multi-color infusible ink projects takes some planning and attention to detail to make sure both sides look vibrant and professional. When working with infusible ink ornaments, only press once to avoid dulling the colors on either side.
Use carefully aligned design placement and secure everything with heat-resistant tape. This helps prevent shifting during transfer and ensures your design transfers correctly. For a striking look, choose vibrant, contrasting colors for each side.
Make sure to properly preheat your heat press and let the ornament cool completely before handling. This prevents dulling and helps you achieve a seamless finish. When working with multi-color designs, use high-resolution images and weed carefully so the sharp details transfer beautifully on both sides.
Troubleshooting Common Infusible Ink Transfer Problems
If your infusible ink transfer isn’t turning out right, start by checking your surface compatibility to make sure it’s suitable for sublimation.
Next, ensure you’re applying the correct temperature and time. Double-check that your design stays securely in place during pressing.
Focusing on these key points can help you avoid common issues like dull colors, peeling, or blurry images.
Proper Surface Compatibility
To guarantee successful transfers with Infusible Ink, it’s important to use surfaces that are compatible with the medium. Surface compatibility is key to getting vibrant, even results.
Infusible Ink works best on specially coated ceramic, polyester, or poly blends. Regular ceramics or non-coated surfaces won’t produce successful transfers. Using incompatible or uncoated surfaces can lead to dull, uneven, or incomplete designs because the ink won’t bond properly.
Before fully applying your design, it’s a good idea to test a small, hidden area to check for compatibility and transfer quality. Keep in mind that textured or uneven surfaces may cause distortion or incomplete transfers.
Proper cleaning and preparation—removing oils, dust, and debris—are also essential. This helps ensure the ink bonds well and your design looks stunning.
Correct Temperature and Time
Ensuring your heat press is set to the right temperature and time is key to getting vibrant, complete transfers with Infusible Ink. The ideal temperature usually falls between 385°F and 400°F, so always check the manufacturer’s recommendations.
Keeping the correct pressing time—about 40 seconds for shirts and 240 seconds for coasters—helps you get even ink transfer without dullness or incomplete coverage. Applying even pressure during pressing promotes uniform ink bonding and prevents faded areas.
Be careful not to go over the recommended temperature and time, as this can cause bleeding, scorching, or dull colors. To improve your results, preheat your surface and use a pressing pillow or mat, which helps distribute heat evenly and makes for a successful, vibrant transfer every time.
Secure Design Placement
Properly securing your design is essential to prevent shifting or misalignment during heat transfer. To keep your Cricut Infusible Ink design in place, use heat-resistant tape to hold it onto your surface. Make sure the tape is smooth and secure.
Next, smooth out the design with a lint-free cloth or brayer, removing any air bubbles before pressing. When using Infusible Ink, alignment is key—double-check that your design is correctly positioned to avoid skewing.
Use your Cricut Easy Press to apply even pressure across the entire area, especially at the edges. This helps ensure a consistent transfer and vibrant results. Confirm that the transfer sheet is fully adhered to your project.
Whether you’re making cute home decor or other crafts, securing your design properly guarantees professional, vibrant results.
How to Care for Your Infusible Ink Creations and Make Them Last
Caring for your infusible ink creations is key to keeping them vibrant and lasting longer. Hand-wash your items gently with mild detergent, and steer clear of harsh chemicals, bleach, or abrasive scrubbers that could damage the inked surface.
Keep your projects away from extreme heat, direct sunlight, or microwave exposure. This helps maintain their bright colors and prevents fading over time.
When you’re not using them, store your finished creations in a cool, dry place. Keep them out of sunlight to help extend their lifespan.
Make sure to regularly check your items and handle them with care. This prevents cracking, peeling, or other damage that can happen over time.
With proper care, your infusible ink projects will stay stunning, vibrant, and durable for years to come.
Creative Ideas for Stunning Infusible Ink Crafts
Infusible Ink opens up a world of creative possibilities, letting you craft vibrant, professional-looking designs on many surfaces. You can personalize T-shirts, mugs, coasters, ornaments, and tote bags, showing off its versatility.
Imagine applying bold patterns, photos, or custom text to make each piece unique. For double-sided ornaments, a special pressing technique creates durable, vivid designs on both sides.
To visualize, check out this table:
| Surface | Design Ideas | Techniques |
|---|---|---|
| Fabric | Custom T-shirts | Layering patterns, vibrant colors |
| Ceramics | Mugs, coasters | Photo transfers, bold fonts |
| Metal | Ornaments, jewelry | Double-sided pressing |
Experimenting with colors, textures, and patterns helps you create stunning, one-of-a-kind crafts that really stand out.
Frequently Asked Questions About Cricut Infusible Ink
Wondering whether Cricut Infusible Ink works on all surfaces? It doesn’t. This ink is only compatible with sublimation-coated surfaces like specific ceramic ornaments and blanks. Regular tiles or leftover ceramics without the proper coating won’t bond properly, so avoid using those.
To guarantee success, follow these key tips: Use Cricut Infusible Ink sheets or sublimation printers for printing designs. Confirm your surface has a compatible coating for proper absorption. Adhere strictly to manufacturer guidelines for heat and pressure.
Expect vibrant, durable, and wash-proof images that become part of the surface. Knowing these facts helps you achieve professional, long-lasting results with your Cricut projects.
Frequently Asked Questions
Does Infusible Ink Go Shiny Side Down?
Yes, infusible ink goes shiny side down. When you’re cutting or applying it, make sure the shiny side is facing the transfer surface.
This helps the vibrant design transfer properly into your material. Placing the shiny side down keeps the correct orientation and gives you a vivid, professional-looking finish.
Always double-check which side is shiny before pressing. That way, you’ll avoid dull colors or a poor transfer quality.
Which Is Better, Sublimation or Infusible Ink?
It depends on your project. If you want a seamless, durable, and vibrant design that’s part of the surface, Infusible Ink is the way to go. It’s perfect for long-lasting crafts on compatible blanks.
But if you need detailed, photo-realistic images and are working with polyester or coated surfaces, sublimation gives you more flexibility.
Think about your surface type and the finish you’re after to pick the best method for your creative needs.
Which Side of Infusible Ink Goes Up?
You should keep the shiny side of the Infusible Ink sheet facing up. That’s the printable surface where you’ll print or draw your design.
The duller, matte side is the backing that you remove after transferring. By making sure the shiny side faces up during cutting and application, you’ll get vibrant, seamless designs.
This helps prevent smudging or misalignment, making your project look professional and polished every time.
Do I Need to Mirror an Image for Infusible Ink?
Yes, you need to mirror your image before cutting infusible ink, especially if it has text or directional parts. Since the design is transferred face down, mirroring makes sure it looks right on the finished surface.
For designs without text or directional details, mirroring isn’t always needed, but it’s still a good habit to get into. Always check your project instructions to see if mirroring is necessary for your specific design.
Conclusion
Now that you know the secrets to using Cricut Infusible Ink, you’re all set to create jaw-dropping designs that will leave everyone breathless. With your newfound skills, your projects will shine brighter than a supernova, turning ordinary surfaces into extraordinary works of art.
So go ahead—grab your supplies and start crafting stunning, professional-looking creations using Infusible Ink. Your DIY dreams are about to come true, and everyone will be amazed by your beautiful, vibrant designs!