How to Remove Ink Stains From Fabric With a Step-By-Step Guide
Dealing with ink stains on fabric is a common frustration many people face. Whether it’s from a pen leak or accidental splashes, those stubborn marks can be tough to remove. If you’re tired of seeing ink ruin your clothes or favorite linens, you’re not alone — but good news, there are simple tricks to tackle the problem.
To remove ink stains from fabric, act quickly by applying alcohol-based solutions like rubbing alcohol or hand sanitizer directly on the stain. Gently blot to lift the ink, reapplying as needed and allowing each layer to dry.
For stubborn stains, you can pre-treat with a vinegar-water mix or soak in oxygen bleach. Always test on hidden fabric areas first to avoid damage.
Want to learn more effective tips and precautions? Keep exploring for detailed steps and safety advice.
Key Takeaways
- Act quickly by blotting with rubbing alcohol or hand sanitizer to break down the ink stain.
- It’s a good idea to test your cleaning solutions on a hidden part of the fabric first. This way, you can make sure there’s no discoloration or damage.
- Gently blot or dab the stain, being careful not to scrub aggressively. Scrubbing can push the ink deeper into the fabric, making it harder to remove.
- Keep repeating the treatment with alcohol or stain removers until you see the stain lighten or disappear.
- Once the stain is gone, rinse the fabric thoroughly with cold water. Then, let it dry completely before doing any additional cleaning.
What Are the Different Types of Ink Stains and Their Challenges?
Understanding the different types of ink stains is key to removing them effectively, since each type comes with its own challenges.
Water-based inks, like those from washable markers and fountain pens, are usually easier to remove because they dissolve in water.
Water-based inks from markers and fountain pens are simpler to clean since they dissolve easily in water.
Oil-based inks, such as ballpoint pen ink, don’t dissolve in water and need solvents like rubbing alcohol to lift the stain.
Permanent ink contains resins and pigments that bond tightly with fabric fibers, making it the toughest to get out.
Dried ink stains are more difficult to clean than fresh ones because they set into the fabric.
The ink’s composition, whether dye or pigment, and its solvent base, directly affect your removal approach.
Knowing these differences helps you pick the right method for each stain.
Gather the Supplies You Need to Remove Ink Stains Effectively
Start by gathering the essential cleaning agents like rubbing alcohol, hand sanitizer, or a suitable stain remover.
You’ll also need clean cloths, paper towels, a small bowl, and protective gloves to handle chemicals safely.
Don’t forget to check the fabric’s care label and have cold water and laundry detergent ready for after-treatment cleaning.
Essential Cleaning Agents
Have you gathered the right cleaning agents to effectively remove ink stains from fabric? Using the correct stain removal products is key. You’ll need alcohol-based hand sanitizer, liquid Clorox 2™, and laundry detergent, as each works differently on various inks and fabrics.
Always check care labels before you start and do a spot test first. To help you stay organized, here’s a quick overview:
| Cleaning Agent | Purpose | Application Tips |
|---|---|---|
| Alcohol-based sanitizer | Breaks down ink pigment | Use sparingly on delicate fabrics |
| Clorox 2™ | Color-safe bleach | Follow instructions for stain removal |
| Laundry detergent | General cleaning | Pre-treat before washing |
Gather these agents, follow the manufacturer’s instructions, and you’ll be ready to remove stains effectively.
Necessary Tools and Items
Gathering the right tools and supplies sets the foundation for effectively removing ink stains from fabric. To start, you’ll need a reliable stain remover like rubbing alcohol, hand sanitizer, or a commercial product, along with a clean cloth or paper towels for blotting.
You should also have gentle laundry detergent and a color-safe bleach or stain treatment suitable for your fabric type. Prepare a small bowl or container to mix solutions like vinegar and water or a baking soda paste for pre-treatment.
Furthermore, keep cold water nearby for rinsing the fabric after applying stain removal solutions. Finally, work in a clean, flat space with good lighting to monitor your progress.
Having these items ready ensures a smooth, effective stain removal process.
Why Acting Quickly Matters When Removing Ink Stains
Acting quickly when you notice an ink stain can make a big difference in removing it successfully. Immediate treatment prevents the ink from soaking deep into the fabric fibers, making it easier to lift.
The longer you wait, the more likely the stain will set permanently, especially within minutes to hours. Prompt action reduces the need for multiple cleaning attempts and helps keep the fabric’s original color and texture.
Water-based inks are much easier to remove when treated early, before they dry and become resistant. Delaying response often leads to stubborn stains that are harder to get rid of and may even require professional cleaning.
How to Pre-Treat Ink Stains With Alcohol-Based Solutions
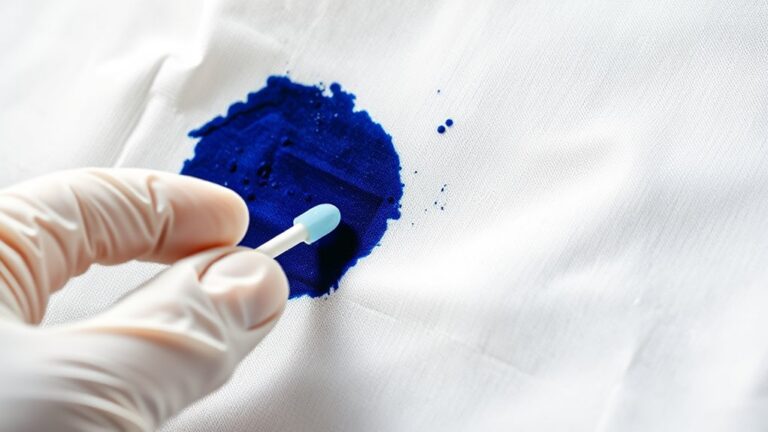
After acting quickly to prevent the stain from setting, the next step is to pre-treat the ink with an alcohol-based solution. Saturate the ink stain thoroughly with rubbing alcohol or hand sanitizer containing at least 70% alcohol to loosen the ink particles.
Allow the solution to sit for at least 5 minutes, giving it time to penetrate and break down the ink fibers. Then, gently blot the treated area with a clean paper towel or cloth to lift the ink without spreading it further.
Remember to test the alcohol on a small, hidden part of the fabric first to avoid any discoloration.
- A small amount of sanitizer spreading across the fabric
- The alcohol soaking into the fibers
- The ink starting to loosen and lift
- The fabric darkening slightly as it absorbs the solution
- Gently blotting to lift the stain
How to Safely Use Bleach on Colorfast and White Fabrics
Before using bleach, check the fabric care label to make sure it’s safe. It’s also a good idea to test your diluted solution on a hidden area first to prevent any damage.
Use the correct amount of bleach—about ¼ cup per gallon of water for white fabrics. Never pour it straight onto the fabric without diluting.
After applying, rinse thoroughly with cold water and wash the item separately. This helps prevent color transfer and keeps your fabrics looking their best.
Proper Bleach Dilution Techniques
To use bleach safely on fabric, you need to dilute it properly according to the manufacturer’s instructions. Typically, this means mixing one part bleach with ten parts water for safe use.
Always test the diluted bleach on a hidden fabric area first to check for discoloration or damage. When applying, use a clean cloth or sponge, and avoid saturating the fabric excessively, which can weaken the fibers.
Never pour undiluted bleach directly onto fabric, as this can cause permanent damage or discoloration. After bleaching, rinse the fabric thoroughly with cold water immediately to stop the chemical action and prevent over-bleaching.
Proper dilution guarantees you safely remove ink stains without harming your fabric.
Fabric Compatibility and Testing
Knowing how to properly dilute bleach is just the first step; understanding whether your fabric can handle the chemical treatment is just as essential. Always check the fabric care label to confirm if the material is bleach-safe before proceeding.
Conduct a patch test on an inconspicuous area using a diluted fabric testing solution to spot any color change or damage. For colored fabrics, use only a color-safe bleach like Clorox 2™ and avoid regular or undiluted bleach, which can cause discoloration.
For white fabrics, fully submerge the item in a diluted bleach solution, such as ¼ cup per gallon of water, and closely monitor the process. Rinse thoroughly with cold water afterward to prevent over-bleaching and fabric damage.
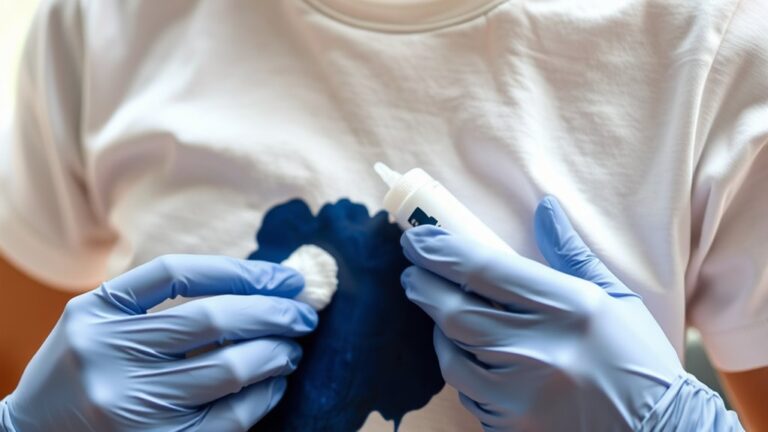
Properly Wash and Rinse to Remove Remaining Ink Residue
Once you’ve treated the stain with your chosen cleaning solution, it’s important to rinse the fabric thoroughly with cold water. Use a gentle stream of water to flush out any leftover ink particles from the fabric fibers effectively.
Make sure the fabric is completely soaked and rinsed, especially around the edges of the stain, to prevent re-soaking or re-deposition of ink. Repeat rinsing as needed until no ink residue or discoloration remains before washing again.
Proper rinsing helps prevent ink from setting further during the wash, which increases your chances of fully removing the stain. Aim for a steady, gentle flow of water washing over the fabric.
Carefully target the edges of the stain to lift any residual ink. Flushing out ink particles trapped deep within the fibers is key. Make sure no discoloration or leftover ink remains.
Keep rinsing until the fabric appears clear and clean. Repeating this process will help ensure all ink is removed before you move on to washing the item normally.
How to Remove Old or Set-In Ink Stains Effectively
Removing old or set-in ink stains can be tough because the ink has soaked deep into the fabric.
To have the best chance of success, try to identify the type of ink and use stronger or repeated treatments like alcohol-based products or oxygen bleach.
Be patient and prepared to try multiple times. Sometimes, professional cleaning is the best option for stubborn stains.
Assess Ink Type and Age
Evaluating the ink type and age is important because different inks and how long they’ve been on the fabric affect the best removal method. Old or set-in ink stains are tougher since the ink has gone deeper into the fibers, making chemical treatments less effective.
The longer a stain sits, the more resistant it becomes because ink molecules bond more strongly with the fabric. Acting quickly helps prevent the stain from setting further or becoming permanent. Be careful with heat from ironing or drying, as it can cause old ink stains to set permanently.
To assess the stain, consider whether the ink is water-based or oil-based, how long it’s been on the fabric, and if the stain is dry or still damp. Also, look at the fabric type and the stain’s appearance and depth.
Use Effective Stain Removers
For old or set-in ink stains, using the right stain removers can really make a difference. Products like OxiClean Max Force or commercial ink stain removers designed for tough stains target ink fibers effectively.
Start by pre-treating the stain with a strong solvent like rubbing alcohol or hand sanitizer. Let it sit for at least 10-15 minutes.
For deeply ingrained or dried ink, soaking the fabric in a solution of oxygen bleach mixed with warm water for several hours can help break down the ink fibers. Repeating the pre-treatment and soaking can improve your chances of complete removal.
Always do a patch test first to avoid damaging your fabric or causing color loss.
Patience and Repetition
Old or set-in ink stains can be really stubborn and resist initial treatments, so patience and persistence are key.
Repetition is essential—you shouldn’t expect a quick fix.
You might need to reapply treatments several times, especially for deep stains.
Always let each layer dry completely before trying again to avoid spreading or setting the stain further.
To protect your fabric, test your method in an inconspicuous spot first.
Visualize these steps:
- Applying a fresh layer of stain remover
- Waiting patiently for it to dry fully
- Repeating the treatment a few times
- Watching the stain fade gradually over days
- Using gentle, consistent effort instead of rushing
Avoid Common Mistakes That Can Worsen Ink Stains
To prevent making ink stains worse, it’s important to avoid common mistakes that can set or deepen the mark. Scrubbing the stain aggressively can push ink deeper into the fabric fibers, making it harder to get out.
Avoid aggressive scrubbing to prevent ink from setting deeper into fabric fibers.
Using cold water on oil-based ink stains can actually cause the ink to set rather than loosen. Be careful with the cleaning solutions—applying too much without testing might damage or discolor delicate fabrics.
Waiting too long before treating the stain allows it to dry and set, which reduces your chances of removal. Also, steer clear of using undiluted bleach, as it can weaken fibers and cause permanent discoloration.
Instead, treat stains gently, test cleaning agents first, and act quickly. This approach will give you a better shot at removing the stain without making things worse.
How to Safely Test Cleaning Methods on Small Fabric Areas
Before applying any cleaning solution to a stained fabric, it’s important to test it on a small, hidden area first. This helps you check if the cleaner might cause color fading or damage the fabric.
Pick a discreet spot, like inside a seam or hem, so the test stays hidden. Use a cotton swab or soft cloth to apply just a tiny amount of the cleaning solution. Watch for any color change or deterioration.
Wait at least 5 minutes to see if anything happens. Keep track of your test results so you’ll know if it’s safe to use on the whole fabric. Visualize the process:
- Tucking fabric inside a seam
- Using a cotton swab for precision
- Applying minimal cleaning solution
- Watching for color shifts
- Waiting patiently before moving forward
Tips for Removing Ink From Different Fabrics and Surfaces
When tackling ink stains, it’s important to recognize that different fabrics and surfaces require specific removal techniques. This helps avoid damage and gives you the best chance at success.
For non-porous surfaces like glass or plastic, gentle solvents such as rubbing alcohol or hydrogen peroxide usually work well. Porous materials like wood or stone tend to absorb ink, making complete removal tough or impossible.
Delicate fabrics like silk or wool need milder solutions. Always test on hidden areas first to protect the fabric’s quality. White, bleach-safe fabrics can often be treated with a bleach solution, but colored fabrics require color-safe stain removers to prevent discoloration.
Adjust your stain removal methods based on the fabric or surface to get the best results without causing damage.
How to Prevent Future Ink Stains and Care for Your Clothes
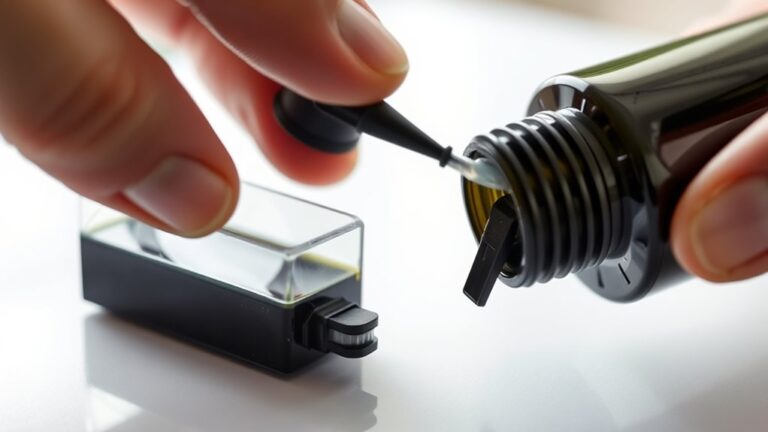
Taking proactive steps to prevent ink stains starts with careful handling and storage of your pens and markers. Regularly inspect and clean your writing tools to prevent leaks and accidental ink spills.
Handle and store pens carefully to prevent leaks and ink spills.
Store ink cartridges and refills in a cool, dry place away from clothing and upholstery to avoid unintended staining. Always wear protective clothing or an apron when refilling or handling ink to reduce the risk of ink transfer.
Keep pens capped and secure immediately after use, and avoid leaving them uncapped or in pockets. Proper laundry care is essential—pre-treat stains promptly and avoid heat to prevent ink from setting deeper into fabrics.
Stain prevention is easier when you stay mindful of your tools and practice good laundry habits.
Frequently Asked Questions
How to Remove Ink Stains From Clothes Quickly?
To remove ink stains quickly, act fast and blot the stain with a clean cloth to lift excess ink.
Apply rubbing alcohol or hand sanitizer directly onto the stain, letting it sit for at least five minutes.
Rinse with cold water to flush out the ink, then wash the garment in the hottest water safe for the fabric.
Check the stain before drying to verify it’s gone.
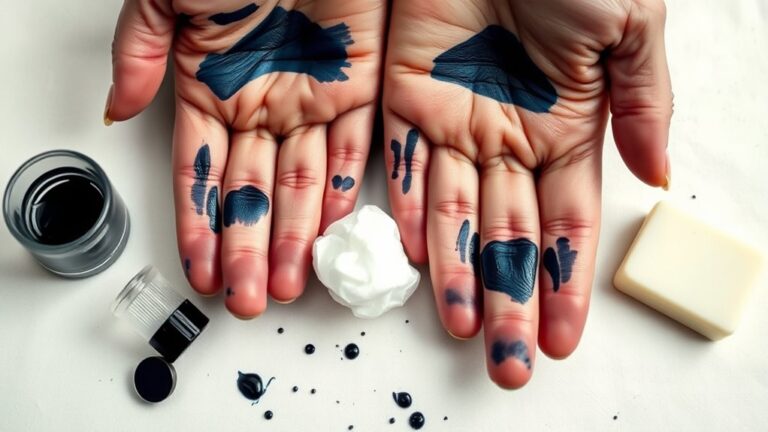
Does Dawn Soap Remove Ink?
Yes, Dawn soap can remove ink stains, and it’s incredibly powerful—like a superhero fighting stubborn spots. Since it’s great at breaking down oil-based inks, you’ll want to apply it directly to the stain and gently rub.
For best results, act quickly on fresh stains. Just remember to test it on a hidden fabric spot first so you don’t accidentally cause discoloration. With patience, Dawn can help lift that ink away.
How Can I Remove Ink Stains From My Clothes?
To remove ink stains from your clothes, act quickly by blotting the stain with a clean cloth to stop it from setting.
Then, apply rubbing alcohol or hand sanitizer directly onto the stain and let it sit for a few minutes.
Gently rub the area with a soft cloth or brush, rinse with cold water, and wash in the hottest water safe for the fabric.
Finally, let your clothes air dry.
Does Dried Pen Ink Come Out of Clothes?
Dried pen ink can come out of clothes, but it’s not guaranteed. You’ll need to act quickly, treat the stain with rubbing alcohol or stain remover, and let it soak.
Keep at it with multiple treatments if needed. Some stains might be permanent, so don’t get discouraged.
Your chances improve with patience and effort, but certain inks and fabrics just resist removal altogether. Don’t give up—try different methods until you find what works.
Conclusion
Removing ink stains from your fabric might seem tricky, but with the right techniques, you can restore your clothes quickly. Acting fast is key—treating ink stains within the first 24 hours can boost your chances of success by up to 80%.
Keep your supplies ready, test any method on a small area first, and be patient. These tips will help you keep your wardrobe looking fresh and stain-free for years to come.
And if you’re dealing with ink stains, don’t forget that quick action and proper techniques are your best bets for removal.