Understanding Infusible Ink Meaning for Beginners
Many crafters struggle with creating designs that last. You want something vibrant and durable that won’t peel or fade over time. If that sounds familiar, you’re not alone.
Infusible Ink is a craft method that permanently infuses vibrant designs into compatible surfaces using heat, creating seamless, long-lasting results. Instead of sitting on top like vinyl, the ink penetrates fabrics or coated surfaces, making your designs durable and stretchable.
You’ll need specific equipment like a Cricut machine and heat press, along with compatible blanks. If you keep exploring, you’ll uncover the best techniques to get perfect, professional-looking projects.
Key Takeaways
- Infusible Ink is a heat-activated transfer method that infuses color into compatible surfaces, creating durable, seamless designs.
- It uses transfer sheets or pens to apply vibrant ink that penetrates polyester or coated surfaces.
- Unlike vinyl, Infusible Ink becomes part of the surface. This means your design is more flexible and resistant to cracking or peeling over time.
- Proper surface prep, temperature, and pressure are key to getting vibrant, long-lasting results. If you don’t follow these steps, the design might not turn out as good as you want.
- It’s perfect for personalized projects on clothing, home decor, and accessories. Plus, it gives a professional-quality finish that looks great.
What Is Infusible Ink and How Does It Work?
Have you ever wondered how to create vibrant, permanent designs that feel like part of the surface? That’s where Infusible Ink comes in. It uses transfer sheets or pens to apply color, which is then infused into compatible blanks through heat.
Instead of sitting on top like vinyl, Infusible Ink penetrates the fibers of polyester or specially coated surfaces. This makes the design seamless and durable. The process involves designing digitally, then transferring the ink onto the surface using a heat press, like a Cricut EasyPress.
Once heated, the ink infuses into the material, resulting in a vibrant, stretchable, and wash-proof design. It won’t crack or fade over time. This method creates professional, long-lasting results you can enjoy on various surfaces.
Essential Equipment Needed for Infusible Ink Projects
To achieve professional and long-lasting results with Infusible Ink, you need the right equipment. A compatible Cricut machine, like the Cricut Maker or Explore, is essential for precise cutting.
Using the right Cricut machine is key for precise cuts with Infusible Ink.
For heat application, a Cricut EasyPress or heat press ensures even, controlled heat transfer. You’ll also need high-quality transfer sheets designed specifically for Infusible Ink, along with compatible Cricut pens and markers for customizing your designs.
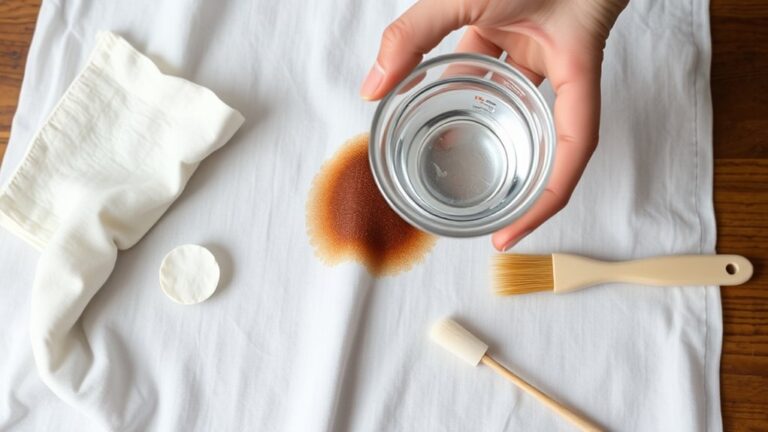
Proper blanks, such as polyester or specially coated surfaces, help the ink infuse correctly and permanently. Before applying your design, make sure to use a lint-free cloth or lint roller to prepare the surface.
Finally, precise temperature control around 385°F is key for successful transfers, making your project durable and vibrant.
How to Prepare Your Design for Best Results
Preparing your design properly is key to getting vibrant and precise results with Infusible Ink. First, always mirror your design in Cricut Design Space so it transfers the right way.
Use high-resolution images to keep your results sharp and vivid after transfer. Pick transfer paper made specifically for Infusible Ink to help with ink sticking and color vibrancy.
Before transferring, carefully weed away any excess material from the transfer sheet, leaving only your design. This prevents transfer errors and keeps things clean.
Make sure your design is smaller than your EasyPress size. This helps avoid incomplete transfers or overheating during the process.
Here’s a quick summary of the key steps:
| Step | Focus Area | Tip |
|---|---|---|
| Mirror Design | Orientation | Flip your design before cutting or printing. |
| Use Compatible Paper | Material Compatibility | Choose paper specifically for Infusible Ink. |
| Weed Excess Material | Clean Transfer Sheet | Remove all unwanted material for a smooth transfer. |
Step-by-Step Guide to Applying Infusible Ink
To apply infusible ink successfully, start by designing and preparing your image in Cricut Design Space. Make sure to mirror it if needed.
Use your Cricut machine to cut or draw the design onto the transfer sheet. Then preheat your blank to ensure the ink adheres properly.
Finally, follow the heat press techniques carefully. Cover the design with butcher paper and press at 385°F for 40 seconds for vibrant, lasting results.
Design Preparation Steps
Before applying Infusible Ink, you’ll need to set up your design properly. Start with creating or selecting a high-resolution digital design in Cricut Design Space.
Remember to mirror the image before printing or cutting. This ensures your design looks correct after transfer.
Print your design onto Infusible Ink Transfer Sheets using an inkjet printer, making sure the design faces up on the sheet.
Use your Cricut machine to cut out the mirrored design, then weed away the excess material, leaving only the desired image on the carrier sheet.
Before applying, clean your blank surface with a lint-free cloth or lint roller to remove any debris.
Position the weeded Transfer Sheet face-down, secure it if needed, and set up your heat press.
Heat Press Techniques
Applying Infusible Ink with a heat press needs precision to get vibrant, professional results. Start by preheating the surface at 385°F for 15 seconds with a Cricut EasyPress to remove moisture and smooth out the base.
Next, place the weeded transfer face down on the blank, making sure it’s properly aligned. Secure it with heat-resistant tape if necessary, and cover the transfer with butcher paper or Teflon to protect the surface.
Press at 385°F with firm, even pressure for 40 seconds, keeping consistent pressure the whole time. Once done, let the project cool completely before peeling to ensure the ink infuses evenly and results in vivid, vibrant colors.
Tips for Achieving Vibrant, Long-Lasting Designs
To get vibrant, long-lasting designs, start with a properly prepared surface by preheating it to guarantee ideal ink absorption.
Use a heat press set to 385°F with even pressure, following manufacturer instructions precisely.
Choosing high-quality transfer sheets and compatible blanks with at least 85% polyester helps maintain bright, durable results.
Proper Surface Preparation
Achieving vibrant, long-lasting designs with Infusible Ink starts with proper surface preparation. To get the best results, you need a clean and smooth blank surface.
Here are some tips:
- Use a lint-free cloth to thoroughly wipe the surface, removing dust, fibers, and oils that could interfere with ink absorption.
- Preheat the blank surface at 385°F for 15 seconds, then let it cool completely before applying your transfer. This helps with ink penetration and adhesion.
- Choose high polyester content blanks, ideally 85% to 100%, and avoid heavily textured or porous surfaces like 100% cotton, as they can hinder the infusion process.
Following these steps guarantees vibrant, durable designs with Infusible Ink.
Accurate Heat Settings
Using the correct heat settings is essential for making sure your infusible ink designs turn out vibrant and last a long time. Keeping a steady temperature of around 385°F (196°C) with your EasyPress helps get the perfect transfer.
Always preheat your blank for 15 seconds. This helps distribute heat evenly and allows the ink to penetrate better. Check the Cricut Heat Guide or follow the manufacturer’s instructions for the right temperature and time for your project.
Apply even pressure during the entire pressing process, usually about 40 seconds. This ensures your results are vibrant and durable. Once you’re done, let the project cool completely before peeling off the transfer sheet.
Controlling the temperature properly guarantees vivid colors and prevents uneven fading. This way, your designs will stand out longer and look great over time.
Use Quality Materials
Have you ever wondered why some infusible ink projects look dull or fade quickly? The secret is using quality materials. To get vibrant, long-lasting designs, focus on these essentials:
First, choose high-quality transfer sheets and compatible blanks. This helps ensure consistent color transfer and prevents defects.
Next, use blanks made from fabrics with a high polyester content—ideally 85-100%—or light-colored surfaces. These materials improve ink absorption and make your colors pop.
Finally, properly prepare your surface by lint-rolling fabric or ceramic blanks. This step helps promote better ink infusion for a smoother finish.
How to Care for and Maintain Your Infusible Ink Projects
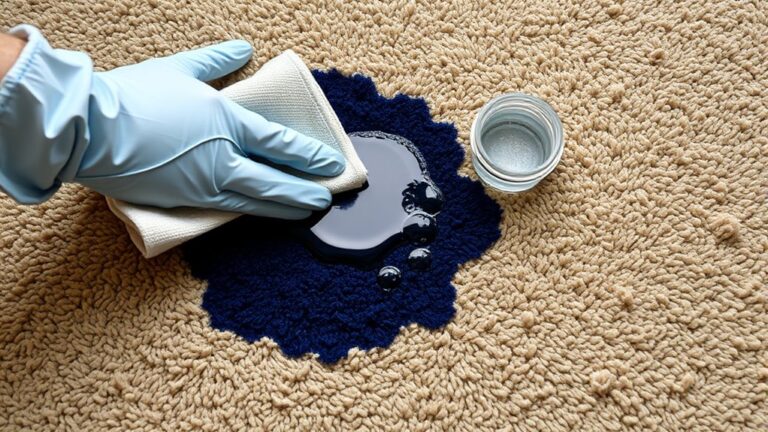
Proper care is key to keeping your infusible ink projects looking vibrant and lasting longer. Use gentle cleaning methods to maintain their washability and overall durability.
Hand-washing or using a delicate cycle with cold water and mild detergent helps protect the design’s vibrancy. Avoid bleach, fabric softeners, and dryer sheets, as these can damage or weaken the ink.
When drying, it’s best to air dry your projects whenever possible to prevent wear. If you need to iron, do so on the reverse side with a protective cloth—never directly on the design.
Regularly check for signs of fading or wear, and follow the manufacturer’s guidelines to keep your projects bright and beautiful over time. Proper maintenance ensures you can enjoy your infusible ink creations for the long haul.
Common Mistakes Beginners Should Avoid
Starting with the wrong materials or skipping key steps can easily lead to disappointing results when working with Infusible Ink. To avoid common mistakes:
- Always confirm your design is mirrored in Cricut Design Space before cutting or transferring. A non-mirrored design will appear reversed on the final product.
- Use compatible blanks, like polyester or coated surfaces. Avoid 100% cotton, which won’t bond properly.
- Don’t skip the preheating step. It helps prevent dull or uneven transfers. Also, follow the recommended temperature and pressure guidelines. Avoid over- or under-pressing to get vibrant, durable results. Remember, once you peel the transfer, it’s permanent, so precision is key.
Comparing Infusible Ink to Vinyl and Sublimation
Infusible Ink offers a unique way to create vibrant, permanent designs that become part of the material itself. This sets it apart from vinyl and sublimation. Unlike vinyl, which sits on the surface, Infusible Ink infuses into compatible blanks through heat, making designs seamless and durable.
Compared to sublimation, it doesn’t require special coated items or sublimation inks—just compatible surfaces and heat. Infusible Ink transfer sheets look like thick paper with ink on one side, while vinyl is sticky and flexible, and sublimation uses liquid inks on transfer paper.
Both Infusible Ink and sublimation produce vibrant, long-lasting results, but sublimation needs polyester surfaces and high-temp printers. Here’s a quick comparison:
| Feature | Vinyl | Infusible Ink | Sublimation |
|---|---|---|---|
| Surface | On top | Infused | Coated or Polyester |
| Material | Flexible | Seamless | Sealed |
| Equipment | Cutting machine | Compatible heat press | Specialized printer |
| Durability | Good | Very durable | Very durable |
| Process | Heat transfer | Heat infusion | Heat transfer |
Inspiring Project Ideas for Infusible Ink
Ready to get creative with Infusible Ink? You can design personalized T-shirts, craft custom home decor, or make one-of-a-kind gifts that really stand out.
These projects show just how versatile and vibrant your creations can be. So, let your imagination run wild and have fun making something unique!
Personalized T-Shirt Designs
Have you ever wanted to create a one-of-a-kind T-shirt that looks professionally made? With Infusible Ink, personalized designs are easier than ever. You can craft vibrant, seamless images that look store-bought by using the right fabrics and techniques.
Here are some ideas to get you started: Use polyester-rich fabrics or coated blanks for ideal heat transfer and color absorption. Mirror your design in Cricut Design Space before cutting to guarantee correct transfer.
Apply even heat and pressure with a Cricut EasyPress at around 385°F for 40 seconds to infuse the ink. These steps help you produce durable, washable designs that truly stand out.
Personalized T-shirts with Infusible Ink make your creative ideas come to life effortlessly.
Custom Home Decor
Creating custom home decor with Infusible Ink opens up exciting possibilities for adding vibrant, professional-looking touches to your space. You can craft stunning pillows, wall art, and coasters that look store-bought.
The transfer process allows you to infuse intricate, seamless designs directly into compatible blanks like polyester fabrics, ceramic, or coated surfaces, ensuring vibrant color and durability. For personalized throw pillows, try adding monograms or detailed patterns for a unique touch.
Infusible Ink’s stretchability and resistance to cracking make it perfect for fabric cushions or wall hangings that may be stretched or bent. By combining it with materials like wood or ceramic, you can create one-of-a-kind, custom home decor pieces that truly reflect your style.
Unique Gift Creations
Looking for unique gift ideas that really stand out? Infusible Ink makes it easy to craft personalized gifts that look professional and store-bought.
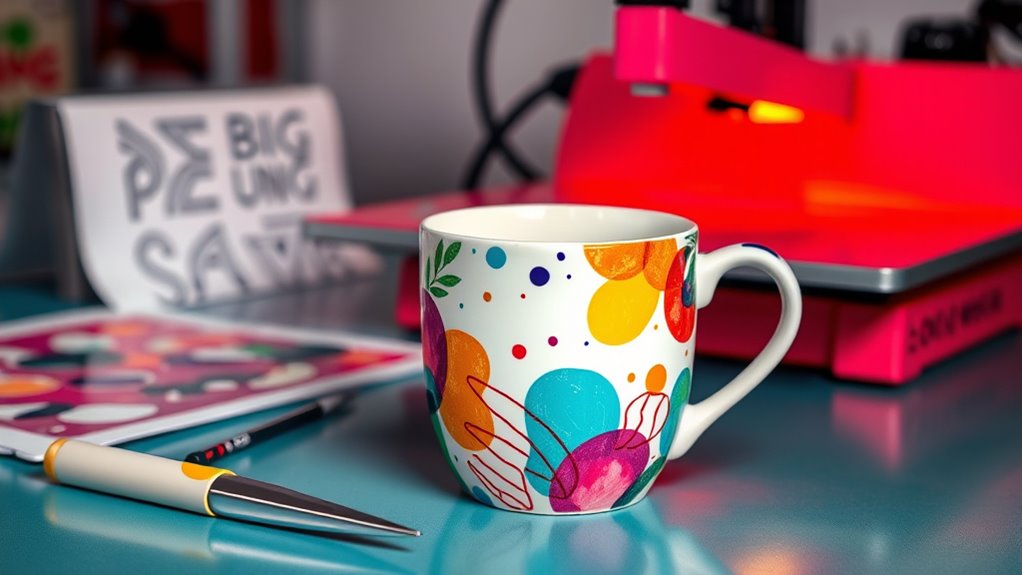
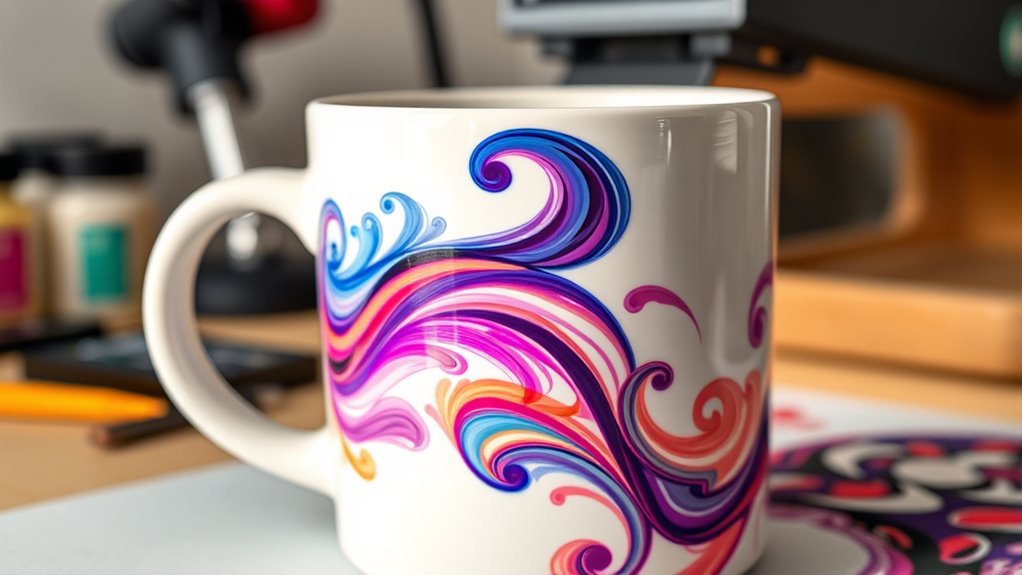
You can create vibrant custom coasters, mugs, and tote bags with intricate designs and seamless finishes. For a more personal touch, try making infusible ink-printed pillows, jewelry, or ornaments. The design becomes part of the surface for a durable, seamless look.
Using heat transfer methods, you can customize items with hand-drawn or detailed designs. It’s perfect for tailoring gifts to the recipient’s style. Here are some inspiring ideas:
- Custom coasters with intricate patterns
- Personalized mugs with meaningful quotes
- Unique ornaments with hand-drawn illustrations
These projects showcase how infusible ink can turn everyday items into memorable, lasting keepsakes.
Troubleshooting Infusible Ink Applications
When infusible ink projects turn out stiff or uneven, it usually means there’s an issue with the pressing process or surface prep. Getting the heat right is key; normally, you should set your Cricut EasyPress to 385°F and apply consistent pressure.
Make sure to preheat your blank surface thoroughly. Skipping this step can lead to uneven ink infusion and stiffness. Also, clean and lint-roll your surface well to remove any debris that might block absorption.
If your project feels stiff after cooling, re-heating it with even pressure can help make it more flexible and improve the finish. Following recommended layering and pressing times is essential for the best results.
Pay close attention to heat application, pressure, and surface prep. Doing so helps prevent stiffness and ensures your infusible ink project turns out smooth and flexible.
FAQs About Infusible Ink Usage and Techniques
FAQs about infusible ink usage and techniques often address common questions to help guarantee successful projects. To get the best results, focus on proper design prep, like mirroring images and choosing compatible blanks.
When applying heat, make sure to preheat and press at 385°F for 40 seconds using a Cricut EasyPress. Always peel the transfer sheet only after cooling to avoid smudging.
Here are some tips to keep in mind:
- Use high-polyester, light-colored surfaces for vibrant, professional results.
- Confirm the transfer sheet is securely adhered before heat application.
- Follow the recommended heat and time settings for consistent, wash-proof designs.
Mastering these techniques will help you create durable, stunning designs with Infusible Ink.
Frequently Asked Questions
What Is Infusible Ink and How Does It Work?
Infusible Ink is a transfer method that embeds vibrant colors directly into surfaces, creating permanent designs.
You design on transfer sheets or use pens, then apply heat with a device like a Cricut EasyPress to activate the ink.
The heat makes the ink penetrate the fibers or coating of polyester or specially coated surfaces.
This results in a durable, seamless, and wash-proof finish that won’t peel or crack over time.
Which Side of Infusible Ink Goes Up?
You should place the shiny, inked side of the Infusible Ink Transfer Sheet face-up during cutting and heat pressing. This is the side that will transfer the ink onto your surface.
Before starting, double-check the packaging or instructions to verify which side has the ink. When you mirror your design in Cricut Design Space, it ensures the shiny side is correctly positioned for proper transfer.
This helps give you a professional finish and makes sure your design looks great.
How to Use Infusible Ink Cricut for Beginners?
Using Cricut Infusible Ink for beginners is like learning to dance—you start with simple steps.
First, create your design in Cricut Design Space and remember to mirror it. Place the ink side face down on a compatible blank.
Preheat your EasyPress to 385°F. Cover your design with butcher paper, then press for 40 seconds.
Let it cool completely before peeling away the transfer sheet. You’ll see a vibrant, seamless design embedded into your item.
What Setting Do I Use for Infusible Ink?
You should set your Cricut EasyPress 2 to 385°F (196°C) for infusible ink projects. Preheat the surface for 15 seconds, then press with light to medium pressure for about 40 seconds, following your specific project instructions.
Make sure to distribute heat evenly by preheating, and let your project cool completely before peeling. This guarantees a vibrant, successful transfer without damage or smudging.
Conclusion
Now that you understand infusible ink, you’re ready to create vibrant, professional-looking projects. Did you know that infusible ink designs can last up to 50 washes without fading? With the right techniques and tools, you can achieve stunning results every time.
So go ahead, explore your creativity and bring your ideas to life. Remember, practice makes perfect, and soon you’ll be crafting personalized items that everyone will love. Using infusible ink, you can create beautiful, long-lasting designs that truly stand out.