How Do You Make Ink in 10 Simple Steps?
If you’re interested in creating your own ink, you’re not alone. Many people struggle with finding the perfect shade or making ink sustainably at home. Luckily, making ink in 10 simple steps is easier than you might think.
To make ink in 10 simple steps, start by gathering vibrant plant materials like berries, flowers, or bark during peak season. Crush or chop them and simmer gently in water to extract the pigments. Strain out solids, then add a binder like gum arabic or honey.
Adjust color with acids or alkalines if needed, concentrate the mixture, and filter for clarity. Finally, store your ink in airtight containers in a cool, dark place. Keep exploring to learn more tips and tricks.
Key Takeaways
- Harvest and prepare plant materials rich in pigments, like berries, flowers, or peels, during their peak season.
- Extract the pigments by simmering the plant scraps in water. Once done, strain the mixture to remove solids and concentrate the dye.
- Mix the extract with a binder such as gum arabic or honey to create a cohesive ink solution.
- Filter the mixture to remove any remaining solids. Then, adjust the consistency with water or thickening agents.
- Store your ink in airtight, dark containers, label them properly, and keep in a cool place to preserve it.
What Is Natural Ink Making and Why Is It Important?
Natural ink making involves extracting pigments from organic materials like plants, berries, and flowers to create eco-friendly inks.
By using plant material, you produce a natural ink that’s biodegradable and sustainable, reducing environmental harm compared to synthetic dyes.
This process highlights the alchemy of transforming simple plant materials into vibrant, functional inks that can shift in color over time.
Natural inks carry historical significance, connecting you to traditional craftsmanship and artistic practices.
Making your own natural ink encourages sustainable habits and deepens your understanding of plant properties and natural dyes.
It’s a meaningful way to create beautiful, environmentally conscious art supplies, honoring both nature and history in every stroke.
How to Gather the Best Plant Materials for Your Natural Ink
Choosing the right plant materials is key to making vibrant, high-quality ink. Focus on plants with visible, colorful dyes like berries, flowers, bark, or peels, as they usually give richer pigments.
Select plants with vivid dyes like berries, flowers, bark, or peels for richer, high-quality ink.
Harvest plant parts during peak season—summer or early fall—when pigment levels are at their highest. Prioritize skins, shells, or leaves over pulp because they contain more concentrated tannins and pigments for better extraction.
Use small amounts of plant material to experiment with different colors. This helps avoid waste and ensures you find the perfect shade. Always harvest sustainably, leaving enough behind for regrowth.
Whenever possible, choose edible or garden-grown sources for safety and easy access. Following these tips guarantees you gather the best materials for creating vibrant, lasting ink.
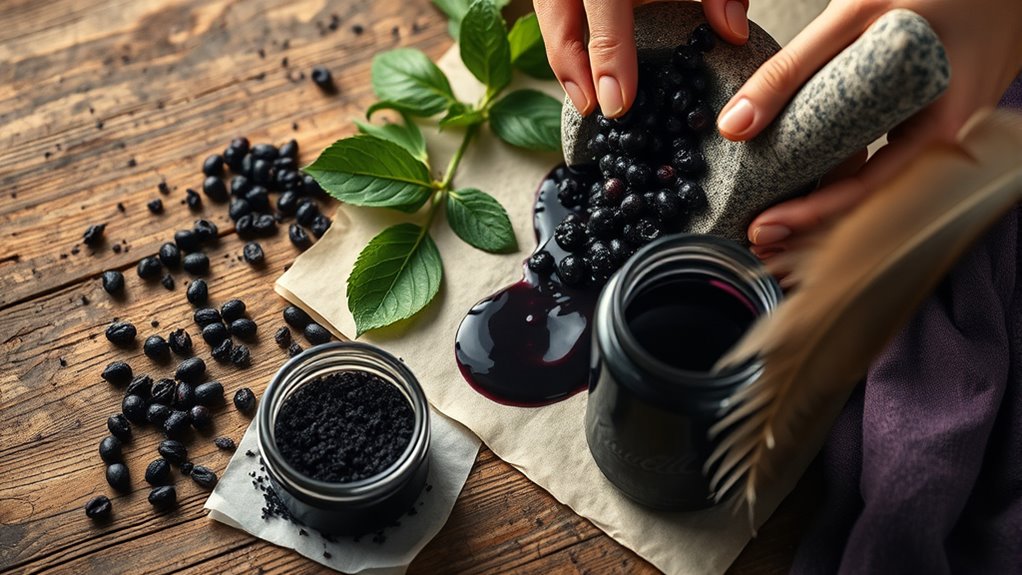
How to Extract Vibrant Pigments From Plants
Once you’ve gathered your plant materials, the next step is to extract the vibrant pigments that will give your ink its color. Start by chopping or crushing the plant scraps into small pieces to increase surface area, which helps with extraction.
Gently simmer the plant material in water for 5 to 10 minutes, making sure not to over-boil so the bright pigments stay vibrant. After simmering, strain the mixture through a fine cloth or coffee filter to remove solid residues, leaving a clear dye solution.
To boost the vibrancy of the pigment, you can add acidic or alkaline substances, which can shift the hue. Finally, concentrate the pigment by simmering the strained liquid further to deepen the color and enhance pigment extraction.
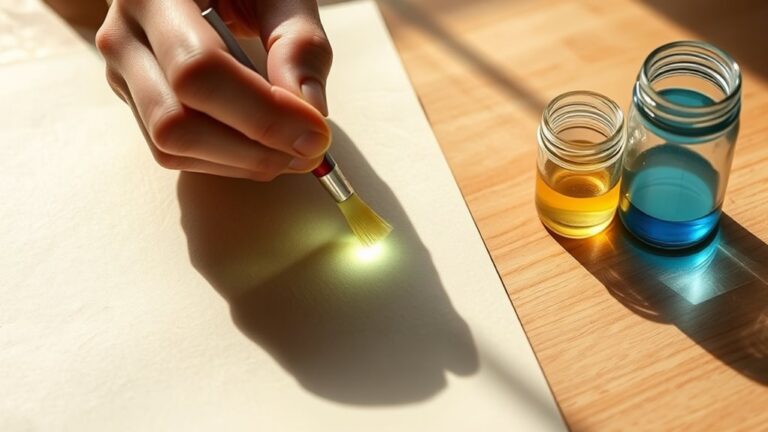
Which Vehicles (Water, Oil, or Alcohol) Are Best for Your Ink?
Water is the most versatile and easy-to-use vehicle for making natural ink, giving clear, vibrant results. It’s great for beginners and works well with many pigments.
Alcohol can preserve bright colors and dries quickly, making it ideal for durable, fading-resistant inks. It’s perfect if you want your ink to last longer without fading.
Choosing the right vehicle depends on your desired texture, drying time, and artistic effect. Think about what kind of finish you want before you decide.
Water’s Versatility and Clarity
Water’s ability to extract and dissolve plant pigments makes it the most versatile and transparent vehicle for natural inks. It produces clear, vibrant colors and is simple to prepare, store, and clean.
This ease makes water ideal for beginners and general artistic use. Its transparency allows you to see the true color of your pigments, which helps with precision.
When working with natural inks, water-based vehicles offer easy mixing and adjustment, quick drying times, and compatibility with various pigments. They also tend to be minimally toxic and cost-effective.
These qualities highlight water’s adaptability, making your ink versatile and accessible. Whether you’re creating delicate details or bold strokes, water’s clarity and ease of use make it the top choice for natural ink projects.
Its simplicity also supports experimentation and learning.
Alcohol’s Preservation Benefits
Have you thought about how preserving your natural ink can make it last longer? Alcohol is a great preservative because it stops mold and bacteria from growing, thanks to its antimicrobial properties.
By lowering the moisture content, alcohol really helps your homemade ink stay fresh longer—even if you don’t refrigerate it. Plus, it makes your ink dry faster on paper, which is perfect for quick projects like calligraphy and art.
Alcohol also helps keep the pigments and dyes stable, so their colors stay true over time. Using alcohol as a carrier means you can store your ink in warm or humid places without worry.
All in all, alcohol’s preservative qualities make it a smart choice for keeping your natural ink fresh, stable, and ready to use whenever you need it.
How to Mix Plant Extracts With Binders to Make Ink
To create a smooth, cohesive ink from plant extracts, start by combining the extract with a natural binder like gum arabic or honey. First, dissolve the binder in water to ensure even distribution.
Then, thoroughly mix it with the plant extract, stirring gently to avoid clumps or separation. Adjust the ratio of binder to extract based on your desired consistency; a common starting point is one part binder to two parts extract.
To ensure a good blend, keep these points in mind: use gentle stirring or shaking for thorough mixing, dissolve the binder completely before combining, and adjust the ratio for thickness and application needs.
Mix slowly to prevent clumping, and incorporate preservatives or modifiers after blending. Following these steps helps create a consistent, reliable ink using plant extracts and binders.
How to Adjust Your Ink’s Color and Thickness Using pH and Additives
Adjusting your ink’s color and thickness involves carefully modifying its pH and adding specific ingredients. To change the color, you can adjust the pH by adding acids or bases.
A small amount of baking soda (sodium bicarbonate) raises the pH, turning purple cabbage ink green. Vinegar (acetic acid) lowers it, shifting the hue toward red or pink. This pH tweaking allows you to produce a range of shades from blue-green to vibrant red.
For thickness, additives like gum Arabic work well. They thicken the ink, improve flow, and add glossiness. By controlling the pH and using suitable additives, you can fine-tune your ink’s color intensity, viscosity, and application qualities.
This way, you can create personalized shades perfect for writing or painting.
How to Filter, Concentrate, and Finalize Your Natural Ink
After brewing your natural ink, the next step is to carefully filter out solid plant residues to guarantee a smooth, consistent liquid. Use a fine mesh strainer or coffee filter to remove debris, ensuring your ink flows evenly.
Once filtered, gently simmer or reduce the liquid to concentrate its color. This process usually takes about 5-10 minutes or until you reach the desired richness.
To finalize your ink, consider these tips: keep stirring to prevent burning, and use low heat for gentle concentration. If needed, add natural binders like gum arabic.
Before finishing, test the ink’s color on paper to see how it looks. Adjust the thickness by adding water or thickening agents as necessary.
Filtering and concentrating your ink will give you a vibrant, smooth, and professional-looking product.
How to Store and Preserve Your Homemade Ink for Long-Term Use
To keep your homemade ink fresh and effective, choose airtight, non-reactive containers like glass bottles. Store them in a cool, dark place and consider adding natural preservatives to extend their shelf life.
Regularly check for signs of spoilage and adjust your storage methods as needed.
Proper Container Selection
Choosing the right container is key to keeping your homemade ink safe and effective over time. An airtight glass or plastic bottle helps prevent evaporation and contamination, which keeps the ink’s quality up.
Make sure the container has a secure, leak-proof lid to maintain airtight storage. Proper labeling is also important—include the ink type, the date you made it, and any preservatives you added for easy identification.
Store your containers in a cool, dark place to slow down chemical changes and prevent mold growth. You might even consider adding natural preservatives like thyme or wintergreen oil to help extend the shelf life.
Regularly check your stored ink for signs of spoilage, such as mold, a foul smell, or separation. If you notice any of these, it’s best to discard the ink.
Good container choices help protect your ink’s longevity and keep it usable for a long time.
Optimal Storage Conditions
Proper storage is key to keeping your homemade ink fresh and effective. Keep it in airtight bottles or jars to prevent evaporation and contamination.
Store your ink in a cool, dark place like a pantry or cupboard. This helps slow down chemical changes and keeps mold from growing.
Adding natural preservatives such as thyme or wintergreen oil can help extend its shelf life and prevent mold.
For long-term storage, refrigerate your ink, especially if it contains organic ingredients or preservatives.
Regularly check your ink for signs of spoilage like mold or foul odors. If you notice any, it’s best to discard it.
Preservation Techniques
Storing your homemade ink properly is essential to keep it fresh and prevent spoilage over time. Using the right storage methods helps minimize contamination and microbial growth.
Make sure to use airtight bottles or jars to keep out air, which can cause spoilage. Keep the ink in a cool, dark place or in the refrigerator to slow down microbial activity and extend its shelf life.
Adding a few drops of natural preservatives like thyme or wintergreen oil can help inhibit mold and fungi. Always transfer and refill ink using clean, sterilized containers to avoid contamination.
Don’t forget to label your stored ink with the preparation date. This helps you monitor its freshness and ensures you use it while still good.
Following these preservation tips keeps your homemade ink vibrant, usable, and safe for long-term use.
How to Make and Use Homemade Writing Tools for Natural Ink
Creating your own homemade writing tools can add a genuine touch to your natural ink projects. When making inks, choosing the right tool is key for controlling flow and getting the lines you want.
A simple trick is cutting a plastic straw at an angle and making a tiny slit at the tip. This helps hold and release ink effectively. For a more authentic, quill-like look, you can glue small feather shapes or craft feathers onto the straw’s tip.
Try experimenting with materials like bamboo or reed sticks to create traditional writing tools. These are perfect for dipping into your homemade natural ink. Just make sure your tool has a pointed tip or slit to help produce fine lines or broad strokes.
Regular cleaning and re-dipping will keep the ink flowing smoothly and give you consistent results.
Troubleshooting Common Natural Ink Problems and How to Fix Them
When your natural ink isn’t working as expected, figuring out the specific problem is the first step to fixing it quickly.
If your ink is too watery or thin, try simmering it longer or adding more gum arabic to thicken and stabilize the consistency.
To fight mold or a bad smell, add a few drops of wintergreen or thyme oil as a natural preservative.
If the color looks dull or faded over time, adjust the pH with lemon juice or vinegar to brighten or shift the hue.
For poor flow or clogging, strain the ink through a fine mesh or coffee filter to remove sediment.
Finally, if your ink separates or settles, shake or stir it well before use to keep the color and texture uniform.
Frequently Asked Questions
How Do You Make Ink?
You make ink by extracting pigments from natural materials like berries or leaves, then simmer or soak them in water.
Strain out the solids to get a smooth dye, and add a natural binder like honey or gum arabic to thicken it.
Adjust the color with acids or bases if needed, then store your ink in a sealed container in a cool place to keep it fresh.
What Kind of Ink Is Easiest to Make?
You’ll find berry and tea inks the easiest to make. Over 90% of beginners prefer these natural options because they’re simple and straightforward.
These inks need only a few ingredients and simple steps like boiling and straining. They’re perfect for anyone just starting out.
All you really need are common kitchen scraps or plants, some water, and a pot. No chemicals or complicated processes are needed.
That means you can create beautiful, personalized inks quickly and easily right at home.
Can Ink Be Made From Plants?
Yes, you can make ink from plants. You’ll need to extract pigments from materials like berries, flowers, or leaves by boiling, soaking, or fermenting them.
Once you get the color, mix it with a natural binder like gum arabic to create your ink. This ancient craft lets you produce vibrant, natural inks for writing or art.
You can also experiment with different plants for various colors and effects. It’s a fun and eco-friendly way to make your own ink at home.
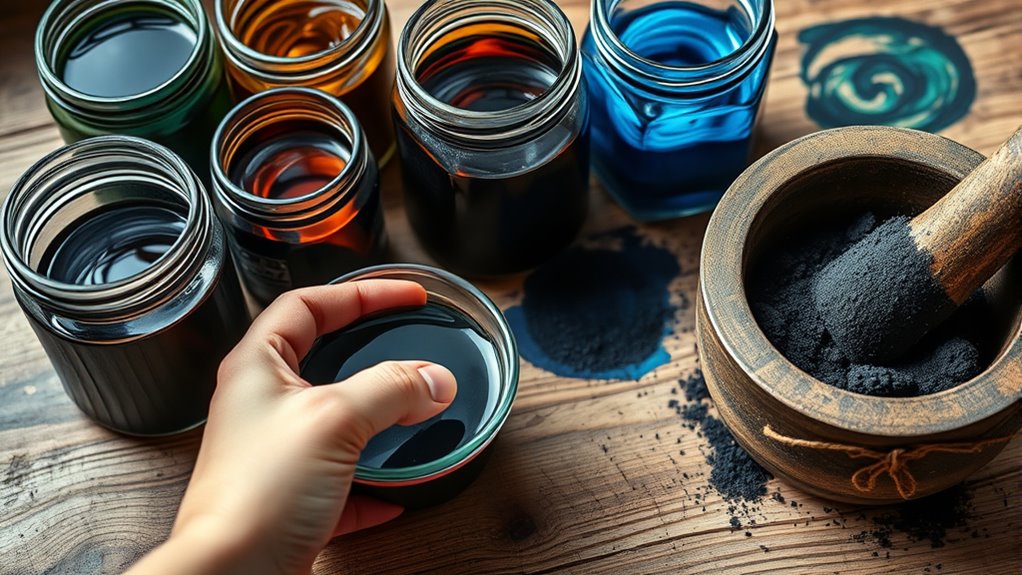
How to Make Permanent Ink at Home?
To make permanent ink at home, start by mixing soot or lamp black with gum arabic and a touch of honey. Add water and gently heat the mixture to create a durable ink.
For extra longevity, incorporate egg yolk and tannin-rich materials like oak galls or blackberries. Strain thoroughly, then store it in airtight bottles in a cool, dark place to keep it lasting and smudge-proof.
Conclusion
Now that you know the simple steps to create mesmerizing, colorful ink, you’re ready to explore your artistic side. With a little patience and practice, you can produce beautiful, unique inks that bring your ideas to life.
Experimenting with natural materials is exciting—you can extract, mix, and master different ingredients to craft your own signature shades.
Watch as your writing and artwork flourish with these handmade, sustainable inks. So, start sourcing ingredients, stirring your mixtures, and splattering your creations—your stunning, eco-friendly ink is just a few steps away!