8 Simple Steps to Do You Get Ink Out of Clothes
Dealing with ink stains on clothes is a common frustration many people struggle with. Whether it’s from a pen leak or a creative project, those stubborn marks can feel impossible to remove. Don’t worry—you’re not alone, and there are simple steps to get that ink out.
To remove ink from clothes, first identify if it’s water- or oil-based. Act quickly by blotting and scraping away excess ink, then test a cleaning solution like rubbing alcohol on a hidden spot.
Apply the alcohol or hand sanitizer directly to the stain, gently rub, and rinse from behind with cold water. Repeat with stain removers if needed, and make sure the stain is gone before drying.
Keep learning the best tips to get those stubborn marks out.
Key Takeaways
- Act quickly by blotting the stain with a clean cloth. Avoid rubbing, as this can spread the ink further.
- Before applying any cleaning solutions, test them on a hidden part of the fabric. This helps make sure they won’t cause damage or discoloration.
- Saturate the stain with rubbing alcohol or hand sanitizer. Gently work it into the fabric to lift the ink.
- Rinse the back of the stain with cold water. This helps push the ink out of the fibers and loosens the stain.
- Make sure the stain is completely gone before drying. Using heat can set the ink and make it permanent.
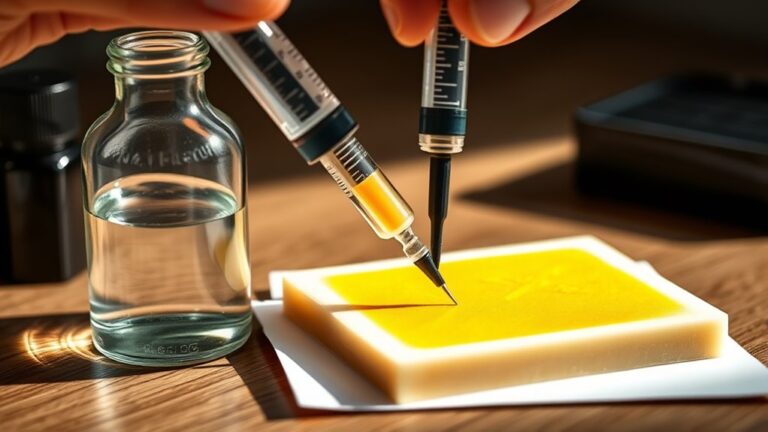
How to Identify Different Types of Ink for Better Removal
Ever wondered how to tell if the ink on your clothes is water-based or oil-based? Knowing the ink type makes stain removal much easier.
Water-based inks, like those in washable markers or fountain pens, usually wash out with water. To test, dab a small area with water. If the ink starts to fade or dissolve, it’s water-based.
Oil-based inks, such as ballpoint pen ink, tend to resist water and need stronger solvents like rubbing alcohol or hand sanitizer. To identify these, try applying alcohol—if the ink dissolves or smears, it’s oil-based.
Recognizing the ink type helps you pick the right removal method and avoid damaging delicate fabrics. Proper identification saves time and improves your chances of successfully removing the stain.
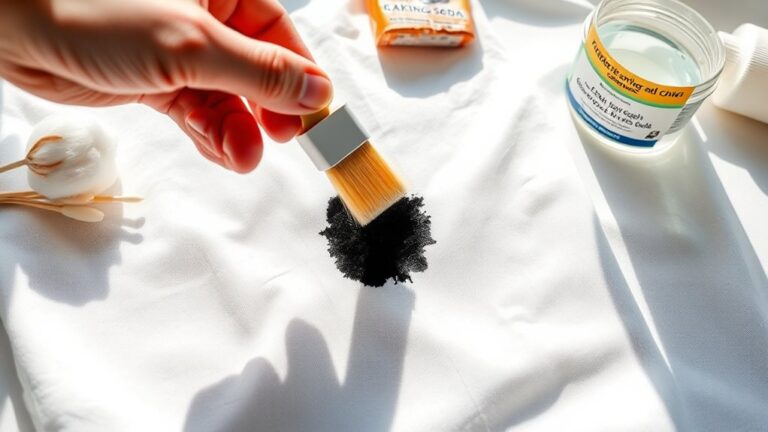
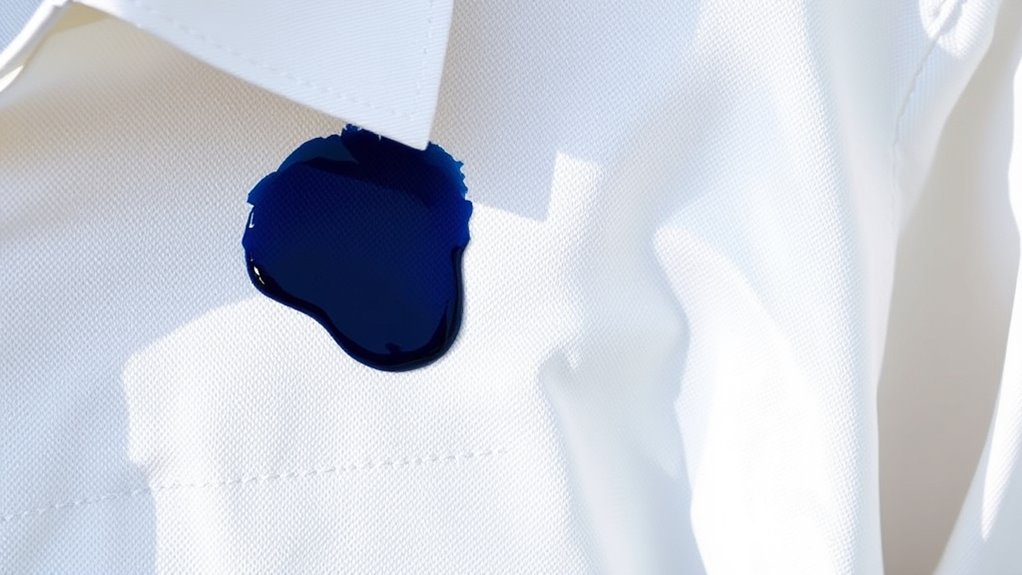
What to Do Immediately After Getting Ink on Your Clothes
Once you’ve identified the ink type, acting quickly can make all the difference in preventing a stubborn stain. When dealing with an ink stain, your first step is to blot it gently with a clean cloth or paper towel.
Avoid rubbing, as this can spread the ink or push it deeper into the fabric. Place a paper towel or cloth underneath the stained area to prevent ink from transferring to other parts of your clothing or surface.
If possible, carefully scrape away any excess ink with a dull edge to reduce how much penetrates the fabric. Quick action is essential to prevent setting, so don’t delay.
Taking these steps immediately helps contain the stain and improves your chances of successful removal later.
How to Test Cleaning Solutions Safely on Your Fabric
Before using any cleaning solution, test it on a small, hidden area of your fabric to see how it reacts. Apply just a tiny amount and wait 10-15 minutes to check for discoloration or damage.
If everything looks good, it’s usually safe to go ahead and clean the stain. Taking this step helps prevent any unwanted surprises or damage to your fabric.
Spot Test Location
How can you guarantee that a cleaning solution won’t damage your fabric? The key is choosing the right spot test location. Pick a small, inconspicuous area of the fabric first—this minimizes visible damage if the solution causes any issues.
Apply a small amount of the cleaning solution to this hidden spot and wait 5-10 minutes. Watch for any signs of fabric discoloration or color bleeding, which indicate the solution isn’t safe for stain removal on that fabric.
Use a clean, white cloth or cotton swab to gently blot the area, then compare the color to the original fabric. Repeating this process with different solutions helps ensure each is safe before tackling the main stain, preventing damage and preserving your fabric’s appearance.
Solution Compatibility Check
Testing a cleaning solution on your fabric is an important step to avoid damage or discoloration. Always test it on a small, hidden area first.
Apply a tiny amount and wait at least 5-10 minutes to see if there are any changes in color or texture. This way, you can check for reactions without risking the whole garment.
After the wait, rinse the patch with cold water to check if the color bleeds or if the fabric shows any signs of damage. If everything looks good, it’s safe to go ahead.
Remember to follow the manufacturer’s instructions for the cleaning solution. Doing patch tests helps ensure the solution is compatible and protects your fabric during ink stain removal.
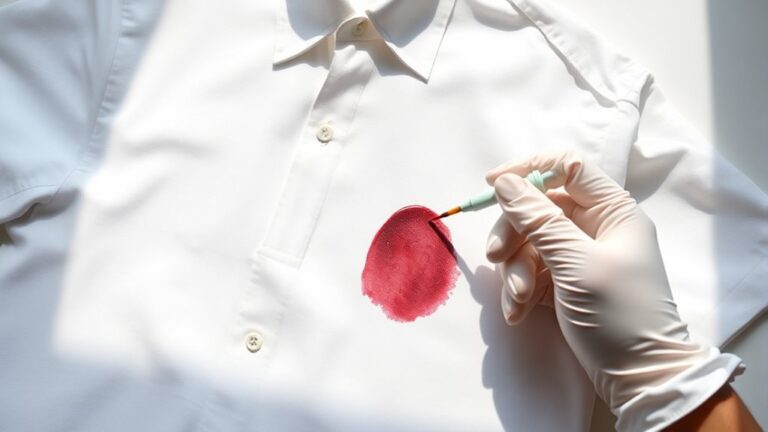
Applying Alcohol or Hand Sanitizer to Remove Ink Stains
Applying rubbing alcohol or hand sanitizer directly onto the ink stain can effectively break down the ink’s bonds with your fabric fibers. To do this, thoroughly saturate the stain with the sanitizer or alcohol for best results.
This helps loosen the ink, making it easier to remove. Gently apply and rub the hand sanitizer into the fabric, taking care not to damage the material. Be sure to test on a small, hidden area first to prevent discoloration or fabric damage.
Repeating the application and then washing the clothing increases the chances of fully removing the ink stain. Keep in mind, applying alcohol or hand sanitizer should be done carefully and promptly to maximize stain removal and protect your fabric.
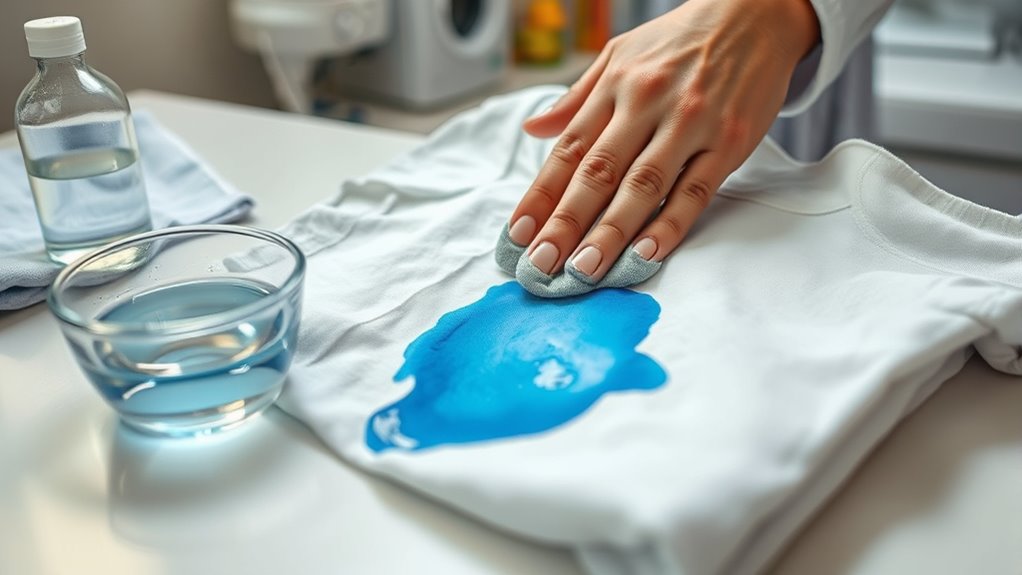
How to Rinse the Stain From the Back to Push Out Ink
Have you ever wondered why rinsing from the back of a stain works so well? When you rinse with cold water from behind, it helps push the ink out of the fabric fibers instead of forcing it deeper.
Gently run cold water through the fabric, keeping a steady flow to dislodge the ink particles. Be sure to hold the fabric firmly but carefully to avoid spreading the stain.
Rinsing from the back creates pressure that encourages the ink to move outward rather than embedding further. Keep rinsing until the water runs clear, showing you’ve removed as much ink as possible.
This method helps lift the stain naturally, making it easier to treat with additional stain removal steps afterward.
Choosing and Using the Right Stain Remover: Repeat If Needed
Sometimes, a single round of stain remover isn’t enough to fully eliminate ink from your clothes, especially with stubborn or set-in stains. You might need to repeat the process for better results. Applying more alcohol or hand sanitizer after the first attempt can help loosen the ink.
After each treatment, wash the garment again to rinse out residual ink and prevent it from setting further. Repeating these steps is vital for older or stubborn ink stains. Patience is key—some stains require several treatments to disappear completely.
Washing and Drying Clothes Without Fixing the Stain
Drying stained clothes too soon can set the ink permanently, making it impossible to remove later. Always check that the stain is fully gone before using heat.
Whenever possible, choose air drying. This gives you a better chance to see if the stain has been fully removed.
Following these practices helps prevent the stain from becoming a permanent part of your fabric.
Risks of Drying Stained Clothes
Did you know that drying stained clothes before fully removing the ink can make the stain permanent? When you dry your clothes with ink still present, heat from the dryer can set the stain into the fabric fibers.
This causes the ink molecules to bind more securely, making it much harder or even impossible to remove later. If you wash ink-stained clothes without treating the stain first, it risks spreading or embedding deeper into the fabric.
Once dried, the stain becomes resistant to common cleaning methods, often requiring professional removal. To avoid this, it’s best to air dry or skip heat until you’re confident the stain is fully gone.
Drying with heat before stain removal can set the ink, creating a permanent mark on your clothes.
Best Practices for Stain Prevention
Are you aware of the best practices to prevent ink stains from setting during laundry? Proper fabric care is key to stain prevention. Always check the fabric care label before washing.
When dealing with ink stains, rinse the area immediately with cold water. Warm or hot water can cause the ink to bond more deeply. Avoid rubbing or agitating the stained fabric excessively, as this can spread or embed the ink further.
Make sure the stain is fully treated and visibly removed before using the dryer or exposing the garment to heat. Instead, opt for air drying or line drying after stain treatment to prevent setting any residual ink.
Following these steps helps keep your clothes ink-free and preserves fabric integrity.
What to Do If the Ink Stain Still Won’t Come Out
When an ink stain refuses to budge despite your efforts, don’t lose hope. If stubborn stains persist after initial treatments, reapply rubbing alcohol or hand sanitizer and let it sit for an additional 10-15 minutes before washing again.
Be patient and avoid drying the garment until you’re sure the stain is gone, as heat can set stubborn ink stains permanently. For added effectiveness, consider using a commercial stain remover designed specifically for ink or oil-based stains.
Always gently blot the stain instead of rubbing, which prevents spreading or embedding the ink further into the fabric. If the stain still lingers after multiple attempts, repeat the process or seek professional laundry services for specialized removal.
Frequently Asked Questions
How to Remove Ink From Clothes Instantly?
To remove ink from clothes instantly, grab some rubbing alcohol or hand sanitizer. Apply it directly to the stain and gently blot to lift the ink.
Let it sit for a few minutes, then rinse with cold water. Finally, wash the garment with cold water and detergent.
Check if the stain’s gone before drying. If it’s still there, repeat the process to prevent the ink from setting permanently.
Does Dawn Soap Remove Ink?
Does Dawn soap remove ink? Think of it as a brave knight facing a stubborn dragon. Dawn might weaken the ink’s grip but won’t slay it alone.
It’s mainly good for breaking down greasy ink spots, but for permanent or oil-based inks, it’s not enough. For better results, combine Dawn with alcohol or hand sanitizer.
This duo stands a better chance of banishing ink stains from your clothes.
What Is the Best Ink Stain Remover?
The best ink stain remover is rubbing alcohol or hand sanitizer with a high alcohol concentration. You should apply it directly to the stain, let it sit briefly, then blot or gently scrape.
Repeat if necessary, and wash the garment afterward. Always test on a hidden area first to prevent any damage.
For tough stains, commercial ink removers with solvents or enzymes can be more effective, but be cautious when using them.
Does Vinegar Remove Ink?
No, vinegar alone doesn’t really remove ink. It might seem like a magic solution, but it’s more like a trick that doesn’t quite work.
You’d have better luck with alcohol-based solutions or a multi-step approach. Vinegar can help lift water-based stains a little, but for stubborn ink, don’t rely on it alone.
Instead, combine it with other agents for a fighting chance at removing that pesky ink stain.
Conclusion
So, next time you get ink on your clothes, remember these simple steps—you’ll be a stain-fighting pro. Ironically, the more you try to hide the stain by tossing your clothes in the wash, the more it might stubbornly stick around.
But don’t worry. Patience, the right solution, and a little bit of effort usually do the trick. After all, who knew removing ink could be a lesson in humility and perseverance?
And when it comes to removing ink from clothes, these simple steps will help you get the job done right.