10 Easy Steps to Change Ink in Your HP Printer
Many people struggle with changing ink in their HP printer, and it’s understandable—dealing with cartridges can be tricky and messy. You’re not alone; this is a common frustration for many printer users.
To change the ink in your HP printer, start by gathering the right cartridges and preparing your workspace. Power down the printer, open the access panel, and carefully remove the old cartridges.
Unpack and check your new cartridges, then install them firmly into the correct slots. Close the panel, turn the printer back on, and run a test print to guarantee everything’s working smoothly.
If you encounter issues, there are simple troubleshooting steps to follow—discover them here for a seamless ink change.
Key Takeaways
– Turn off your HP printer and unplug it from the power source.
Open the access panel or cartridge door so you can reach the ink cartridges easily.
Carefully remove the old cartridges by pressing or lifting them out.
Be sure not to touch the nozzles or contacts to avoid any damage.
Unpack your new cartridges and take off any protective covers.
Check them for any damage before you install them.
Insert the new cartridges into the matching color-coded slots.
Push them in until you hear a click, indicating they are securely in place.
Close the access panel, plug in your printer, and turn it on.
Finally, run a test print to make sure everything is working correctly.
Gather Supplies and Prepare Your Printer
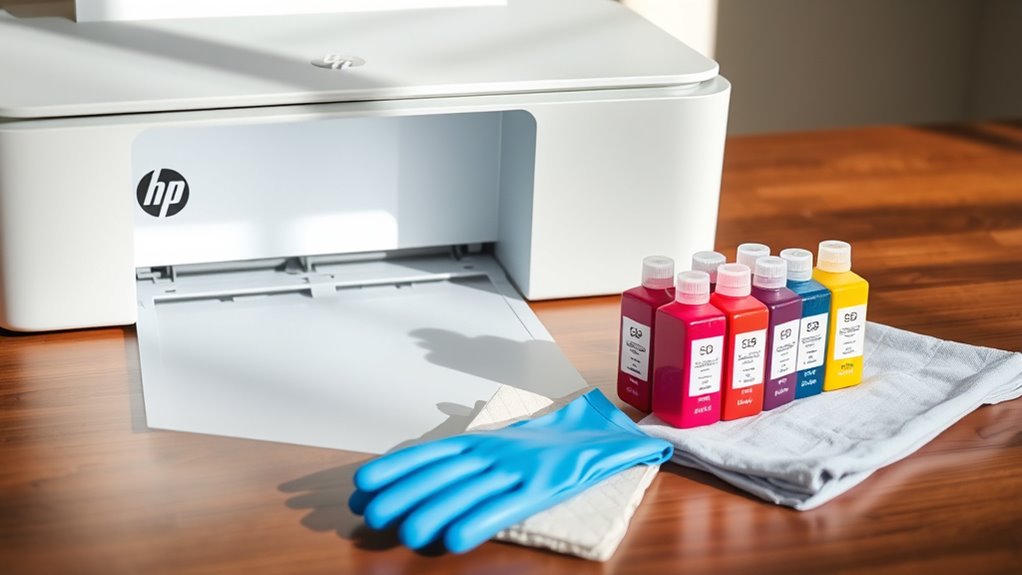
Before you start replacing the ink, gather all the supplies you’ll need. This includes lint-free cloths, gloves if you want to avoid ink stains, and the new ink cartridges compatible with your specific HP printer model.
Gather lint-free cloths, gloves, and compatible ink cartridges before replacing your HP printer ink.
Set up your workspace by placing paper or a protective surface underneath the printer to catch any spills. Turn on your printer and open the access cover or cartridge door to reach the ink cartridges.
Carefully locate the ink cartridges in the compartment. Before removing the old cartridges, make sure you have everything ready so the process goes smoothly.
Proper preparation helps ensure a clean, efficient replacement and minimizes messes or damage to your printer.
Confirm Compatibility and Choose the Right Ink Cartridges
Before changing your ink, double-check your printer model number to ensure you pick the right cartridges.
Look for compatibility labels or part numbers on your current cartridges, so you know you’re buying the correct ones.
Stick with original or reputable brands to avoid issues and keep your printer running smoothly.
Verify Printer Model Number
To guarantee you select the right ink cartridges for your HP printer, start by locating the model number. It’s usually found on the front, back, or bottom of the device.
This model number is essential for verifying compatibility and making sure you choose the correct cartridges. Once you have identified your printer’s model, such as HP DeskJet 3755 or HP OfficeJet 9015, use it to verify the compatible ink cartridges.
You can do this by consulting the printer manual or visiting HP’s official website. Check the existing cartridges for part numbers like HP 63, HP 902, or HP 962 to match specifications.
Make sure the new ink cartridges are designed specifically for your printer model. Doing so helps avoid installation issues and guarantees top printing performance.
Check Ink Compatibility Labels
Checking the ink compatibility labels on your packaging is an important step to make sure you pick the right cartridges for your printer.
You need to verify the labels to confirm the ink compatibility matches your printer model, like HP DeskJet 3755.
Look at your printer manual or visit HP’s official website to find the specific ink cartridge model numbers designed for your printer.
Inspect existing cartridges for part numbers such as HP 63 or HP 952 to ensure you match the new ones properly.
Make sure the replacement HP ink cartridges support your printer’s series and meet your color and yield needs.
Installing incompatible cartridges can cause damage or malfunctions, so always double-check the packaging labels before buying or installing new ink cartridges.
This step helps you avoid unnecessary issues and guarantees your printer performs at its best.
Use Original or Reputable Brands
After confirming the ink compatibility labels, it’s just as vital to use original or reputable brands when selecting your cartridges. Always opt for genuine HP cartridges or trusted third-party brands that clearly specify compatibility with your HP printer model.
Check the cartridge part number, like HP 63 or HP 962, and verify it matches your printer’s specifications before purchasing. Using incompatible or generic cartridges can lead to poor print quality or even damage your printer.
Buying from authorized vendors or directly from HP guarantees you receive authentic, high-quality ink. This helps maintain peak performance, prevents potential issues, and ensures your prints look sharp and professional.
Stick with original cartridges or reputable brands to keep your HP printer running smoothly.
Power Down and Open Your HP Printer’s Access Panel
Power down and open your HP printer’s access panel.
Before opening it, make sure the printer is turned off and unplugged to stay safe. Locate the access door, usually at the front or top of the printer, and open it carefully.
Wait for the cartridge carriage to move to a ready position before you remove or replace any cartridges.
Turn Off Before Access
To safely access the ink cartridges, you need to turn off your HP printer and unplug it from the power source first. Turning off the printer guarantees the cartridge carriage is in a safe, accessible position for removal.
Wait until the printer fully shuts down, indicated by the power light turning off or blinking, before opening the access panel. Opening the access panel while the printer is still powered on can cause damage to internal components or ink leaks.
For safety and to prevent damage, never open the access panel while the printer is powered on. Always make sure the printer is completely turned off and unplugged before you begin any maintenance.
This step protects both you and your device during the ink-changing process.
Locate Access Panel
Once your printer is powered off and unplugged, find the access panel. It’s usually on the front, top, or side of your HP printer, depending on the model.
Gently lift or slide the panel to open it and reveal the ink cartridges or toner compartment. Use the latch or tab to keep it securely open during the cartridge change.
Make sure you can see and reach the printer’s internal parts. This step is crucial for safely replacing your ink cartridges.
Take your time to find the right access point and open it carefully. That way, you’ll be ready for the next step of changing the ink.
Remove Old Ink Cartridges Carefully
When removing old ink cartridges, handle them carefully to avoid damage. First, make sure the printer is turned on and the carriage has moved to the center for easy access.
Press the designated button or gently push the cartridge from the front to release it from its slot. Carefully lift the old cartridge straight out, avoiding contact with the nozzles or electrical contacts that could cause damage.
Hold the cartridge by its sides to prevent smudges or damage. If you’re not replacing it right away, place the removed cartridge on a clean, protected surface or in a sealed bag.
Taking these steps helps you remove the old cartridge safely without harming the printer or the cartridge itself.
Unpack and Ready Your New Ink Cartridges
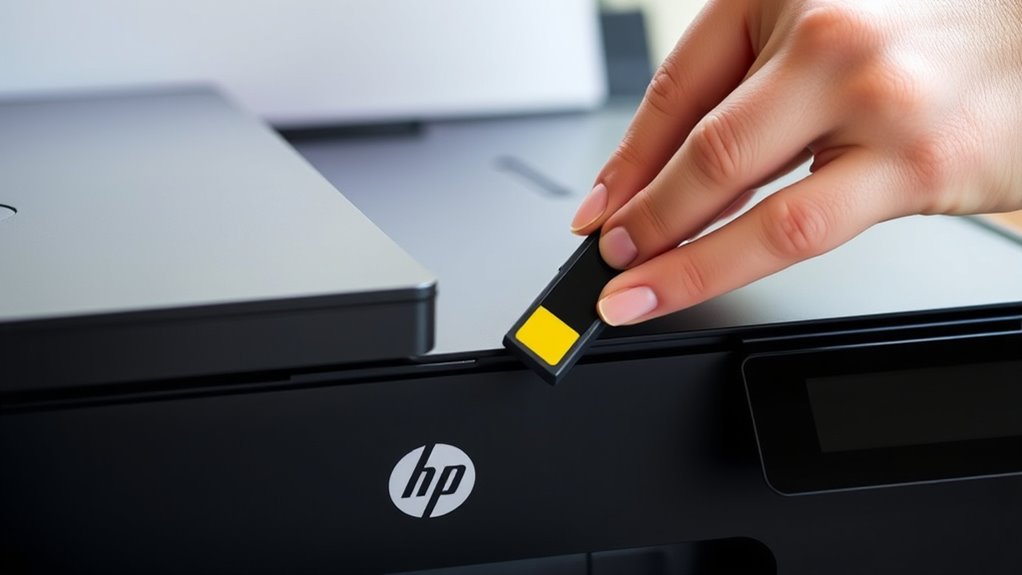
After removing the old cartridges, it’s time to prepare the new ones for installation. Carefully take the new ink cartridges out of their packaging, handling them by the sides to avoid touching the electrical contacts.
Remove any protective plastic covers, tapes, or clips from the cartridges before you install them. Place the cartridges face up on a clean, flat surface to prevent damage or contamination.
Before moving on, check the cartridges for any damage or missing parts. Make sure they are oriented correctly according to the color labels and aligned with the corresponding slots.
Insert the New Ink Cartridges Correctly
To insert the new ink cartridges correctly, make sure your printer is powered on and the ink cartridge access door is open. Carefully install each cartridge into its matching color-coded slot until you hear a click, which means it’s securely in place.
Make sure the cartridge is fully seated and aligned properly to ensure good contact with the printer’s contacts and nozzles. Avoid touching the gold contact points or nozzles to prevent connection issues.
Once all cartridges are installed, double-check that they are firmly clicked into position. Proper installation helps the cartridges work correctly and your printer produce high-quality prints.
Afterward, close the access door securely and proceed with testing your printer to confirm everything is functioning smoothly.
Close the Access Panel and Power On Your Printer
Once you’ve installed the new ink cartridges, gently close the access panel until it clicks into place, making sure it’s securely latched.
Make sure the printer is powered on before closing the access panel so it can recognize the new cartridges and do any necessary updates.
Check that the access panel clicks into place properly. A secure latch helps prevent error messages about an open cover.
Powering on the printer after closing the panel allows it to detect and calibrate the new ink automatically.
Always close the access panel gently to avoid damaging the hinges or dislodging the cartridges. This step ensures your printer recognizes the new ink correctly and prepares for optimal printing.
Run a Test Print to Check Ink Installation
Running a test print is an important step to make sure your new ink cartridges are installed correctly and working well.
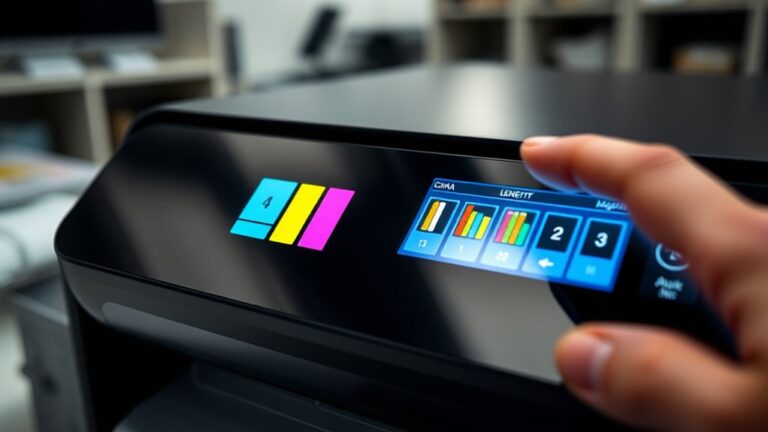
A test print helps you check ink flow, print quality, and color accuracy. Most HP printers have a “Print Quality Diagnostic” or “Print Test Page” option you can access through the control panel or software.
When you print the test page, look for consistent colors, sharp text, and no streaks or missing parts. If colors look faded or images are incomplete, you might need to clean the print heads or reinstall the cartridges.
This step helps you catch any problems early, so your printer can produce high-quality prints and your ink is functioning properly.
Troubleshoot Recognition and Print Quality Issues
When you encounter recognition or print quality issues, the first step is to make sure your cartridges are properly installed. Confirm they click securely into place to resolve recognition issues.
Ensure cartridges are securely clicked into place to resolve recognition and print quality issues.
If problems persist, clean the electrical contacts on both the cartridges and inside the printer with a lint-free cloth. Dirty contacts can hinder communication and affect print quality.
After cleaning, remove and reinsert the cartridges to ensure proper connection. If recognition issues continue, consider updating or downgrading your printer firmware following HP’s official guidance.
For persistent print quality problems, run the printer’s cleaning and head alignment tools through the settings menu to clear clogged nozzles. These steps help improve recognition accuracy and restore ideal print quality.
Clean, Store, and Maintain Your Ink Cartridges
Properly cleaning, storing, and maintaining your ink cartridges helps keep them in top shape and ensures your prints look great.
Keep your cartridges sealed and stored upright in a cool, dry place to prevent them from drying out or leaking.
Handle them carefully, avoiding contact with electrical contacts or nozzles, so they stay working properly.
Proper Cartridge Storage Techniques
Ever wondered how to keep your ink cartridges in top shape when you’re not using your printer? Proper cartridge storage is essential for ink preservation.
Store your cartridges in a cool, dry place away from direct sunlight to prevent ink from drying out or leaking. Keep them upright to maintain ink flow and avoid spills.
If you’ll be not using them for a while, seal the cartridges in their original packaging or an airtight container to protect them from dust and air exposure. Avoid exposing cartridges to extreme temperatures; heat can cause ink deterioration, while cold can lead to ink thickening, affecting performance.
Regularly clean the contacts to guarantee good connectivity. Store your cartridges in a dust-free environment for maximum performance when you need them again.
Maintaining Ink Quality
Maintaining the quality of your ink cartridges is key to getting consistent, high-quality prints. Regularly clean the electrical contacts with a lint-free cloth to prevent recognition and print issues.
Keep unused ink cartridges sealed in their original packaging, stored upright in a cool, dry place. This helps prevent ink from drying out or leaking. Avoid touching the gold contact points, as oils and dirt can interfere with proper electrical connections.
Always follow the manufacturer’s recommendations for cleaning and storing cartridges. Doing so will prolong their lifespan and ensure they perform at their best.
Keeping your ink cartridges well-maintained helps maintain the best ink flow and vibrant print quality. It also saves you time and money in the long run.
Frequently Asked Questions
How Do I Change Ink on an HP Printer?
To change ink on your HP printer, turn it on and open the access door. Carefully press the cartridge to release it, then lift it out.
Unpack your new ink cartridge, removing any protective tape without touching the contact points. Insert the new cartridge firmly until it clicks, then close the door.
Finally, run a test print to make sure everything’s working smoothly with your new ink.
What Ink Cartridges for HP Envy 5640 Printer?
You need HP 63 or HP 63XL ink cartridges for your HP Envy 5640 printer.
The standard HP 63 cartridges are perfect for casual printing, while the HP 63XL high-yield cartridges are better if you print a lot.
Be sure to choose genuine HP cartridges and match the model number to the color slot in your printer.
You can find these cartridges at retail stores or online.
They ensure the best print quality and compatibility with your printer.
How to Reset HP Printer With New Ink?
You’ve just installed new ink, and now you’re wondering how to reset your HP printer. First, turn on the printer and open the ink access door. Watch as it recognizes the cartridges.
If it doesn’t reset automatically, go to the control panel, select “Tools” or “Maintenance,” and look for “Reset Ink Levels.” For some models, pressing and holding the reset button for a few seconds will do the trick.
Now, your printer is ready to go!
How Do I Get My HP Printer to Recognize a New Ink Cartridge?
To get your HP printer to recognize a new ink cartridge, start by making sure it’s properly installed and clicked in securely.
Next, clean the electrical contacts on the cartridge and inside the printer with a lint-free cloth to ensure a good connection.
Turn off and unplug the printer, then turn it back on to reset the system.
Check for any firmware updates or messages on the printer’s display.
If recognition issues persist, try performing a print head cleaning to help the printer detect the cartridge.
Conclusion
Changing your HP printer ink is a simple process that keeps your printer running smoothly.
Just follow these easy steps to avoid printer malfunctions and keep your printing experience seamless.
Neglecting proper maintenance can turn your printer into a paperweight faster than you can say “out of ink.”
Stay vigilant, care for your cartridges, and enjoy crisp, vibrant prints.
With regular ink changes, your prints will shine brighter than the sun!