What Is Alcohol Ink and How Is It Used?
Are you tired of struggling to find vibrant, versatile art supplies that really make your creations pop? You’re not alone—many artists seek a medium that’s both easy to use and offers stunning visual effects.
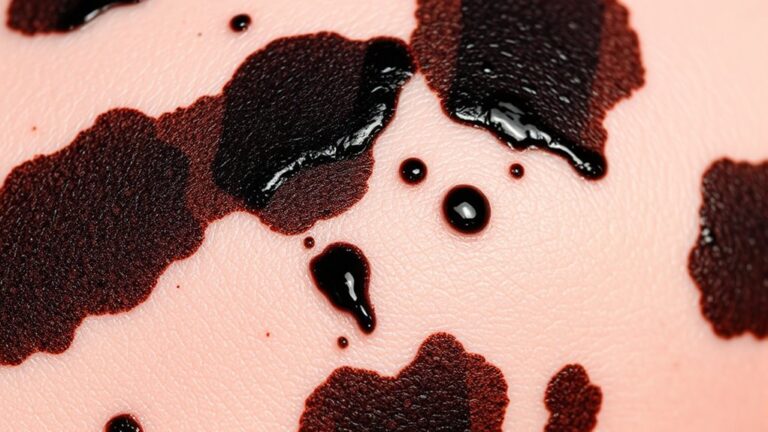
Alcohol ink is a vibrant, fast-drying medium that creates translucent, eye-catching designs on non-porous surfaces like Yupo paper, glass, or ceramic.
You can pour, drop, or blend the inks to produce swirling, marbled, or layered effects, using tools like brushes or air blowers.
To achieve stunning results, you’ll want to investigate different techniques and materials. Keep exploring to discover how you can turn this exciting medium into beautiful artwork.
Key Takeaways
- Alcohol ink is a highly pigmented, fast-drying ink based on alcohol. It’s perfect for creating vibrant, semi-transparent artwork.
- Usually, artists apply it on non-porous surfaces like Yupo paper, glass, and ceramic. This helps keep the colors bright and vivid.
- There are many techniques you can try, such as dropping, pouring, blending, and layering. These methods help create abstract, marbled, and textured effects.
- Once finished, artists often seal their work with varnishes or resins. This protects the piece and keeps the colors looking fresh over time.
- Alcohol ink is great for flowing designs, splattering, and making intricate patterns in fluid art. It’s all about exploring different effects and letting your creativity flow.
What Are Alcohol Inks and Why Do Artists Love Them?
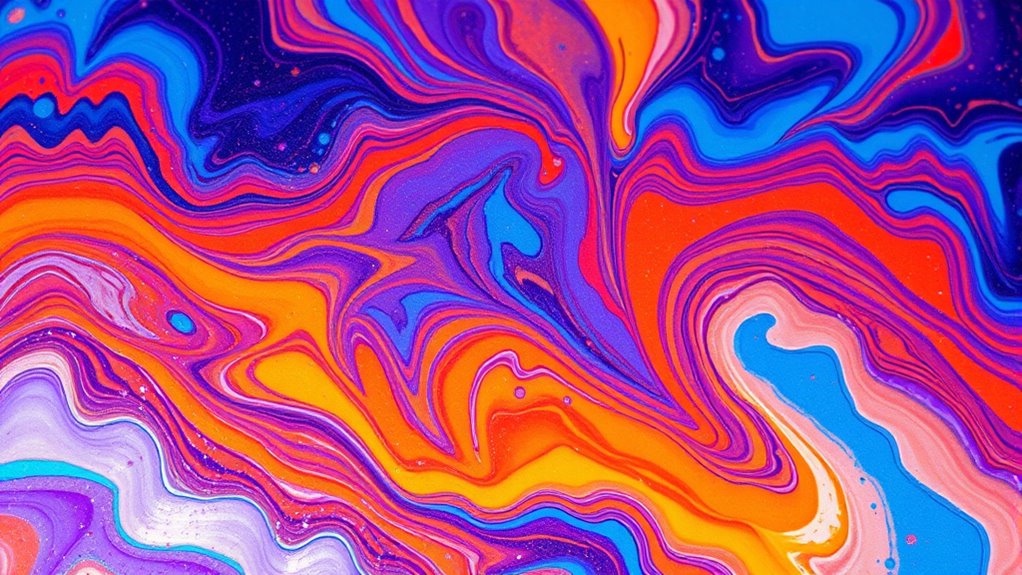
Alcohol inks are highly pigmented, fast-drying inks based on alcohol that produce vibrant, semi-transparent colors perfect for fluid art. Their intense pigmentation creates striking effects that artists love, especially for marbled and abstract designs.
Their quick drying time means you can work efficiently, layering and blending colors easily. These inks work best on non-porous surfaces like Yupo paper, glass, ceramic, and plastic, giving you lots of options for your projects.
You can also dilute alcohol inks with isopropyl alcohol to get different tones, textures, and effects, which expands your creative possibilities. Plus, their waterproof and fade-resistant qualities make them great for detailed, long-lasting artworks and crafts.
What Surfaces Are Best for Alcohol Ink Art?
Choosing the right surface is key to getting the best results with alcohol ink art. Non-porous surfaces like Yupo paper, glass, ceramic, and acrylic let the ink flow and blend easily, creating vibrant effects.
Choosing the right surface enhances alcohol ink art with vibrant, smooth, and clean results.
These surfaces stop the ink from soaking in, so colors stay bright and sharp. On the other hand, porous surfaces like unprimed canvas, fabric, or paper towels tend to absorb ink, making the colors look dull and less vibrant.
To fix this, you can seal porous materials with a clear varnish or resin. This helps boost color vibrancy and makes the surface more durable.
For a smooth finish, go for sealed or non-porous surfaces. They prevent ink from seeping or feathering, giving you cleaner edges.
Trying out different materials, even unconventional ones like wood or metal, can also give you unique artistic effects.
How Do You Use Alcohol Ink to Create Stunning Effects?
Once you’ve picked the right non-porous surface, you can start experimenting with how to manipulate the ink to create stunning effects.
Using alcohol inks, pour or drop them onto the surface, letting them spread and blend naturally. To enhance your designs, use isopropyl alcohol or blending solutions to lighten colors, deepen diffusion, and develop intricate patterns.
These fast-drying inks let you layer quickly, building depth and translucent textures. Tools like brushes, felt applicators, or air blowers give you control over the ink’s movement, helping you create marbling, diffusion, or smooth blending.
What Materials and Supplies Do You Need to Get Started?
Getting started with alcohol ink art requires a basic collection of supplies to ensure smooth experimentation and creative freedom. You’ll need alcohol inks in various colors, preferably from brands like Ranger or Jacquard Piñata, to create vibrant effects.
Starting alcohol ink art is easy with essential supplies like vibrant inks, non-porous surfaces, blending tools, and safety gear.
Essential supplies include isopropyl alcohol (at least 70%, with 99% preferred) for blending and diluting inks. Non-porous surfaces like Yupo paper, glass, or ceramic tiles are perfect for applying alcohol inks.
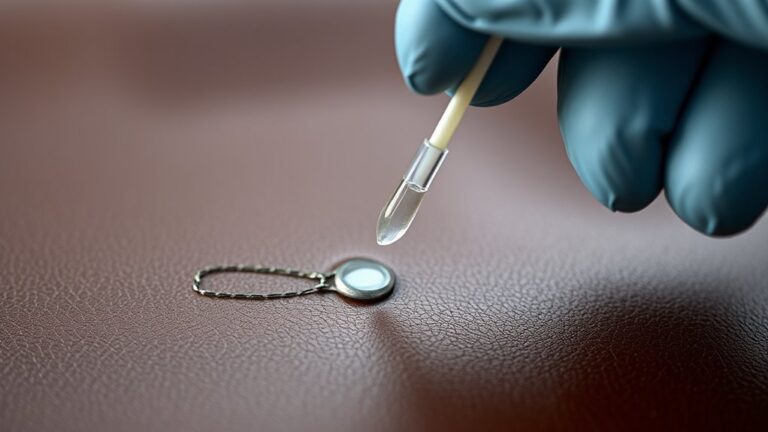
Blending tools such as felt applicators or brushes help manipulate the inks, while cotton swabs and squeeze bottles assist with fine adjustments. Safety gear including nitrile gloves and a respirator mask is vital for handling fumes and preventing skin contact.
Having these essential supplies guarantees a safe, versatile, and enjoyable alcohol ink experience.
How to Apply and Layer Alcohol Inks for Unique Designs
Applying and layering alcohol inks lets you create vibrant, one-of-a-kind designs that really show off color interactions. Start by dropping or brushing the inks onto a non-porous surface, where they spread and blend quickly.
Layering means adding multiple drops or washes, letting each layer dry partially or fully to build depth and interesting effects. Diluting inks with isopropyl alcohol helps with blending and transparency, making smooth transitions and marbled textures easier.
Tools like felt applicators, brushes, or air blowers are great for manipulating ink movement and shaping your design. Building up layers gradually gives you more control over color intensity and details.
This approach helps you craft unique, vibrant artworks. Mastering application and layering techniques unlocks the full potential of alcohol inks.
What Techniques Help You Achieve Different Artistic Styles?
To achieve different artistic styles with alcohol ink, you can use a variety of techniques that control how the ink moves and interacts on non-porous surfaces.
| Technique | Effect |
|---|---|
| Dropping & tilting | Creates smooth washes and marbled effects |
| Blending & layering | Adds depth, gradients, and interesting color interactions |
| Using tools | Guides the ink for precise control and texture |
| Stenciling & embossing | Introduces intricate patterns and textures |
| Splattering & guiding | Produces spontaneous, energetic effects |
These methods help you explore blending for seamless transitions, layering for complex visuals, and texture for added depth. Whether you like precise control or spontaneous results, mastering these techniques opens up many artistic possibilities with alcohol ink.
How Do You Seal and Protect Alcohol Ink Artwork?
Once you’ve achieved your desired alcohol ink artwork, protecting it from fading and damage is the next important step. Applying at least two coats of Krylon Kamar Varnish helps shield the vibrant colors and prevent fading over time. Make sure the artwork is fully dry, usually after 24 hours, before applying the varnish to avoid smudging.
After sealing, add a coat of Krylon UV Spray to protect the piece from harmful UV rays that can cause discoloration. Proper sealing creates a long-lasting barrier that stops the inks from reactivating or smudging when touched or exposed to moisture.
Store your artwork out of direct sunlight and behind glass to keep its vibrancy. This will help ensure your alcohol ink piece stays protected and beautiful for years to come.
What Safety Tips Should You Follow When Using Alcohol Ink?
Using alcohol ink safely is crucial to prevent health risks and accidents. Always work in a well-ventilated area to avoid inhaling harmful fumes from alcohol inks and isopropyl alcohol.
Wear protective gear like nitrile gloves and a respirator mask to shield your skin and lungs from chemical exposure during use. Keep alcohol inks and related supplies out of reach of children and pets to prevent accidental ingestion or contact.
Proper storage is essential; store inks and solvents in tightly sealed containers, away from heat sources, to reduce fire hazards. Follow manufacturer safety instructions carefully and avoid spraying or splashing alcohol-based products, which can cause skin and eye irritation.
Taking these safety tips ensures a safer and more enjoyable creative process.
Troubleshooting Common Issues in Alcohol Ink Art
Many common issues in alcohol ink art can be fixed with simple tweaks and good techniques.
Most alcohol ink issues can be resolved easily with proper techniques and adjustments.
For blending problems, try adjusting the amount of blending solution or alcohol to get smoother transitions.
If you notice uneven or grainy white ink, make sure you’re mixing it well to prevent coagulation.
Surface porosity and sealing issues can cause ink reactivation and streaks. Sealing your surface properly helps keep colors stable and dries evenly.
Overworking the ink can muddy your colors or make them less vibrant, so use controlled, deliberate strokes.
Environmental factors like humidity and temperature also affect drying times and how colors hold up.
To troubleshoot:
- Adjust the blending solution for smoother blends.
- Seal surfaces to prevent reactivation.
- Control how you apply ink to avoid muddiness and uneven drying.
How Can You Incorporate Alcohol Ink Into Your Art Practice?
Incorporating alcohol ink into your art practice opens up a world of vibrant possibilities on non-porous surfaces like Yupo paper, glass, or ceramic tiles. You can create bold backgrounds and unique textures with techniques such as dropping ink, blending with isopropyl alcohol, or tilting surfaces to manipulate the flow.
Layering alcohol ink allows you to add depth, while combining it with mediums like colored pencils or embossing creates detail and dimension. Sealing your work with varnishes or UV sprays helps preserve vibrancy and prevent fading.
These methods let you explore effects from marbling to splattering, expanding your creative toolkit. For example, dropping ink on Yupo paper creates abstract textures, while blending on ceramic tiles produces smooth gradients.
Tilting surfaces can generate dynamic flows, and layering different media adds depth and dimension. Combining alcohol ink with other surfaces results in rich, detailed effects that make your artwork stand out.
Where to Find Inspiration and Resources for Alcohol Ink Art
To find inspiration and resources for alcohol ink art, start by exploring social media platforms like Instagram, Pinterest, and Facebook. Artists often share their projects, techniques, and ideas there. These sites are great for discovering different styles and approaches.
Explore Instagram, Pinterest, and Facebook for inspiring alcohol ink projects and diverse artistic styles.
Consider these steps: follow art communities and artists who focus on alcohol ink techniques. Watching online tutorials and YouTube channels can give you step-by-step guides and helpful tips.
Browse craft supplies websites like Jackson’s Art and Amazon for inspiration galleries and product ideas. Joining online craft blogs, workshops, and forums also gives you valuable feedback and a sense of community.
These resources will fuel your creativity and help you deepen your understanding of alcohol ink art.
Frequently Asked Questions
Is Sharpie Alcohol Ink?
Sharpie ink isn’t true alcohol ink. While it’s alcohol-based and can create some similar effects temporarily, it lacks the permanence, vibrancy, and formulation of real alcohol inks.
You can dilute Sharpie ink for certain techniques, but it won’t offer the same durability or professional quality. For best results in art projects, it’s better to use dedicated alcohol inks, as Sharpie ink isn’t designed for that purpose.
Can You Mix Alcohol Ink With Isopropyl Alcohol?
Mixing alcohol ink with isopropyl alcohol is like blending colors on a painter’s palette. Yes, you can do it! You just need high-percentage isopropyl alcohol, like 99%, for vibrant, controlled results.
Adjust the ratio to get the transparency or flow you want. This technique helps you create smooth blends, fades, and marbled patterns.
It gives your artwork a fluid, dynamic look that’s distinctively yours.
What Are the Disadvantages of Alcohol Markers?
You should know that alcohol markers can be quite expensive, which adds up if you use them often.
They tend to fade over time if you don’t seal or store them properly, and their blending options are limited compared to watercolor or oil paints.
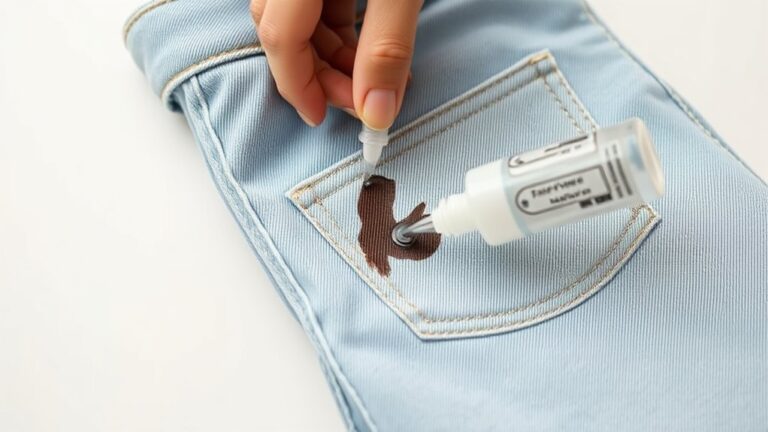
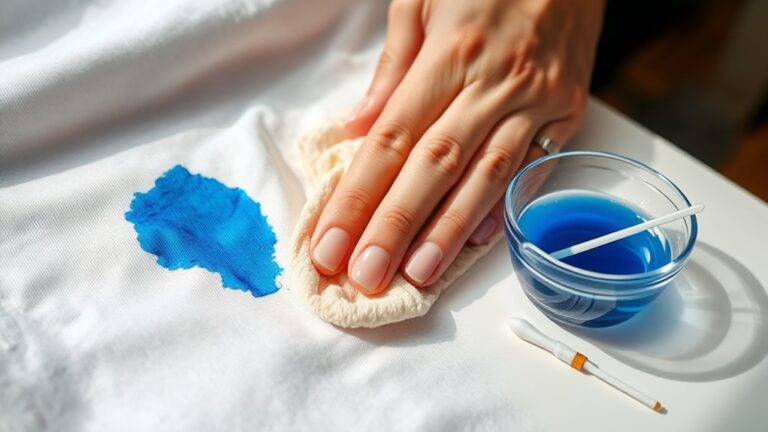
Plus, they can bleed through thin paper, and the alcohol-based ink might stain clothes or surfaces.
Handle them carefully to avoid unwanted messes.
What Surfaces Can I Use Alcohol Inks On?
You can use alcohol inks on non-porous surfaces like Yupo paper, glass, ceramic tiles, and plastic. These surfaces let the ink flow freely and keep the colors vibrant.
Avoid porous materials like fabric or watercolor paper because they absorb the ink and can cause fading. For better results on surfaces like tiles, it’s a good idea to seal or prep them first.
Experimenting with different non-porous surfaces is a great way to create unique textures and effects in your artwork.
Conclusion
Exploring alcohol ink art is like opening a vibrant, endless palette of possibilities. With its bold colors and unique textures, you’re only limited by your imagination.
As you experiment and learn, you’ll discover new techniques and styles that make your art truly stand out. It’s all about having fun and pushing your creative boundaries.
Immerse yourself with curiosity and confidence. Creating with alcohol ink is as freeing as a bird taking flight, ready to express your creativity in dazzling ways.