8 Steps to Do a Reset on Your Epson Ink Cartridges
Many people struggle with pesky ink cartridge issues, especially when your Epson printer suddenly stops printing or shows error messages. If you’re tired of constantly replacing cartridges or dealing with low ink warnings, you’re not alone. Resetting your Epson ink cartridges can be a simple fix to get your printer working smoothly again.
To reset your Epson ink cartridges, start by identifying your cartridge model and preparing the right tools like a resetter device or paperclip. Turn off your printer and carefully remove the cartridges, inspecting and cleaning contacts if needed.
Use the reset button or software, such as SSCService Utility, to reset the ink levels. Reinstall the cartridges, then verify the reset worked and examine print quality.
If issues persist, more detailed steps are available to guide you through the process.
Key Takeaways
- Turn off your printer and unplug it from the power source before you begin.
- Carefully remove the ink cartridges. Take a look at them to check for any damage or dried ink buildup.
- Next, use a resetter device or software like SSCService to reset the chips on the cartridges.
- Once reset, reinstall the cartridges securely. Make sure they are properly connected with the printer.
- Turn the printer back on. Check the ink levels and print a test page to make sure everything’s working right.
Why Resetting Your Epson Ink Cartridges Matters
Ever wondered why your Epson printer shows low ink warnings even after refilling? Resetting Epson ink cartridges is important because it helps fix false low ink alerts caused by sensor errors or refilled cartridges.
Resetting Epson cartridges fixes false low ink alerts caused by sensor errors or refills.
When you reset, the printer correctly recognizes the ink level, preventing unnecessary cartridge replacements. A chip resetter can restore proper ink level detection, especially after a refill, making sure your printer doesn’t mistakenly think the ink is empty.
Regular resetting extends the life of your cartridges, saving you money and reducing waste. It also helps prevent printing interruptions by overriding incorrect ink level signals and error messages.
In the end, resetting your cartridges keeps your printer working smoothly, ensuring consistent print quality and avoiding unnecessary hassle or costs.
How to Find Your Epson Cartridge Model and Reset Needs
To start, you need to identify your Epson cartridge model by checking the labels on the cartridge or the printer’s manual. Recognize when your printer shows ink level alerts or error messages, which indicate a reset might be needed.
Before proceeding, verify that your reset method matches your specific cartridge and printer model to avoid issues.
Identifying Cartridge Model Numbers
How can you guarantee you’re using the correct reset procedure for your Epson ink cartridge? First, identify your cartridge model by checking the label—it’s usually printed on the side or bottom.
Remove the Epson ink cartridge from your printer and carefully examine it for the model number. If it’s hard to read, try using a magnifying glass for better visibility.
You can also find the model information on the packaging or in your printer’s user manual. Make sure the model number matches the compatible cartridges listed on Epson’s official website.
Accurate cartridge identification is essential before you start any reset steps. Having the right model number helps avoid errors and ensures the reset process works effectively.
Recognizing Reset Triggers
Once you’ve identified your cartridge model, you can better understand when a reset might be needed. Recognizing reset triggers means paying attention to signs like a low ink warning that pops up even when ink levels seem fine, or error messages such as “Cartridge Not Recognized.”
These issues often happen after refilling a cartridge or if the chip isn’t working properly. Sometimes, the printer shows false low ink warnings because of sensor errors or chip problems, which means it’s probably time for a reset.
Reinstalling or cleaning the cartridge can also cause the printer to need a reset. If your printer isn’t recognizing the cartridge or keeps showing errors, these are clear signs you should consider resetting.
Knowing these reset triggers helps you figure out the right moment to reset your Epson ink cartridges.
Verifying Compatibility Before Reset
Before attempting a reset, it’s important to check if your cartridge is compatible with your printer model. Using an incompatible ink cartridge can cause errors or stop the reset from working.
Start by looking at the cartridge label or packaging for the specific model number, like Epson 78, 127, or 502. You can also refer to your printer manual or check the on-screen display to see which ink cartridges work with your printer.
Take a close look at the cartridge’s chip for any markings or labels that indicate its model or type. Visiting Epson support’s official website or using their support tools can help you verify compatibility with your printer.
Also, check if your cartridge has a reset button or if it needs a software reset method based on its model. Properly identifying your cartridge makes sure you follow the right reset process.
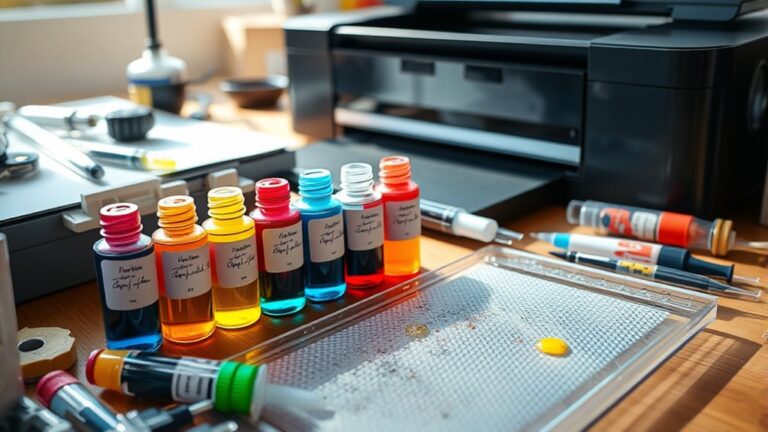
Preparing Tools and Workspace for Cartridge Reset
To ensure a smooth cartridge reset process, start by gathering all the necessary tools and setting up a clean workspace. You’ll need a small Phillips screwdriver, a resetter device if applicable, and some gloves or lint-free cloths to handle cartridges and chips.
Make sure your printer is turned off and unplugged to avoid any electrical issues. Prepare a flat, clutter-free surface to place your cartridges and tools, so small parts or chips don’t get lost.
A well-lit workspace makes the process easier and more precise. Having good lighting helps you see what you’re doing clearly and prevents mistakes.
| Tools Needed | Workspace Setup |
|---|---|
| Phillips screwdriver | Flat, clean surface |
| Resetter device | Good lighting |
| Gloves or cloths | Uncluttered environment |
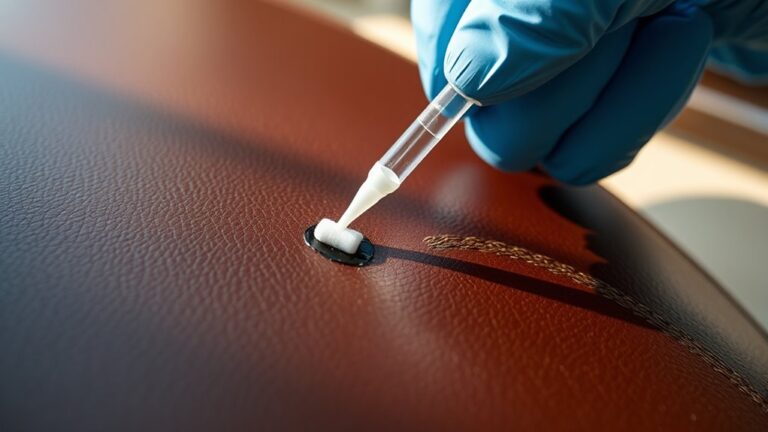
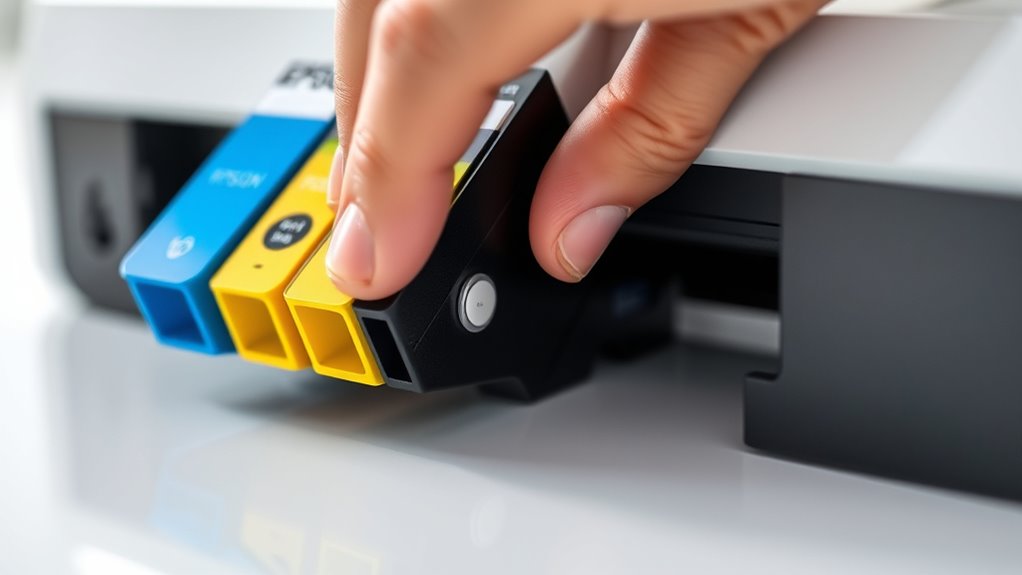
Removing and Inspecting Your Epson Ink Cartridge
When removing your Epson ink cartridge, lift it straight out of the printer to prevent damage to the contacts. Carefully inspect the cartridge for any signs of leakage, dried ink, or physical damage that could affect performance.
Pay close attention to the chip area, checking for dirt, ink residue, or corrosion that might interfere with recognition. If you notice debris or buildup, use a soft, lint-free cloth to gently clean the contacts and chip area.
Make sure the contacts are free of ink or dirt, and the chip area is clean and dry. Before reinserting, verify the cartridge is aligned properly and appears intact.
Proper inspection and cleaning help maintain good contact and confirm your Epson ink cartridge functions correctly.
How to Manually Reset Your Epson Cartridge With a Reset Button or Paperclip
Have you noticed your Epson cartridge isn’t showing the correct ink levels? To manually reset your Epson cartridges, find the reset button—usually a small, accessible button near the chip area.
Use a straightened paperclip to gently press and hold the reset button for about 10 seconds. This simple reset helps update the ink level indicator to show full or 100%.
After pressing the reset button, reinstall the cartridge into your printer to finish the process. Check if the ink level now reads full or 100%.
Repeat this process for each cartridge that needs resetting to ensure accurate ink level readings. This method is quick and doesn’t require any software—just a reset button and a paperclip.
Using Software Tools (e.g., SSCService Utility) to Reset Ink Levels
Using software tools like SSCService Utility can make resetting your Epson ink levels easier. But first, check that your printer is compatible and connected via USB.
Follow the step-by-step reset process within the software. Make sure your printer is turned on and correctly selected in the utility.
Keeping the software updated helps ensure smooth operation, especially with newer models and firmware.
Software Compatibility Tips
Ever wondered how software tools like SSCService Utility can help you reset ink levels on your Epson printer? Confirming software compatibility is key before you get started. Make sure your Epson printer model and cartridge type are supported, as compatibility can vary.
The SSCService Utility communicates directly with your printer’s firmware to reset ink level indicators and counters, so there’s no need for physical resetters. When you install the software, select your specific printer and check out the reset options available, like resetting ink counters or protection flags.
Proper setup and regular software updates help keep ink level readings accurate. This prevents unnecessary cartridge replacements and keeps your printer running smoothly. By verifying compatibility first, you ensure reliable performance and better control over your Epson printer’s ink management, making resets easier and more precise.
Reset Procedure Steps
Are you ready to reset your Epson printer’s ink levels using software tools? First, download and install the SSCService Utility compatible with your printer model.
Launch the printer software and select your specific device from the list of connected printers. Navigate to the “Reset” or “Maintenance” tab within the utility to find the ink level reset options.
To perform the reset, click on the reset button next to each ink cartridge or tank you want to reset, then confirm your choice. Once done, restart your printer to ensure the ink levels are correctly reset.
Check the printer’s display or software to verify that the ink levels now read as full. This process helps restore ink levels using the software’s reset button feature.
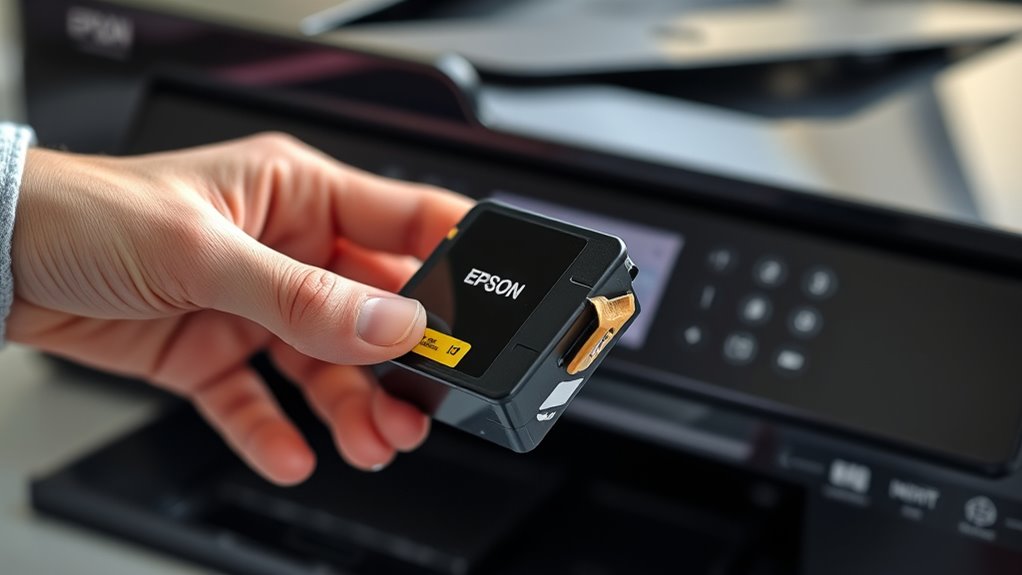
Reinstalling the Cartridge and Confirming the Reset Was Successful
Once you’ve finished the reset, carefully reinstall the cartridge to make sure it makes proper contact and works correctly. Push it firmly into its slot until you hear it click, ensuring it’s securely in place.
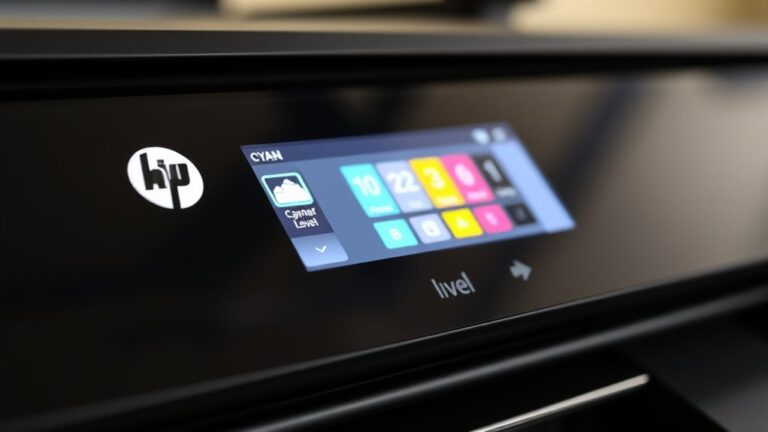
Before reinserting, check that the cartridge is clean and dry to avoid printing problems. Turn on your printer and check the ink levels through the menu or software to confirm the reset was successful.
To make sure everything’s working, print a test page to evaluate the print quality and look out for any error messages. Also, keep an eye on the printer’s display or software for a confirmation message that the reset went through.
Proper reinstallation and confirmation help keep your printer running smoothly after the reset.
Troubleshooting Common Reset Problems and When to Replace Cartridges
When you keep seeing incorrect ink levels or get error messages even after refilling or replacing cartridges, it usually means something’s off with the reset process.
Common issues include wrong ink level readings and error alerts caused by faulty or incompatible chips, or if your resetter tool isn’t matched properly to your Epson cartridge model.
If pressing the reset button or using a resetter doesn’t fix the problem, it might mean your cartridges are damaged or nearly worn out.
Repeated resets can also mess with ink level detection, which can lead to poor print quality.
In these cases, replacing the cartridge is the most reliable way to ensure your Epson printer works well and produces good prints.
Frequently Asked Questions
How to Reset Epson Printer Cartridges?
To reset your Epson printer cartridges, start by turning on your printer.
Locate the reset button or reset points on the cartridge or printer, depending on your model.
Use a bent paperclip to press the reset button or access the reset contacts to clear ink level errors.
If needed, run dedicated reset software like SSCService Utility.
Reinstall the cartridges afterward, and your printer should recognize the reset or refilled cartridges.
Where Is the Secret Reset Button on the Epson Printer Ink Cartridge?
The secret reset button on your Epson ink cartridge is usually a small, recessed button on the circuit board or chip area.
You’ll find it labeled “Reset” or near the contact points for ink levels.
To locate it, carefully examine the front or bottom of the cartridge.
Use a bent paperclip or a pointed tool to press the button gently, resetting the ink levels or chip.
How Do I Override My Epson Ink Cartridge Not Recognized?
Ever felt frustrated when your Epson ink cartridge isn’t recognized? You can override this by reinstalling the cartridge properly, cleaning the chip contacts gently, or using a compatible third-party chip.
You might also try a chip resetter or swapping the chip if it’s faulty. Updating your printer drivers and firmware can help too.
Don’t give up—these simple steps can get your printer working smoothly again.
How Do I Reset My Epson Ink Cartridge Without Resetting the Tool?
To reset your Epson ink cartridge without a reset tool, start by checking if your cartridge has a reset button. If it does, gently press and hold it for about 10 seconds.
If there’s no button, try removing the cartridge and reinserting it into the printer to reinitialize the chip.
You can also use software like SSCService Utility or swap chips between cartridges to reset ink levels without any extra tools.
Conclusion
Resetting your Epson ink cartridges can save you money and help them last longer. Did you know that improper resets can cause printing errors or waste ink?
By following these 8 simple steps, you can ensure your printer runs smoothly and efficiently.
Keep in mind, about 60% of printer problems come from ink cartridge issues. Mastering this reset process puts you in control, saving you time and money.
Plus, it helps keep your prints looking sharp. So, take a few minutes to learn how to reset your Epson ink cartridges properly.